Short Class Video
Class Tutorial
Tall sailing ships have always captured the imagination of the adventurous. Pirates with eye patches and a hook hand and all that. What we are going to do is paint one in watercolour.
This is the photo we will be working from:
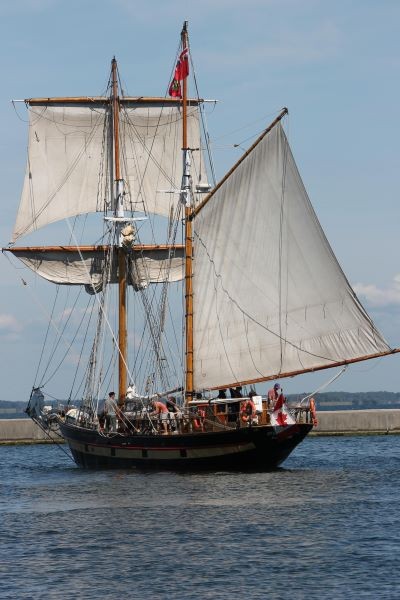
We will unfurl the last sail so that we have a better looking ship.
Masking the Sails
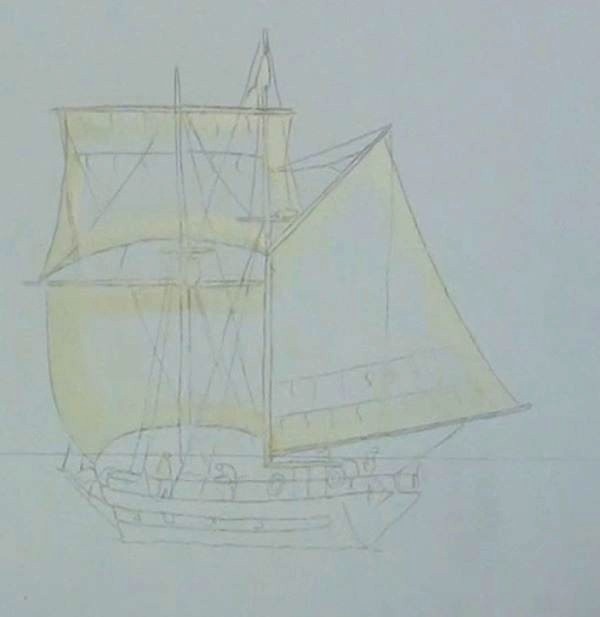
There is a lot of white areas to be protected so use masking fluid to do this. About ½ inch or 15mm around the edge of the sails should be enough protection.
When you have protected all areas that need to be, gently blow dry before proceeding.
Painting the Sky
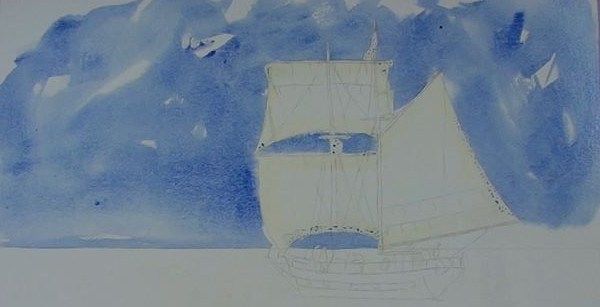
With a large flat brush wet all the sky area and then float in some Cobalt Blue.
Be careful to keep the horizon straight.
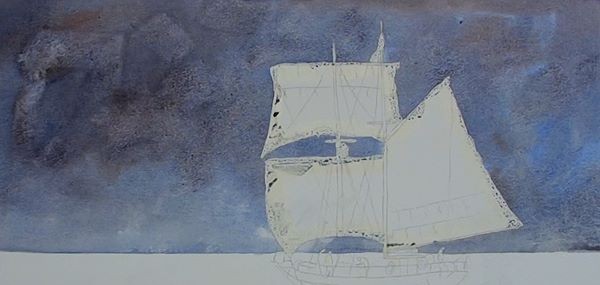
Add more blue pigment to the sky mix and bring a touch of Burnt Sienna to warm it up a bit. Drop this colour into the wet sky and move it around to suit. We are looking for a darkish sky in order to contrast with the light sails. This will ensure a lovely dramatic painting.
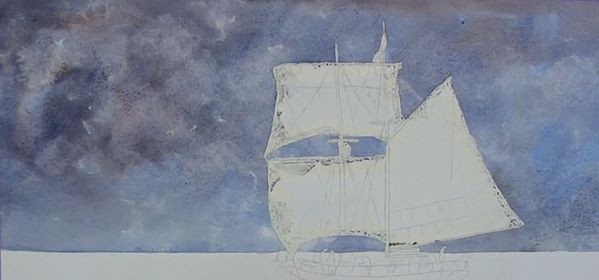
With a bundled up tissue dab some areas to give the impression of cloud billows.
Painting the Sea

Make up a light mix of Blue and Viridian and paint the sea with horizontal strokes. Don’t paint it too evenly. To be able to indicate some nice windswept waves use the two colours in horizontal lines and intermingled.
Keep the foreground darker at the lower end of the painting and lighter towards the horizon.

Now we can begin to add in the curved lines for the swells and waves. Don’t overdo it and make the waves too wild. The waves will get smaller into the distance.
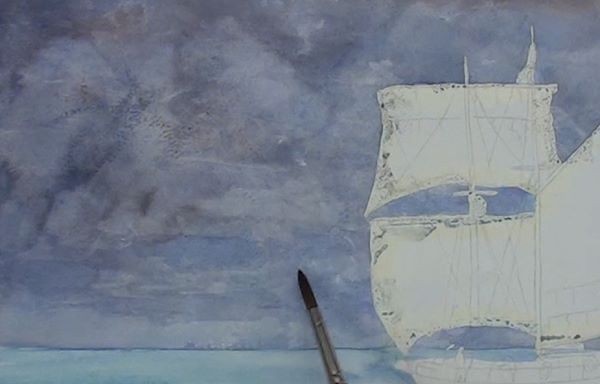
Because clouds show reflections from the sea surface, very carefully glaze in a few light sea colour on sections of the clouds. This creates a colour harmony between sea and sky.

Use a small round brush to paint in the shadow areas of the waves. Note that each swell will have a light refection on the top edge.
A word of warning: Don’t make the swells too large in relation to the size of the ship.
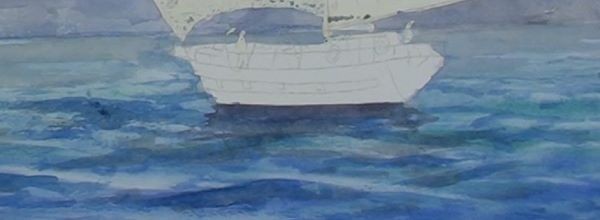
Paint the dark reflection of the ship.
Dry the sea area before continuing.
Painting the Sails
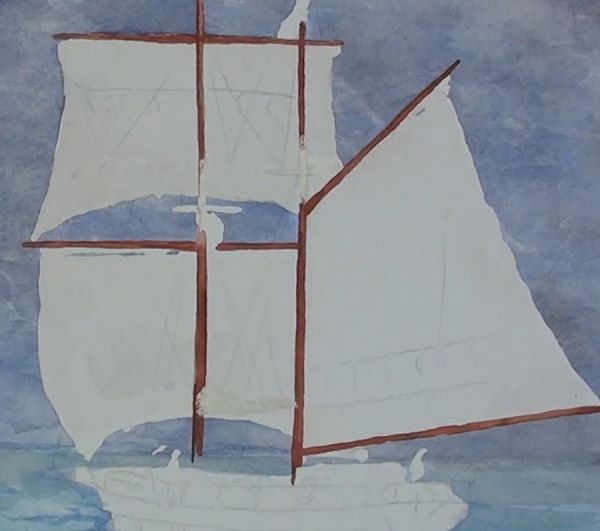
Remove the masking fluid off the ship.
With an Orange/Brown colour begin painting in all the spars and the masts. To keep them straight and even it is best to do so with a series of short strokes.
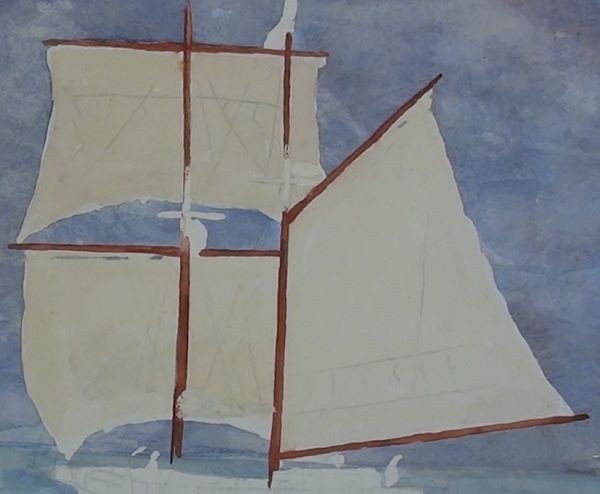
The sails are made out of a very strong cotton cloth or canvas and unless they are new sails, they will be slightly discoloured and yellow from being exposed to the harsh elements.
To achieve the aged look, start painting, or rather glazing, some Yellow Ochre over the sails.
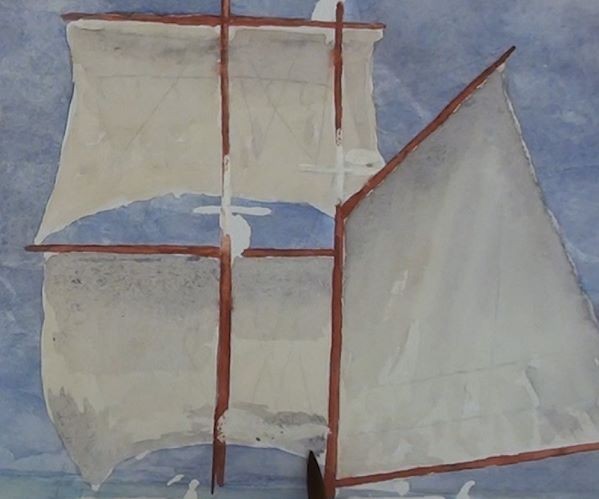
When that has been completed, mix up a light Blue/Gray for adding the shadows on the sails. Remember to show any folds in the sails themselves.
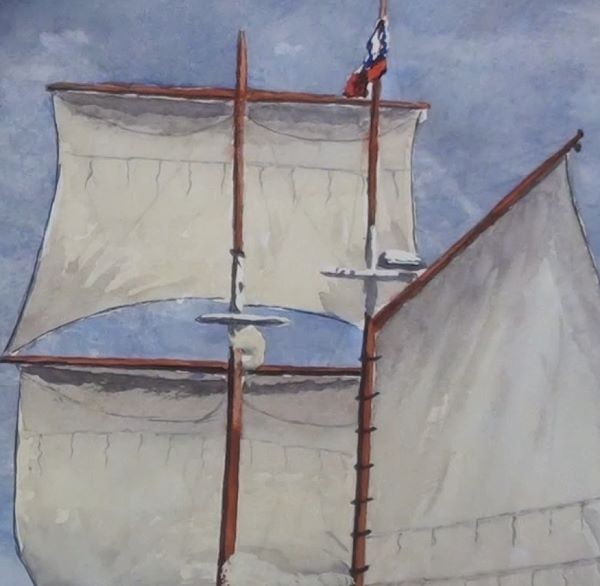
Continue working on the shadows and eventually adding the darkest shadows under the spars. Touch up, with a light Gray for the seams at the edge of the sails.
Carefully add the other details in the sails and the shadows on the masts.
Touch up all the other smaller details in the sail areas, including the flag.
Painting the Ship
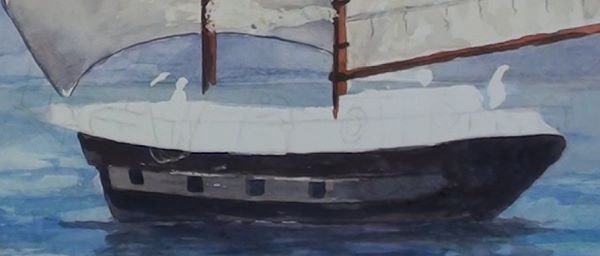
With a very dark mix of Brown made up from Ultramarine Blue and Burnt Sienna, paint the hull of the sailing ship and the lighter strip on the side.

Now comes the interesting part of this painting, and it is all the small details on the deck. In the reference photograph there is a ton of detail. Now, we are NOT going to paint all the detail as shown in the photograph.
We are going to simplify the lot by blocking in the main shapes only. Slowly build up the various tones and colours. Be careful to keep the general shapes of the sailors.

As you can see there is simply a suggestion of all the items on the deck and no details whatsoever.

Once the shapes have been painted we can now, with a small round brush add the railings.
Add Finishing Details
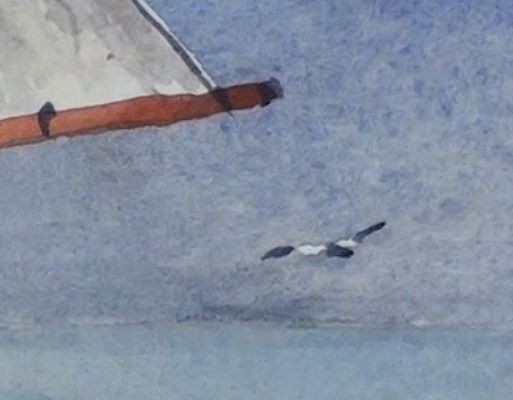
Paint in a gull or two for some extra movement and interest. This close-up shows just how simplified all the details are.
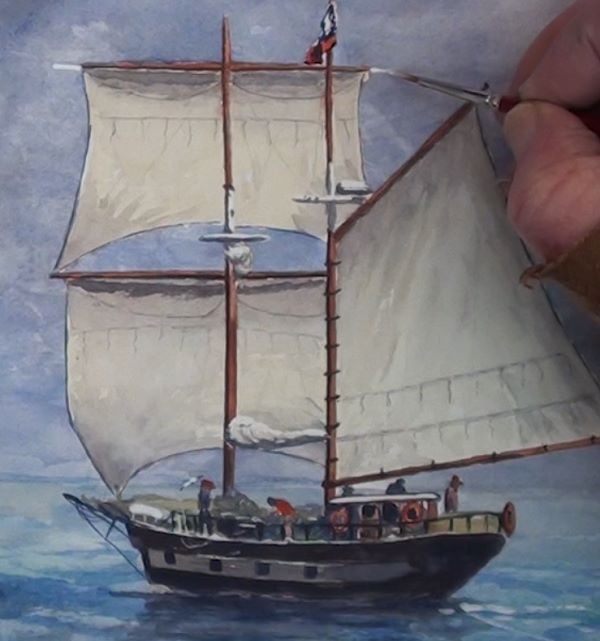
With some Chinese White, straight out the tube, touch up all the small areas that need White, such as the tips of the spars.
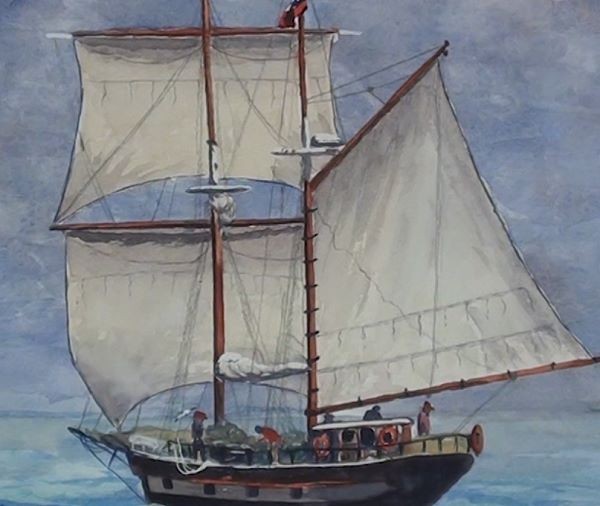
For this size of sailing ship we would not be able to paint in the thin ropes with a small brush. They would just be too thick. We will add them in with a very sharp-pointed pencil. A 0.5mm Mechanical pencil works very well here.
Notice that I am only adding in the main rigging and leaving out all the lesser ropes. It is not necessary to add them all in. The brain is well able to add them in for you.
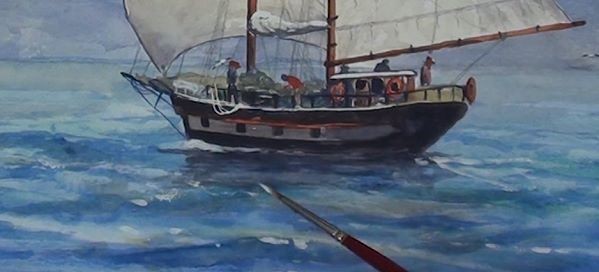
Again, with Chinese White, add the bow wave of the ship as well as the highlights in the deck area and some of the wave tops.
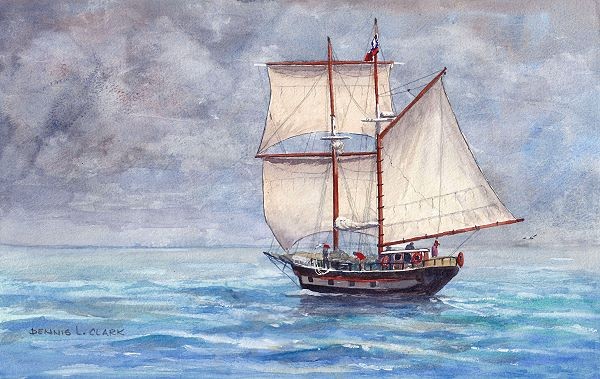
To finish off I want you to notice that each sail has a slightly different brightness than the others. Don’t try to keep them all the same colour.
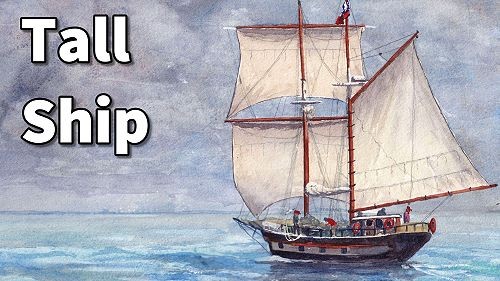
This is what the final painting looks like:
Click the button below to view the real time follow along version of this class:
Pin Me
