Short Class Video
Class Tutorial
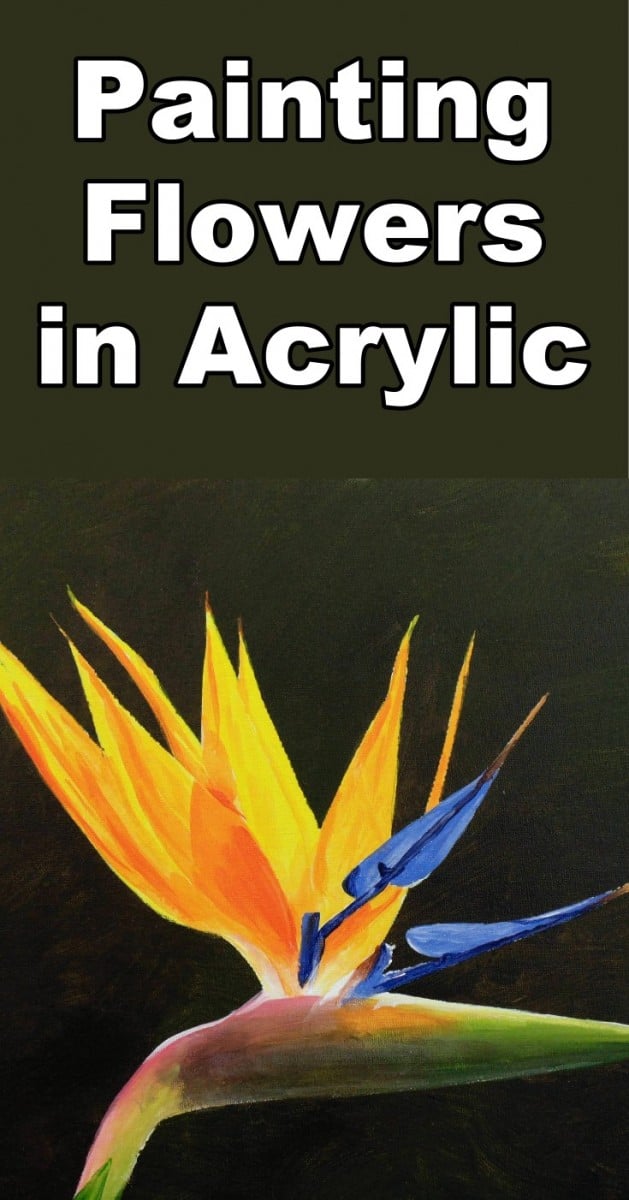
In this lesson we are going to paint a Bird of Paradise flower, also know as a Strelitzia.
It is a beautiful flower and makes a great painting, but there are a few tricks to painting it, so let's get going.
Mask the Flower
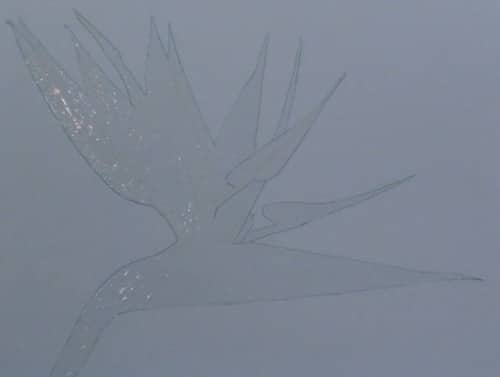
I am going to paint the background first so I use contact adhesive to mask off the flower itself. It is basically a roll of transparent sticker which I stick onto the canvas and then cut out the shape I want using a craft knife. Just be careful not to cut through the canvas.
This allows me to quickly paint the background without having to carefully avoid the edges of the flower.
Paint the Background
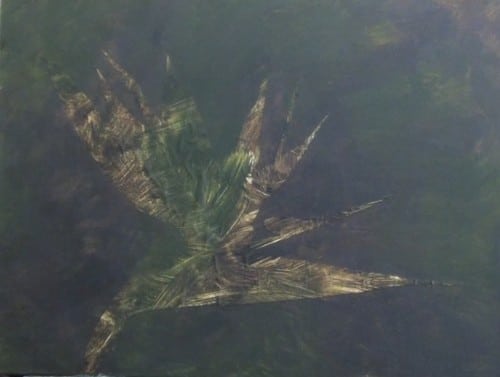
Because we want the flower to have nice and bright vibrant colours I will use darker browns and greens in the background. Leave the background to dry then remove your mask.
Paint the Orange Petals
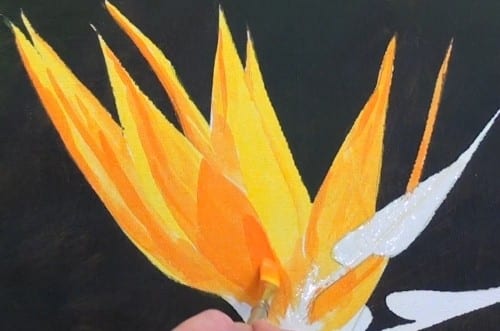
Lets start at the top of the flower and work our way down.
Add a light yellow to the brightest areas of the orange petals ans then gradually add more and more orange to the mixture as you lay down the darker colours. I am not really going to blend these colours into each other because the strippyness of the colours makes the petals look transparent.
I have masked off the blue petal to keep that area nice and clean.
Use a fine brush to ensure the tips of each petal are nice and sharp.
Paint the Flower Body
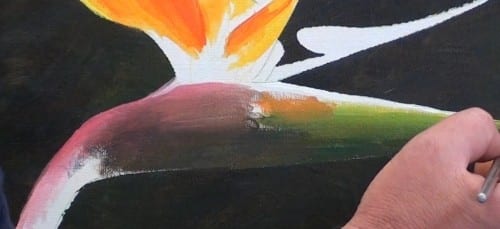
Moving on to the body of the flower.
Here we have heaps of different colours merging with each other. This makes it really easy to turn the whole area into one big muddy mess as these colours mix into each other. The secret to ensure this doesn't happen to you is to blend two adjacent colours together, stop, wash your brush, lay down the next colour, blend it, wash the brush and so on.
So in this area you have pink, brown, green, yellow and even a touch of orange which you need to blend into each other. Be careful and take your time. Here at the stem there is a top of a leaf peeping into the picture so I will paint that in using a little sap green.
Where the petals meet the body of the flower we get a bit of a transparent effect so I will use white and some of the petal colours to paint that in.
Paint the Blue Petals
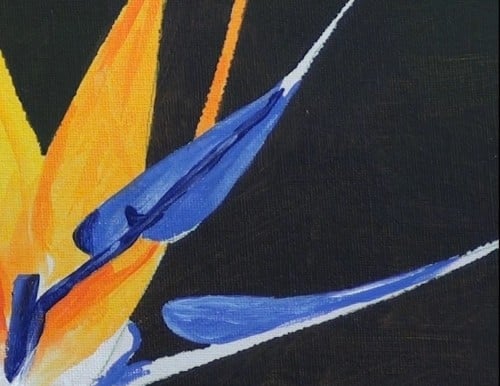
Now we can paint these two pretty blue petals. I am using french ultra marine with more or less amounts of white in it in order to show the different shades. So just look carefully and paint in the colours where you see them.
Add Finishing Touches
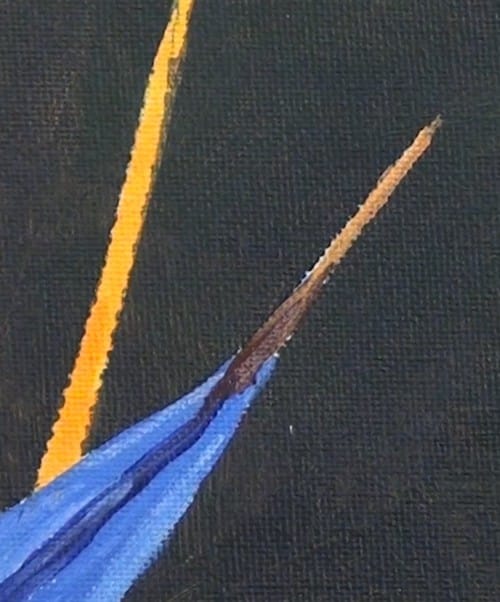
The tip is orange with some blue in it to make a brown.
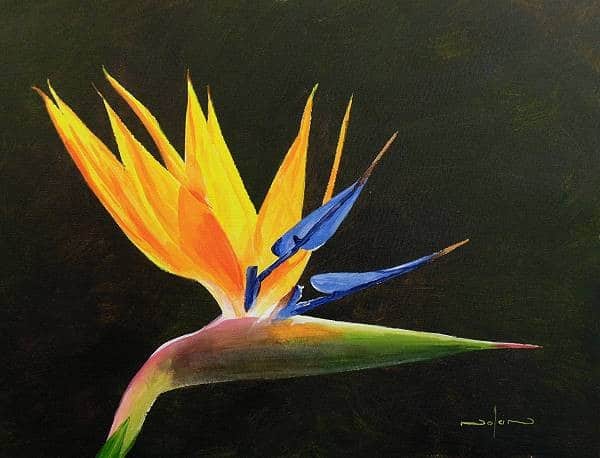
Lastly we can finish off the bird of paradise flower by leaving it to dry then adding a light glaze of white to the underside of the body to give it that lovely smooth shiny look.
Final Painting
Click the button below to view the real time follow along version of this class:
Pin Me