Class Tutorial
Paint the wall
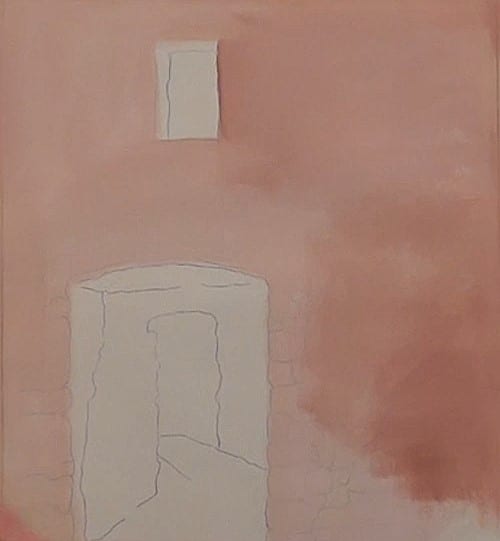
For the sunlit wall make a light mix of Burnt Sienna and then, with a large brush, leaving out the window and the doorway, paint the wall.
Paint the window
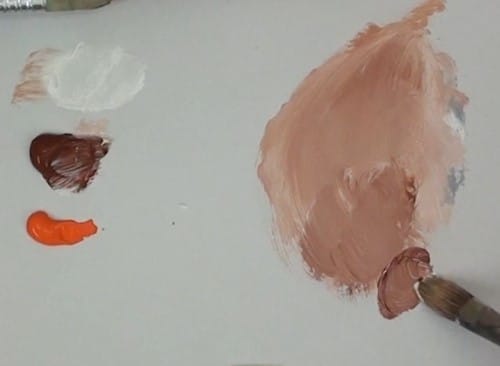
Now with a darker mix block in the window area.
Paint the doorway
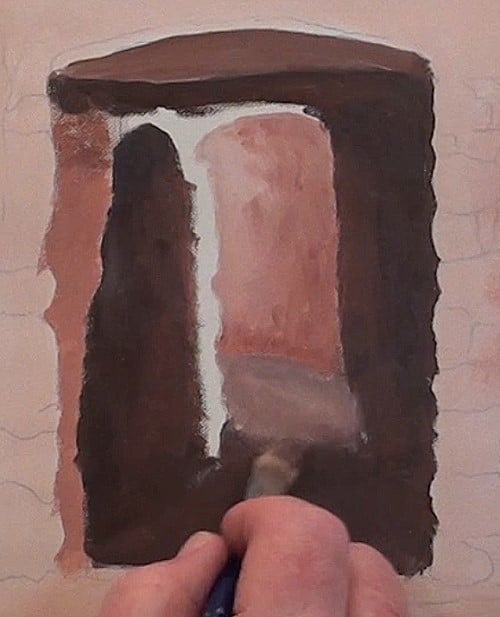
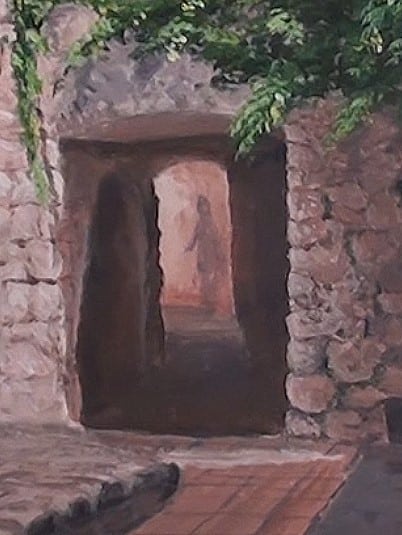
Begin the doorway with the same darker mix. Then block in the dark shadow area with some blue added to the Burnt Sienna. This dark area is part of the thickness of the wall which is actually hollow. I want you to notice that the edges are not straight. This is due to the irregular masonry used for the wall. Also take careful note of the different tonal ranges as well as the hard and soft edges. The very light edge defines the hollow at the left side.
Adding detail to the window
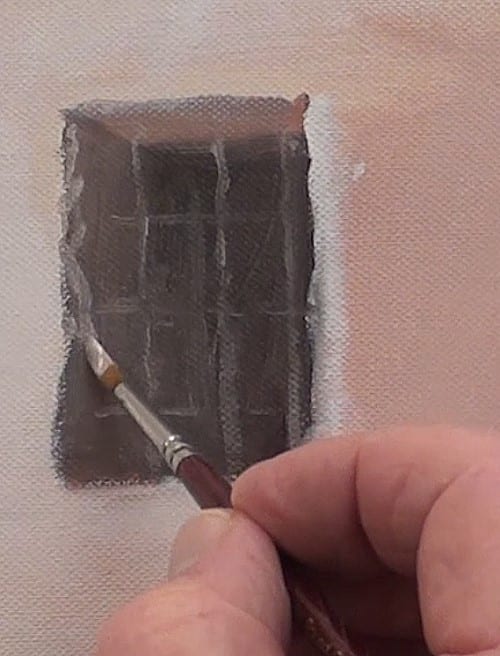
Go back to the window and add the dark interior and just sufficiently show the thickness of the wall. Glaze a very light blue softly on the wall around the window. Then very lightly stroke in the steel bars and the reflections and lighter areas of the window and doorway.
Paint the wall shadow
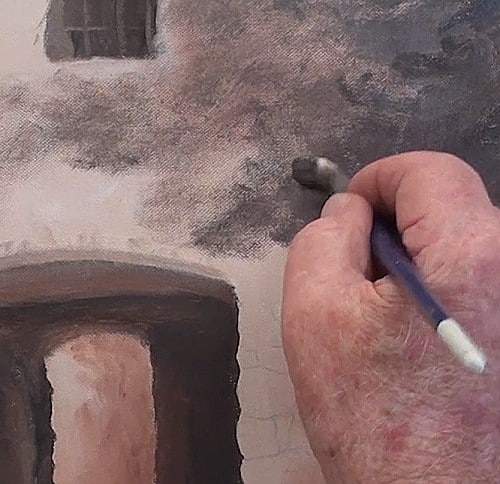
Use the darker mix to rough in the shadow behind the tree foliage, letting it get lighter towards the left side. Include the shadow of an overhanging branch which we will paint later on. Leave the outer edges nice and soft and fluffy.
Adding texture onto the wall
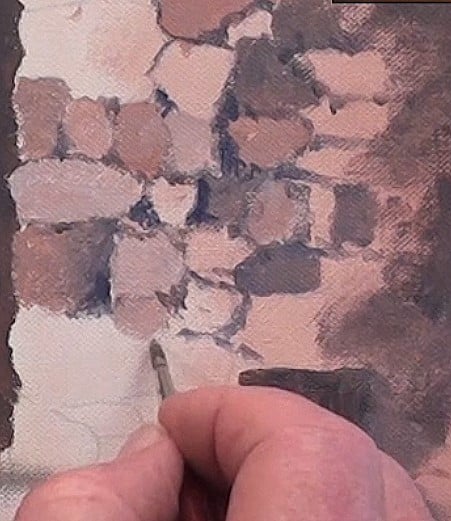
With the same two colours begin blocking in the masonry in a very random manner. Also vary the sizes and shapes. Don’t try to add them all in simular sizes and shapes. Look at all the different tonal ranges being painted here. Roughly outline the shapes. These are the shadows between each of the rocks. Once you have done this add the roughness of the rocks. Continue doing this as you progress upwards and downwards.. Touch some light blue highlights on the left edges of the rocks. Make the masonry less detailed on the upper part of the wall.
Paint the lower wall on the right, and then go back to the main wall and add in all the smaller highlights with a small round brush.
Paint some medium grey above the doorway and then with some lighter and darker greys, just paint in the impression of masonry. The sun is much brighter here, and as a result, it tends to bleach out a lot of detail due to the high reflection factor.
Paint the pathway
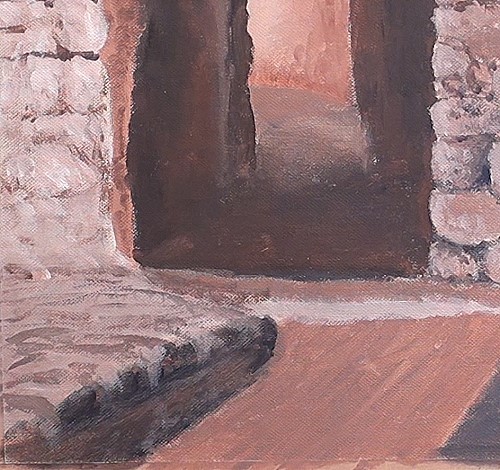
Begin painting in the pathway and the paving through the doorway. Once you have done this, carry on with wall on the left. Don’t overdo the markings on the top left. Add the shadows between the rocks, as well as the highlights on the rock edges that catch the light.
Once you have finished this, you can then add more detailing to the paved area. Note the shaft of sunlight on the paving at the entrance to the doorway and the type of highlighting on the edge of the pavement on the left. The wall on the left is also brighter than that on the right side.
Paint the tree
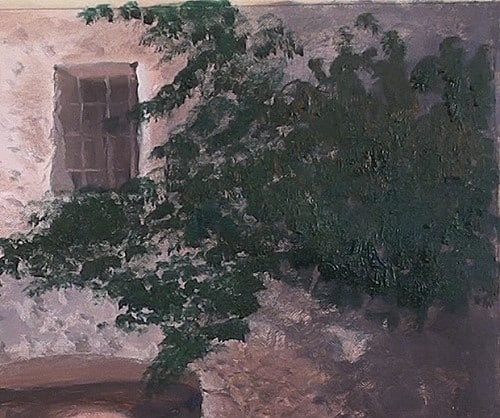
Because we work from dark to light, we will paint in the deepest shadows first. Do this with dark mix of Viridian and either Burnt Sienna (dark orange) or Cadmium Orange. The brush being used here is a filbert as opposed to a flat (square) brush.
Begin now to shape in the bough and twigs. All this is painted in with small dabbing strokes, using the cutting edge at an angle, to give the impression of the downward hanging of the leaf clumps. Don’t try to paint individual leaves. Leave space for the birds to fly through.
Blend in a few touches of warmth to the shadows with some orange.
Painting highlights onto the leaves
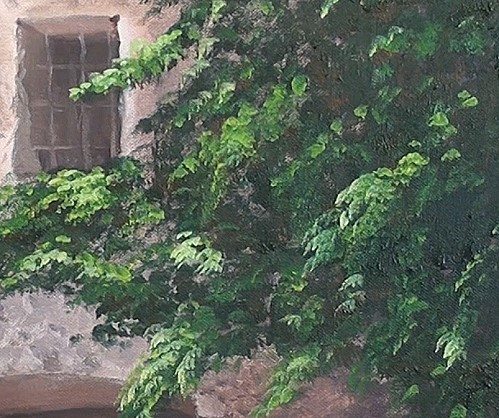
For the sunlit leaves make a mix of Ultramarine, Cadmium Yellow light and some white. Again use the cutting edge of the filbet brush to dab in the leaves . These light greens will be on the upper left edge of each bough. Notice all the open shadow areas.
With a very light Yellow/green mix, we can now add in all the real sunlit leaf clumps. Be careful not to obliterate the other shadowed tonal areas.
Notice how just the tips of the boughs receive the sunlight.
Paint the creeper
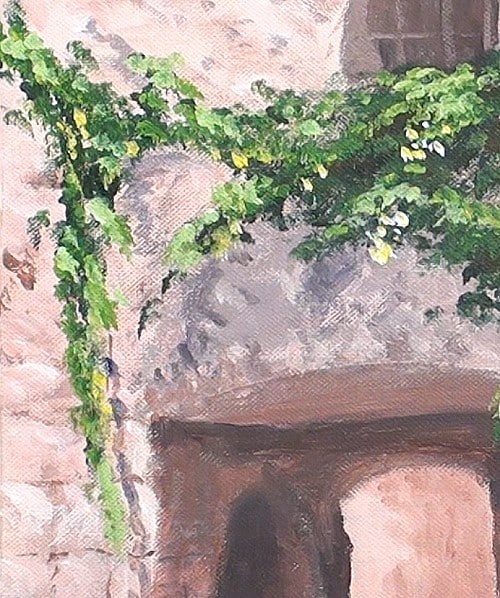
Paint in the creeper on the left wall and finally paint the very bright reflected leaves with an almost white/yellow color. Keep these more to the center of the painting to keep the focus near the doorway.
Adding the finishing touches
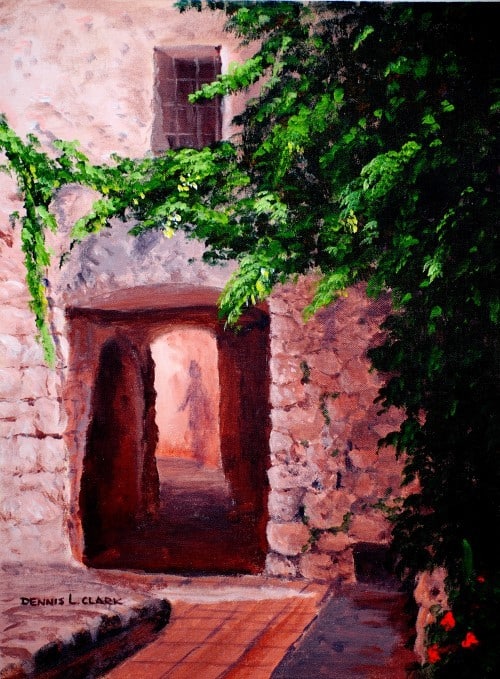
Add the impression of plants and flowers in the bottom corner. Also add a few white and yellow flowers on the tree for interest.
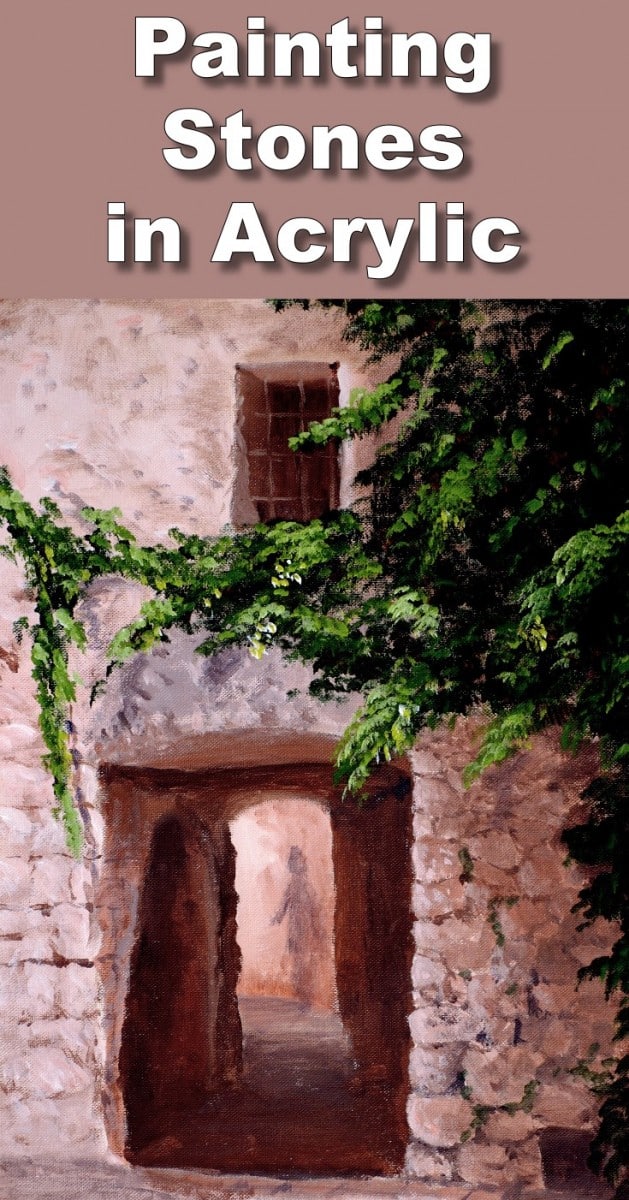
The mystery figure is not in sight, yet it is casting a shadow on the wall in the sunlight.
Final painting
Click the button below to view the real time follow along version of this class:
Pin Me
