Short Class Video
Class Tutorial
Under painting
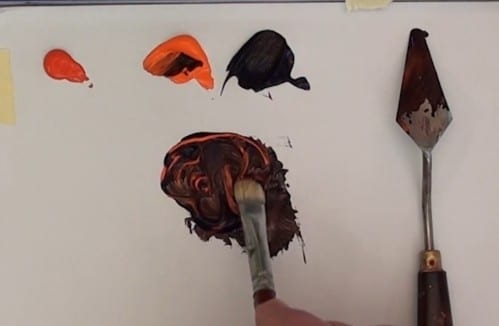
Place the following colours on the palette: cadmium red (light), cadmium orange, and dioxazine purple.
Lightly mix a bit of orange to the purple, creating a brownish colour. Use a bit of a fast drying medium to your paint mix to help it dry faster.
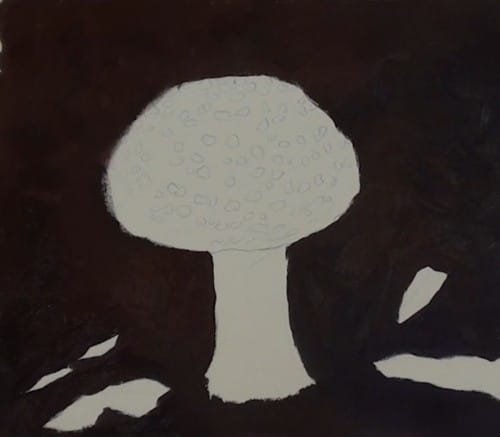
Sketch out the toadstool and leaves onto the canvas as seen in the reference photo.
First paint an underpainting by blocking in the brown colour in the upper left corner around the top of the toadstool, then moving down around the leaves. Add patches of the purple to give the background depth and texture.
Painting the background
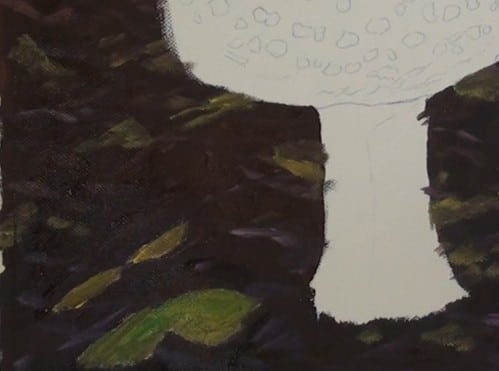
Next add additional colours to the palette: yellow, blue, and white. Add a small bit of white into the brown mix. Using the side of the brush, stroke that lighter mix onto appropriate places on the dark underpainting. Make them more visible at the bottom, but darker and fewer at the top.
Mix a green colour for the leaves. Brush those on randomly, remembering to keep them out-of-focus. Leave some spots blank where leaves and twigs will be painted later. Dab on bits of yellow to brighten up spots.
Painting the mushroom cap
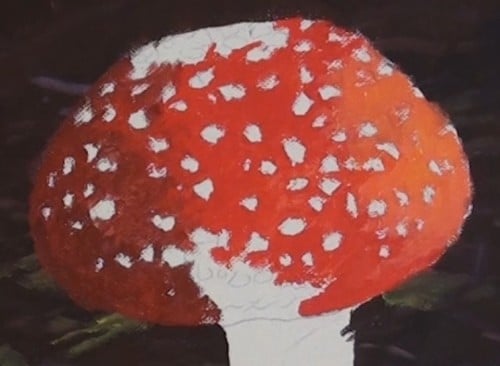
Begin by painting a thinned-down red in the middle of the mushroom cap. Be careful to go around all the scales (dotted spots).
As you move to the right (sunny side of the cap), use a more orangy paint. To the left side, add a bit of green or the brownish mix to make a shadowy red. Go darker toward the left edge /bottom and lighter toward the right edge.
Be sure to overlap the background so that the toadstool will stand out.
Painting the stem
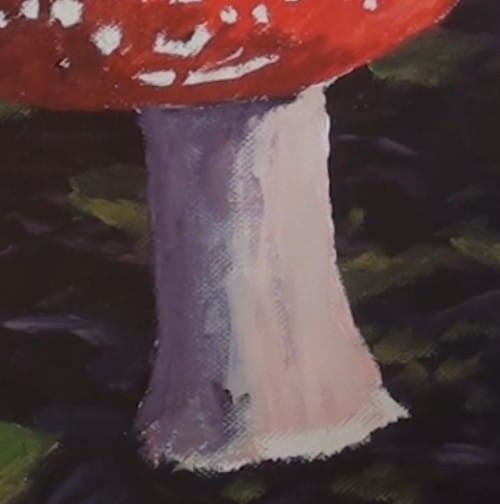
Mix several tones of white with various intensities of blue and purple tinges to paint the stem. Start by painting the left side of the stem with a greyish tone. Then make an impromptu orangy mix to paint the bottom and right side of the stem where the vegetation reflects against it. Use it also as a glaze over the side of the stem that you have already painted.
Add some purple to the mix and paint a darker grey on the farthest left side, ending with a hard dark edge on the left. Add a few bits of dark colour and some white to the right side to create texture. Add some highlights and shadows at the bottom of the stem.
Adding highlights to the mushroom cap
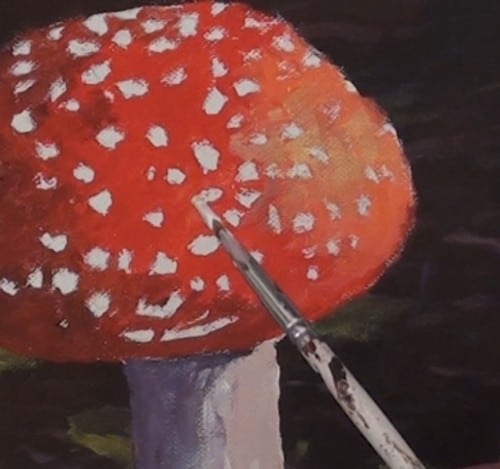
Mix white with a bit of yellow and brush it onto the sunlit area of the cap.
Painting the scales
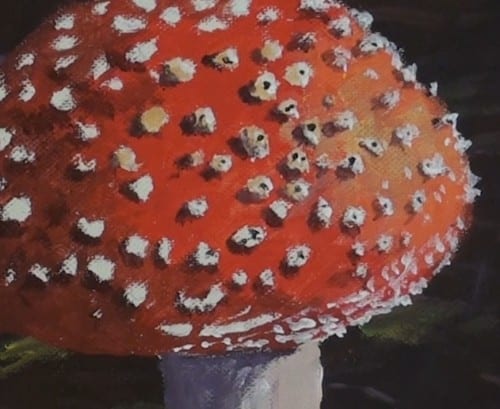
Note that the scales are not as white as they appear and they are raised off the surface of the mushroom. Begin by mixing white with yellow ochre and painting the center scales. Then take a smaller brush and add shading and cast shadows to them. Make the shadows smaller and lighter as you work toward the right side.
Take pure white paint and paint some smaller scales close together along the lower edge. Also paint some of the white on the scales in the most sunlight, especially those that stick up from the back side of the cap.
Add the dark spots where needed in the center of the scale. Also adjust the darkness of the shadows to create a 3-D effect.
Mix a light grey tone for the scales on the shadow side of the cap. Add highlights to those that need them; then add shading and cast shadows as you did with the scales on the right. End with a cast shadow at the bottom of the cap.
Finishing the background
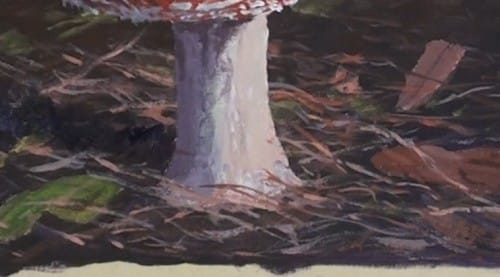
Mix a grey tone and fill in the twig to the right of the stem.
Mix some orangy-brown tones and block in the leaves. Add highlights and shadows to them.
Use the rigger brush with loose, flowing paint to put in the pine needles. To create the illusion of needles being behind the stem, mask the dry stem so that you can draw the needles across the tape. Vary the positions and colours of the needles – some dark, some light.
Brush on deep purple to create a cast shadow from the stem. Add highlights to leaves and twigs.
Remove the masking tape from the stem.
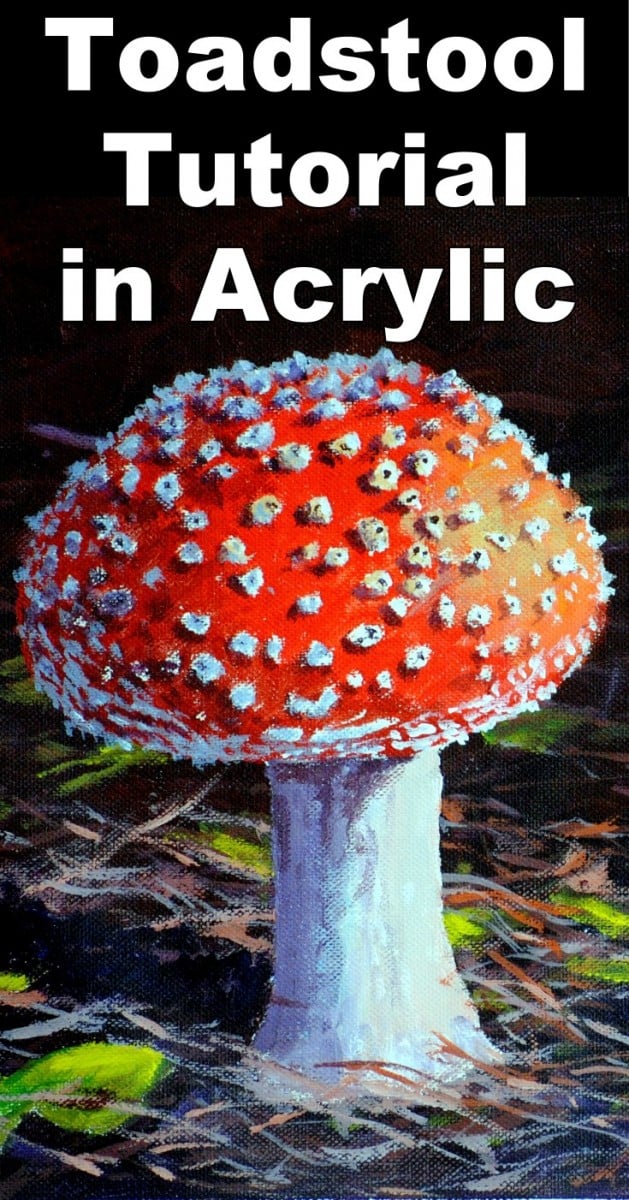
Final painting
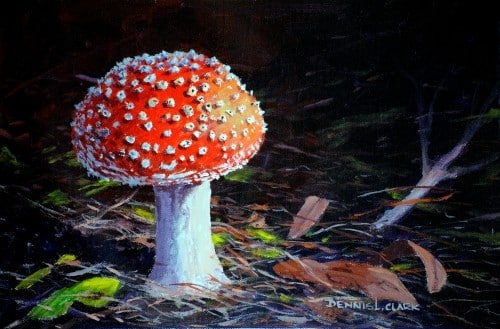
Click the button below to view the real time follow along version of this class:
Pin Me
