Class Tutorial
Step 1 - Preparing to Paint
Use your preferred method to transfer the template to the canvas. Cover the leaf and ladybug with a product such as Clear Cover to protect them before painting the background.
Step 2 - Painting the Background
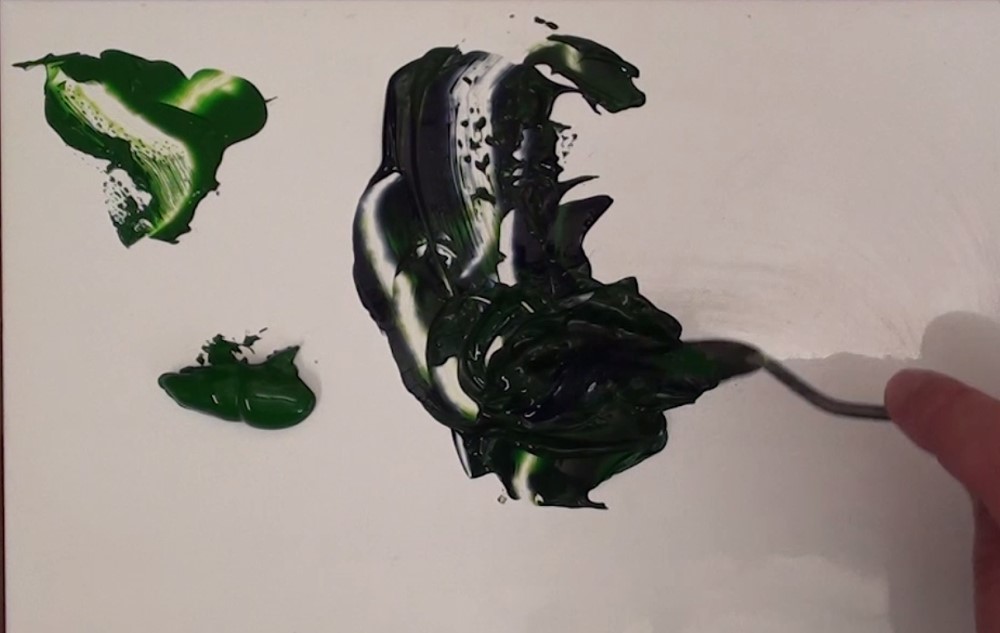
Mix the paints (either acrylic or oil) for the background, creating several tones. Add medium if necessary to make the paint flow smoothly.

Block in the different tones, then blend them. After it dries, add a second coat if needed.
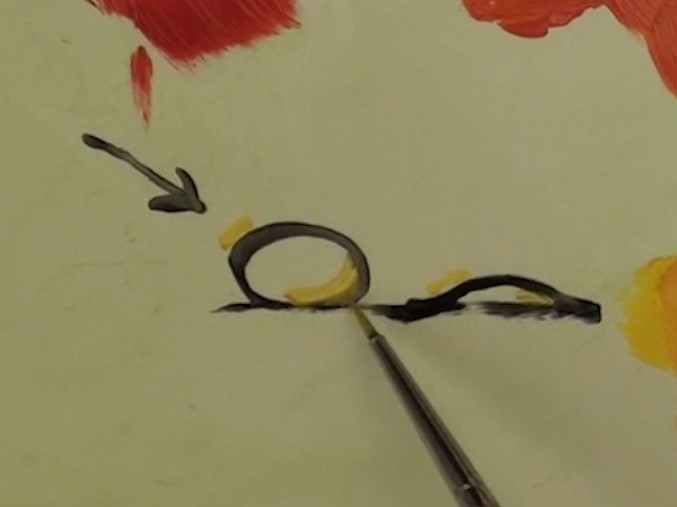
Step 3 - Painting the Leaf

Remove the mask from the leaf, but leave the mask on the lady bug.
Mix at least two tones of leaf colour paint. Add medium if necessary.

Note how Nolan determines where the center line will be placed, then paint yours in. Block in the tones on the top part of the leaf. Add a bit of sky tone as a highlight along the very top of the leaf. Add a few dark stripes for texture.

Block in the tones for the bottom of the leaf and continue painting it as you did the top part.
Step 4 - Painting the Ladybug

Before removing the mask, determine where to paint the ladybug's shadow. Clear away some of the paint from that area, then paint on the shadow. Be sure to make it dark close to the body, then gradually fade it out.
Clean your palette, then mix the colours you will need for the ladybug.
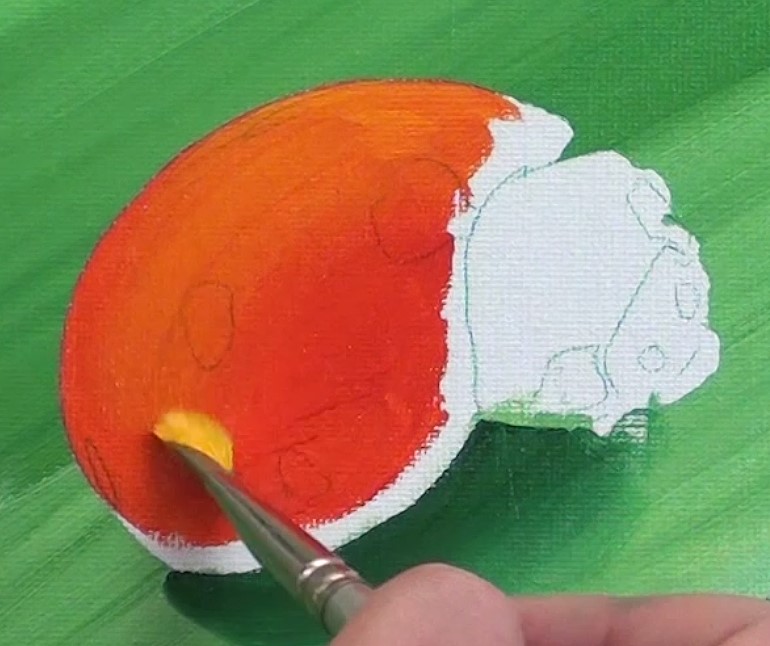
Remove the ladybug's mask. Block in the different shades on the ladybug's back. Blend them.

Mix some black paint and begin painting the black spots as they are on the reference photo. Be sure that the shapes follow the contour of the body.

Before moving on to the bug's face, add some detail to the its back along the contour lines.
Begin blocking in the bug's face. Leave a tiny gap between the back and front of the head. Circle around the eyes, then continue filling in the black. Also leave a thin gap where the mouth is.
Paint the remainder of the head, being careful to get all the small details correctly placed. Conclude the ladybug by painting on the leg.
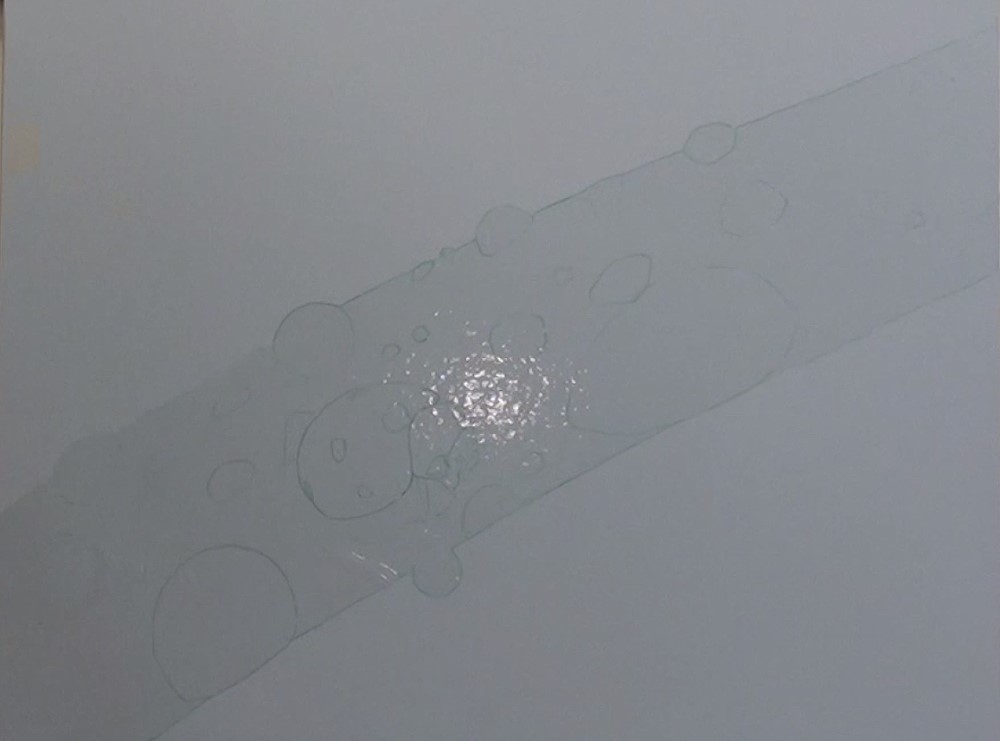
Step 5 - Painting the Water Drops
Note that some water drops will be focused and some out-of-focus. Watch as Nolan explains all about water drops and how to paint them.

Begin by wiping off some of the paint in the area of each water drop. (Or allow it to dry first, then proceed with the same steps.) Mix up a thin sky colour (or any other reflected colours); then apply it lightly to the drop area. Lightly circle it with the leaf (or background) colour, making it darker on the shadowed side. Add the reflected highlight, shaping it to the contour of the drop.
Continue on with the remaining water drops. Vary the sizes and shapes.
Step 6 - Finishing the Ladybug

Add a bit of reflected leaf colour to the bug's eyes. Lighten that colour even more and add it to the large white patches behind the eyes. Paint the white triangular shapes behind the head, adding a bit of yellow as the line fades away. Then put just a bit of shadow beyond that.
Use sky colour to make the contoured highlights at the top of the head. Highlights to the sides will have more of a leaf colour. Use the sky colour again to highlight the white line between the top of the head and the face. Continue the highlights down the face. Add highlight to the triangular shape at the side of the mouth. Add any other highlights as needed.

Add the reflections on the leg.
Use Nolan's technique to add sky colour on the little ridge along the bottom of the body.
Use sky colour to apply the highlights to the body, following the contours. Blend in.
Step 7 - One Last Look

Make one last sweep of your painting and make any adjustments needed.
Click the button below to view the real time follow along version of this class:
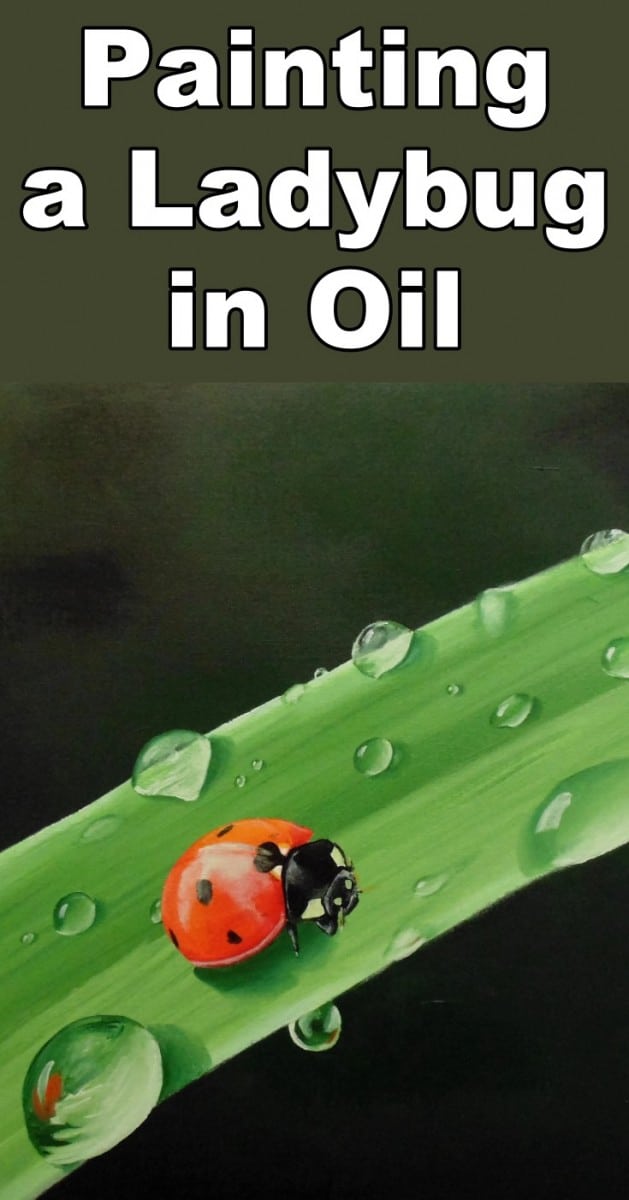
Pin Me