Short Class Video
Class Tutorial
Paint the background
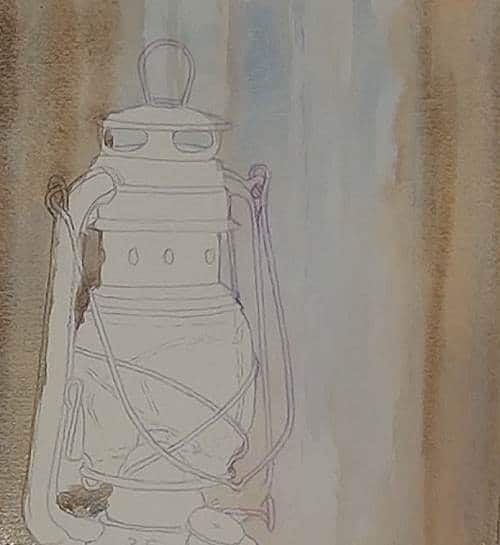
Lightly wet the background so that all the colors applied can merge nicely without sharp edges. Have the easel tilted slightly up at the back so that the water can easily gravite downwards. This prevents pooling of the colors. The background is actually curtains. While still damp, build up the colors. Keep the streaks to help indicate the small folds in the curtain. The curtain has a slight pattern of alternating strokes of light and dark.
Paint the foreground
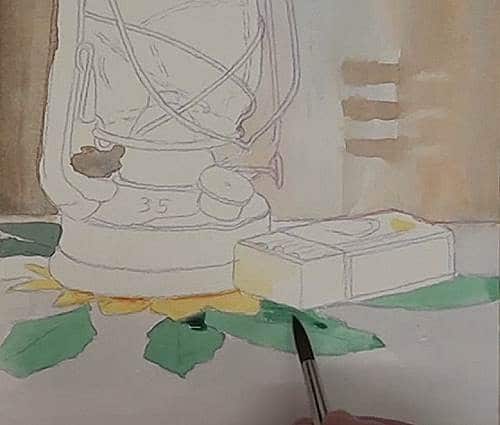
The foreground is initially blocked in with light colors, and when almost dry, some basic detailing is added to the leaves. The original table cloth has a light blue background color with Sunflower and leaves painted on with fabric paint.
Paint the matchbox
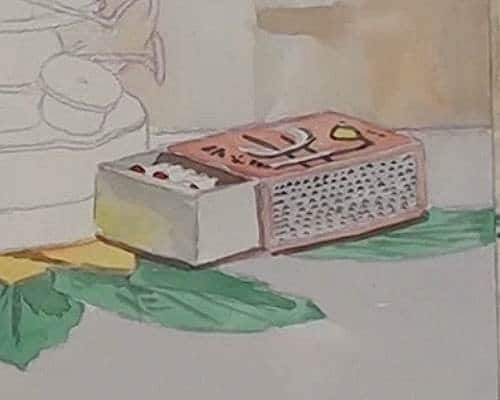
As usual, begin blocking in with light colors as it is easier to correct any faults at this stage. Gradually build up the color strengths and tonal ranges. When this is done, begin adding in the suggestions of details.
Paint the top section of the lamp
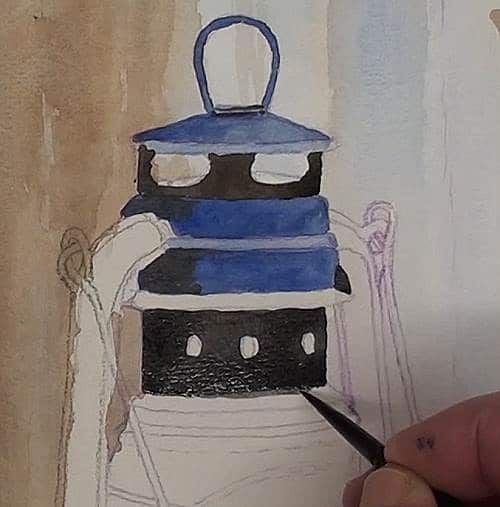
With a very dark blue such as Pthalo Blue begin blocking in the handle and top sections of the lamp. With a dark mix of Blue and Burnt Sienna to make a “black”, fill in all the very dark areas. Use varying tones of the “black” to bring out the shape and moulding of the top section. The left-hand side is the shadow side. Lift out all the reflections with a dampened brush.
Paint the side brackets
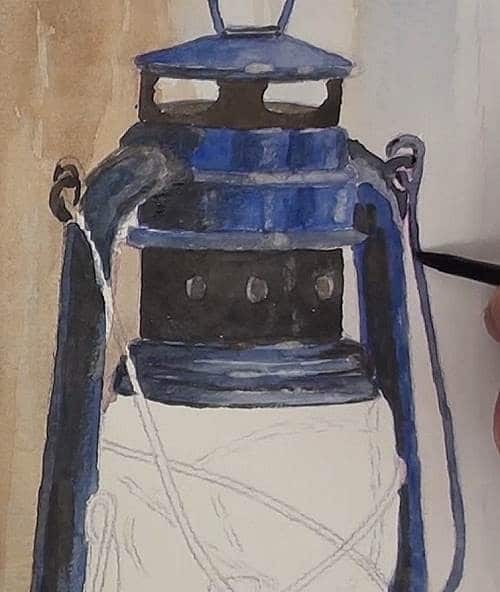
The side brackets, as well as the handle, are painted in with the Pthalo Blue. Add the shadows where necessary, also being careful to not paint over the handle on the left side at this stage.
Paint the glass
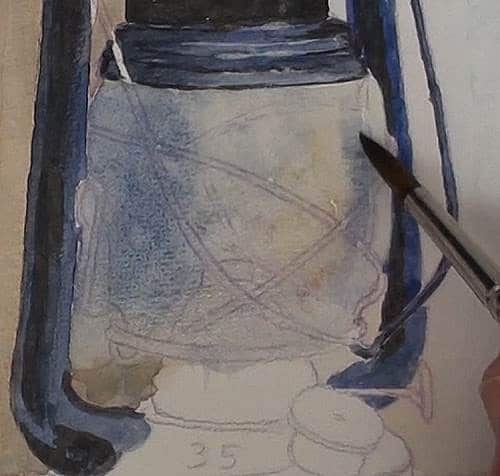
As the glass is transparent, we will see some of the background through it, although slightly blurred. Block in the colors with a wet-in-wet action and drop the colors in where needed. Keep the area wet while some darker blue is added to the sides. Wait until there is no visible shine on the paper. Now we can indicate the wire lattice that is on the other-side of the glass. The paper dampness will add to the slightly blurred effect. When the glass is dry we can now paint the handle in front of the glass. The wire lattice is also painted in. With the dark color, paint the thin shadows.
Paint the lifting lever
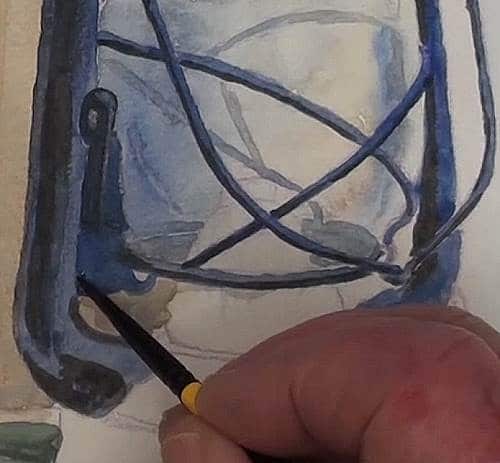
Darken the lever edge at the side of the glass. This is the lifting ring with the lever to the left. Finish off the lower section of the left hand bracket.
Paint the wick mechanism
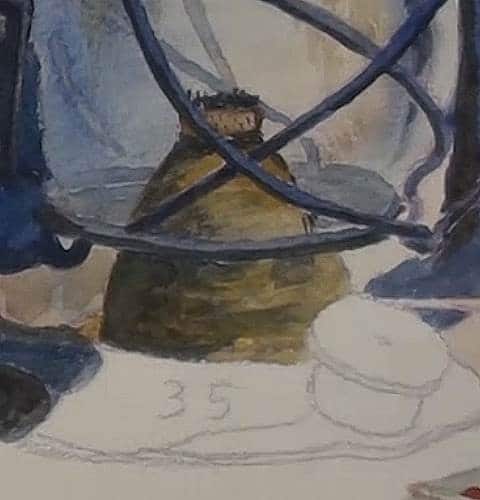
The color for the wick mechanism can be either Raw Sienna or Yellow Ochre and then paint in the shadows with some of the Blue. If it happens to become a slight greenish color, don’t worry – that is only copper oxidation and completely natural. While we are in this area, add the curtain reflections and lift out some highlights on the wire handle. You can also use Chinese White sparingly to achieve the same result.
Paint the lamp canister
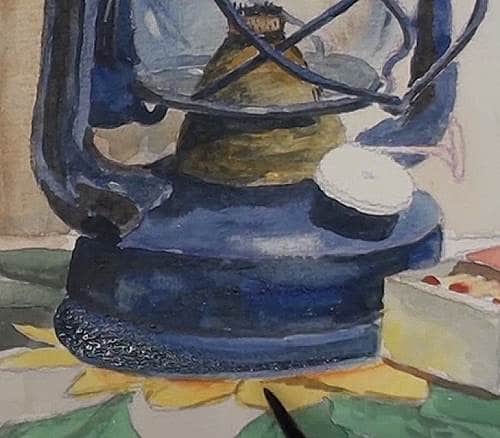
Keep referring to the photograph throughout the whole painting process. The subtle tonal ranges play a huge part in this painting, especially in the darker areas. Lift out the highlight areas and control the range with some tissue or kitchen roll. Continue to carefully build up the density of the tonal ranges of the canister.
Again you can use some Chinese White for the final highlights. This adds to the sparkle effect. Finish off by adding the number, and then a few touch-ups here and there.
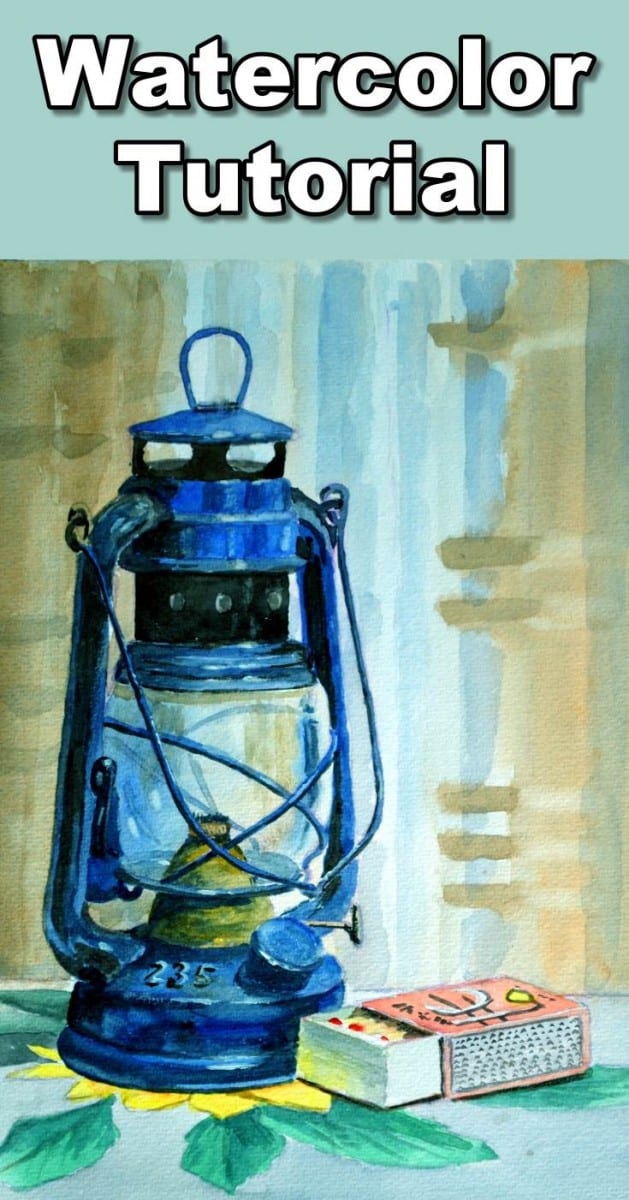
Final painting
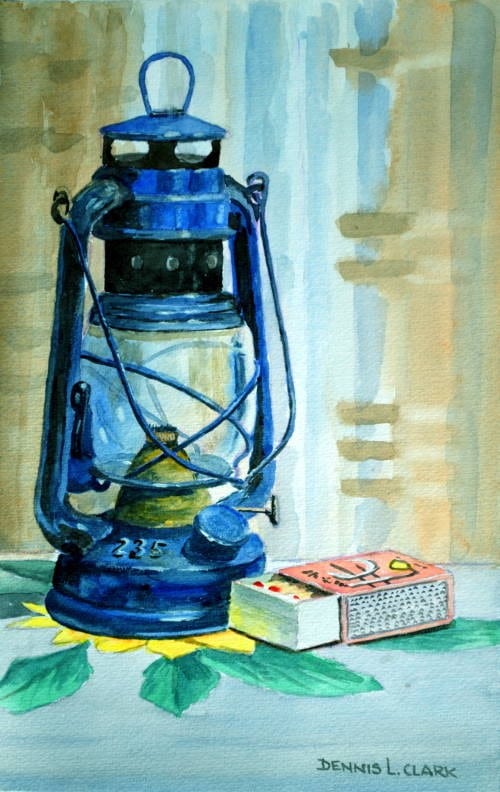
Click the button below to view the real time follow along version of this class:
Pin Me
