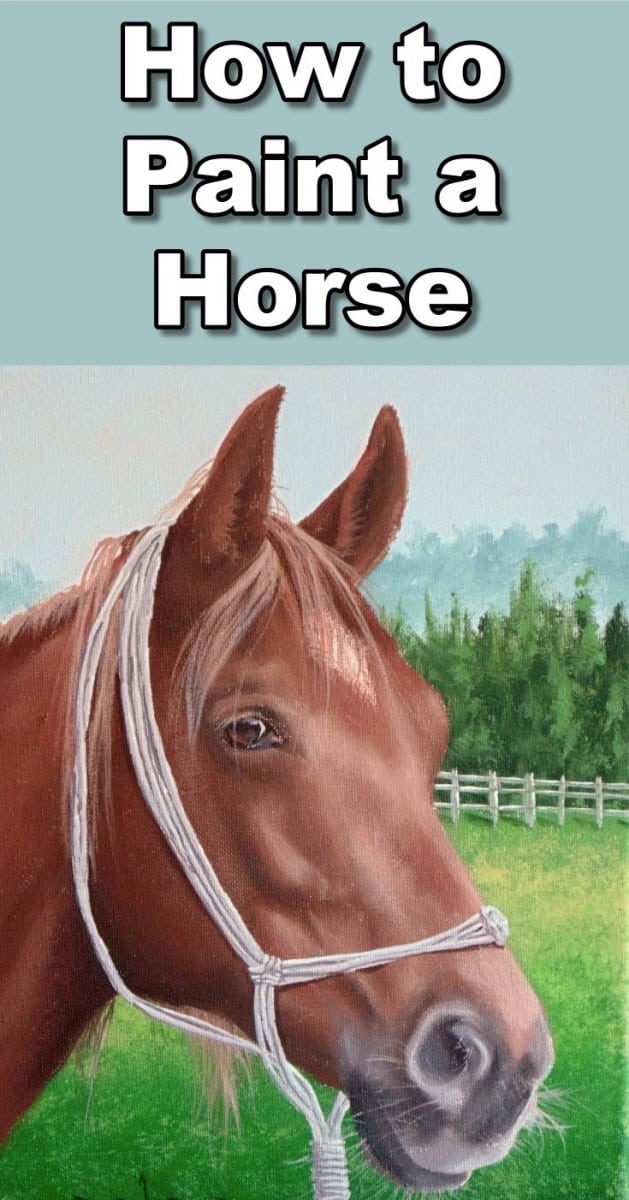
Short Class Video
Class Tutorial
Painting the background
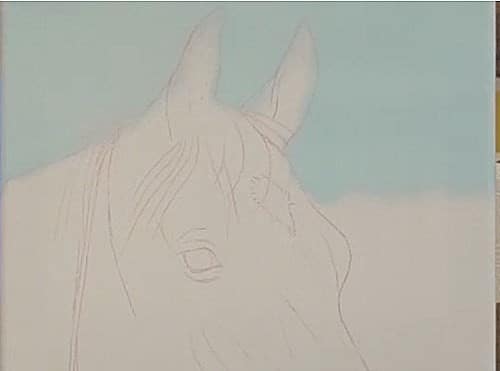
I start by blocking in the sky using white and Cerulean blue.
For the distant trees I add more Cerulean to the sky mixture as well as a touch of Sap Green.
That makes the trees look far away. As they are far away I only create a flat silhouette of the trees with no detail visible.
Painting the foreground trees
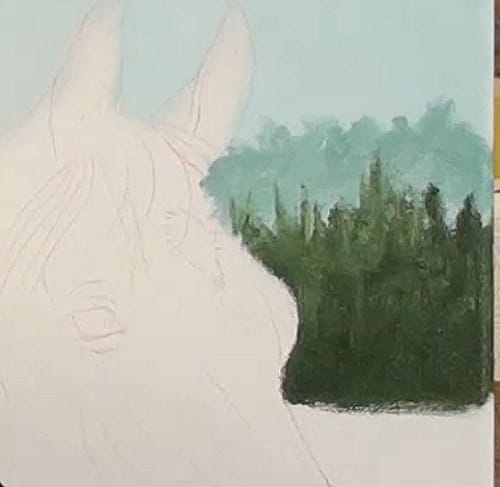
For the foreground trees I create a silhouette using neat sap Green.
Inside that silhouette I create a tree effect by tapping in different contrasts of green.
These can be mixed by adding varying amounts of white and Cadmium Yellow to the Sap Green.
Don’t try to paint too much detail here, the trees are far into the distance.
Painting the grass
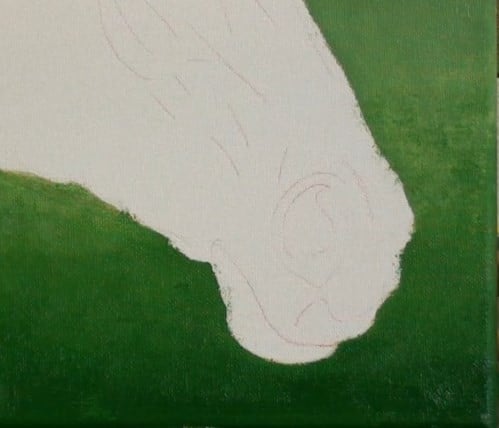
I block in the distant grass using the lightest tree color and gradually add more Sap Green and Cadmium Yellow as I move forward.
This contrast creates a looking in effect which adds a ton of distance to the painting.
Using white and Raw Umber to create a grey, I paint the fence. This is then highlighted using neat white.
To add detail to the grass I mix yellow ochre and white and stab the paint onto the canvas using the tip of a bristle brush.
As I am working in acrylic I use a hair dryer to dry the background before continuing.
Painting the horse
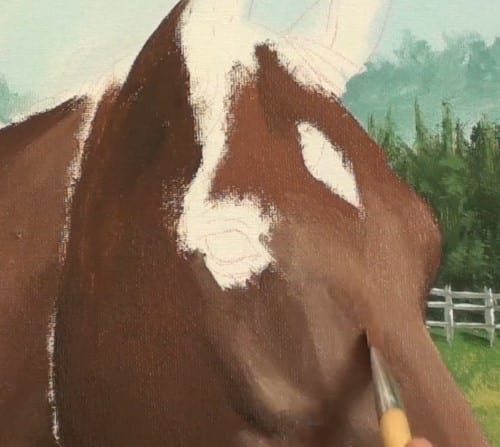
For the horse I will use Burnt Sienna as the base color, then add white to lighten and Raw Amber to darken.
As I am right handed I start by painting the neck then the face. This way I don’t need to work over with paint.
If you are left handed you can paint the face first.
When painting I am not trying to create a hair effect. We are viewing the horse from too far away to see the individual hairs on it’s hide.
We will however strategically add hair details later on which will make it look like the viewer can see individual hairs.
At this stage we are only interested in painting the basic shape of the horse.
To do that I am looking for variations in total value and color.
If you look at my palette you will notice that I have mixed four tonal values ranging from light to dark.
As I look at the area I am painting I will block in the correct total values in their corresponding places.
If I need an in-between tonal value I will use the brush to mix adjacent colors on the palate to get the desired value.
With the basic colors of the horse blocked in I will look to see how these colors blend into each other.
Do they meet in a sharp line, do they fade together quickly or do they fade together slowly?
I will then blend them in accordingly.
As I paint you will notice that I work in one small area at the time.
I block the colors in, blend and move to the next area.
Working like this serve two purposes.
Firstly it breaks the complex horse down into smaller manageable chunks so you never suffer from overwhelm.
Secondly it allows you to always work with wet paint as the area is small enough to complete before the paint dries on you.
The things that will affect the color and tonal values in the area you are painting are:
The color of the horse
The shape of the body, as well as
The direction of the sunlight.
So keep all these in mind as you paint.
Painting the eye
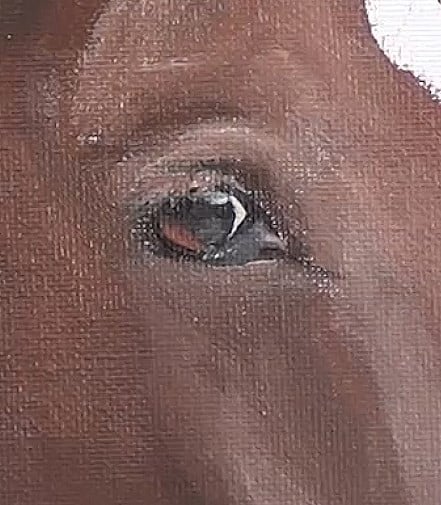
To paint a realistic eye use an almost black and fade it to Burnt Sienna.
That makes the I look round.
Then add reflections to the eye using the sky color, this makes it look moist.
After that carefully paint the various quick shadings around the eye and eyelid using a fine liner.
As you move away from the detailed work around eye switch back to a larger brush.
Painting the nose
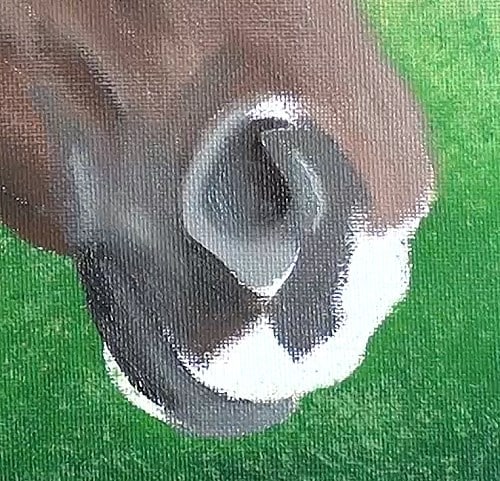
For the nose add French Ultramarine to the darkest hair color. This will give you an almost black color.
Add this to the inside of the nose and fade lighter to the outside by adding white.
This dark to light shading creates the impression that we can look into the nose.
Now continue to add the various shades of Grey around the mouth area to complete the mouth and nose.
Don’t worry about adding the whiskers at this stage, but do you ensure you have a sharp found line separating the top and bottom jaw.
Painting the white spot on the forehead
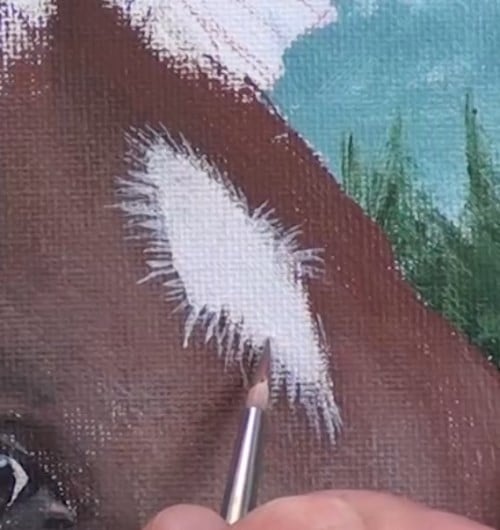
To paint the white spot on the horses forehead use a fine liner to indicate white hairs overlapping the brown hairs.
Then use brown paint to indicate brown hairs overlapping the white.
Lastly add a few grey hairs to suggest detail inside the white area.
Painting the ears
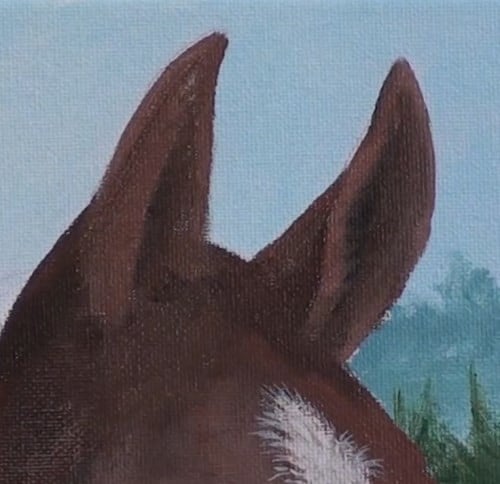
For the ears we will use the same trick as the nose by making the inside of the ear darker than the outside in order to create a looking in effect.
Painting the mane
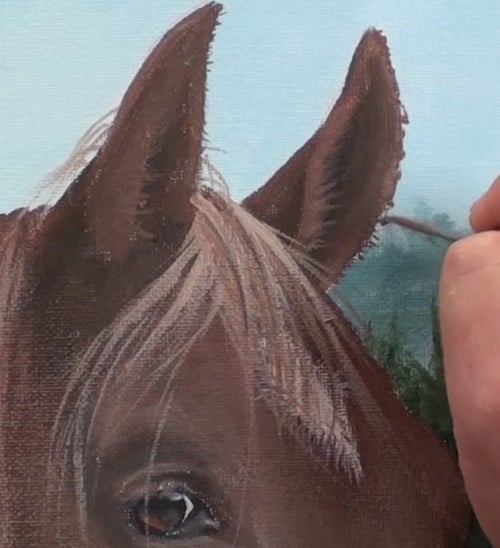
You can now start adding the mane.
I use a bristle brush and a flicking motion to create a mass of hair, paying close attention to the directions of the hair.
With the mass established, I add a few individual hairs using the rigger brush and contrasting hair colors.
For added detail I also add some short hairs around the ears as well as the whiskers around the mouth.
Before moving on to the bridle, I dry the painting using the hairdryer.
Painting the bridal
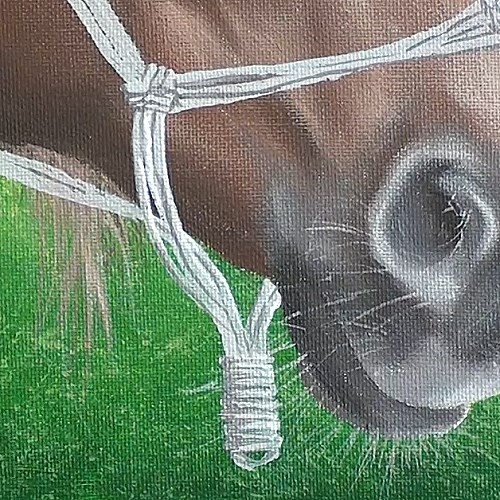
I block in the shape of the bridle using white paint with a touch of Grey added to it.
I then add a darker Grey to one side of each strand of rope to indicate a shadow side, and a highlight on the opposite side of pure white. This makes the rope making up the bridal look 3D.
Final painting
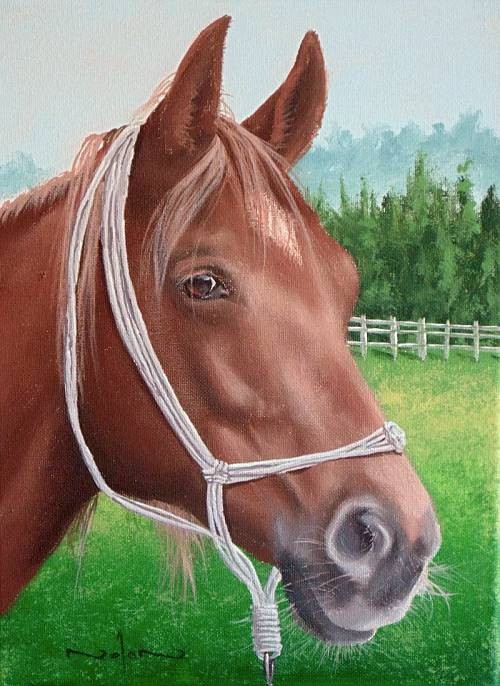
Click the button below to view the real time follow along version of this class:
Pin Me
