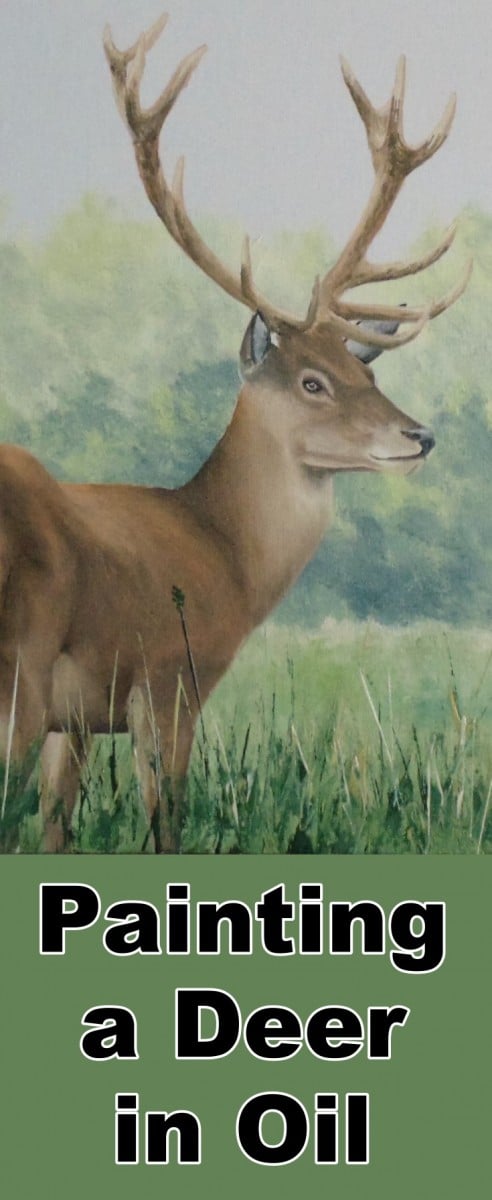
Class Tutorial
Transferring the template to the canvas

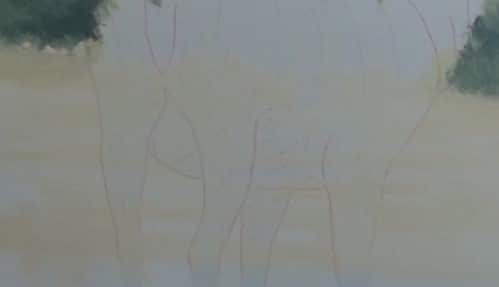
Using your preferred method, transfer the tiled template of the deer onto your canvas. Be sure to include all of the direction lines that you will need for painting the deer's body. Mask off the deer with a product such as Clear Cover so that you can paint the background first.
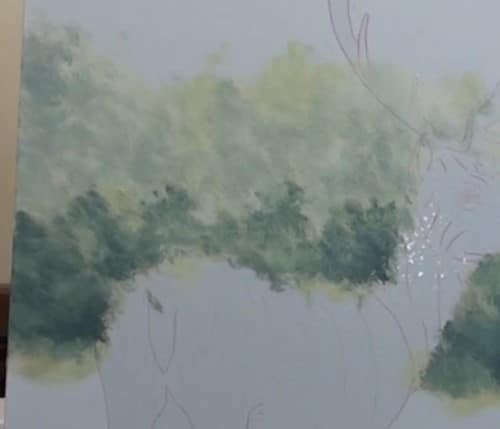
Painting the most distant bushes
Mix the colours that you will need for furthest bushes in the background. Refer to your reference picture to be sure to get the correct colours. You can leave the sky white, as Nolan did, or mix a sky colour to paint it.
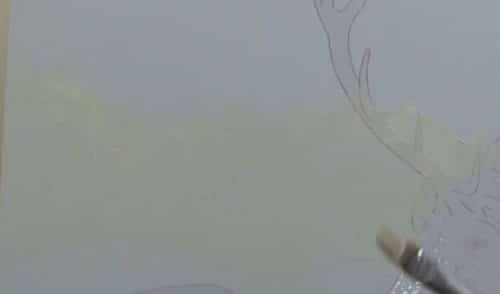
First, brush on the yellowish tree color rather lightly in the appropriate places to create the most distant bushes. Leave some spaces unpainted as they will be covered with darker shades.
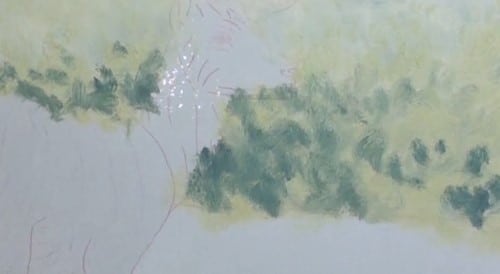
Now add more tree colour to your paint mixture. Note how Nolan uses the opposite colour to take the brightness out of the mix. Brush that paint onto the shadowy parts of the trees.
Create an additional darker tree colour to add extra dimension to the bushes.
Use Nolan's brush technique to blur the tree colours to create that out-of-focus look. Then mix a highlight colour and apply that to the trees. Tap those out-of-focus, too.
Painting the middle bush
Modify your existing colour mixes to reflect the darker tones of the trees in the middle bushes.
To paint these bushes, use the same procedure as you did for the bushes above. Start with the lightest value and work your way to the darkest. Add the highlights and tap out the hard edges to again create the out-of-focus effect.
Use the same procedure on the other side of the painting.
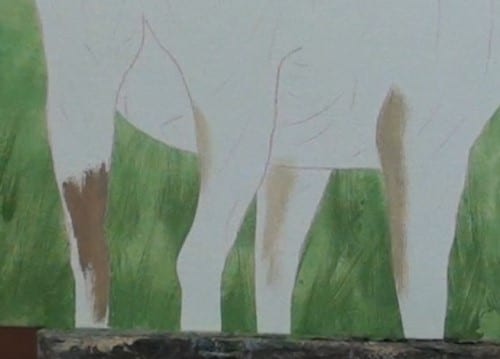
Painting the grass
Mix the colours that you will need for the grass.
Begin dabbing on the light color at the bottom of the treeline. Then add more of that paint in horizontal lines to the bottom of the painting. There is no need to cover all of the underlying canvas as you are going to add more layers with darker values. Add that darker value in between the lighter lines. Add even darker lines, then blend them together.
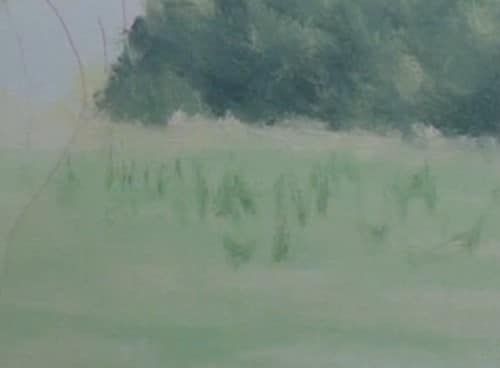
To give the impression of individual blades of grass, use the brush technique that Nolan uses. Add other grassy colours using the same technique. Tap out the hard edges here, too. Go back and add some contrast, using the same technique.
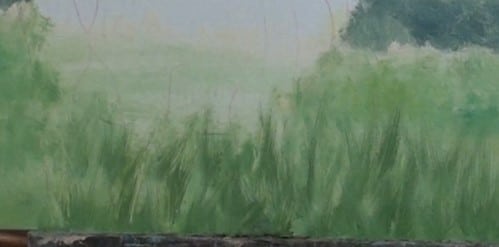
Now, starting from the bottom, flick in some grasses.
Let the painting set for an hour or dry completely. Meanwhile, remove the mask.
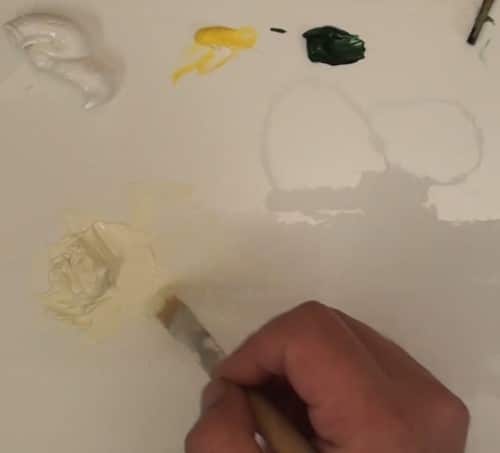
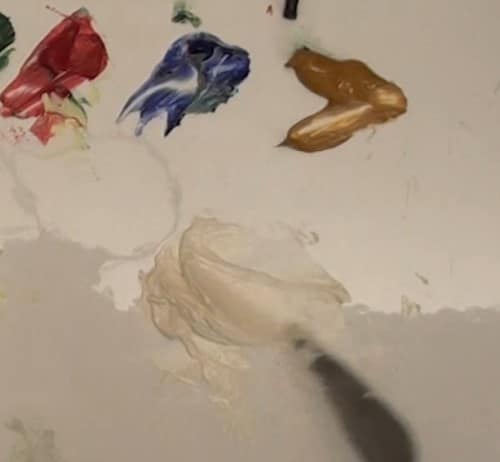
Mixing the paints for the deer
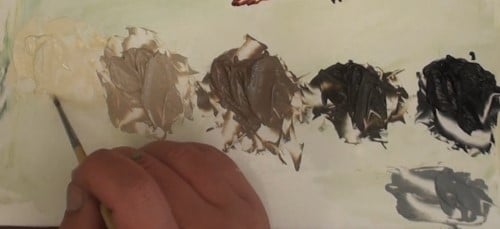
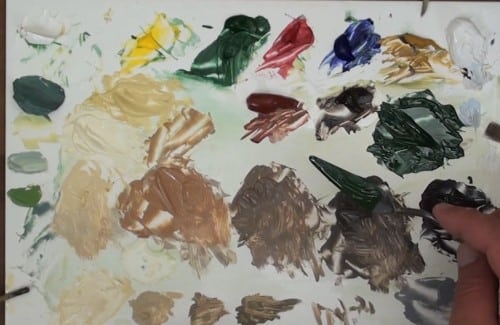
Save whatever colours might remain from painting the background for possible use later in mixes. Mix the colours that you will need for the deer. There will about eight different mixes to get all the colours on the deer.
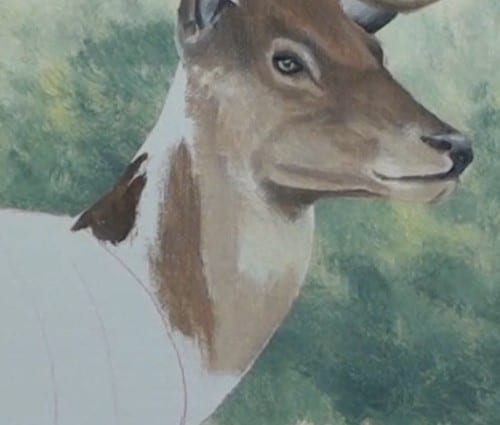
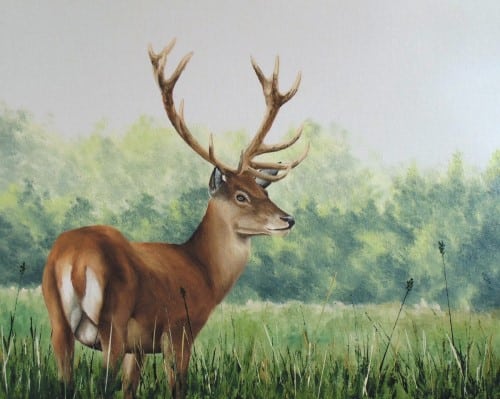
Painting the head
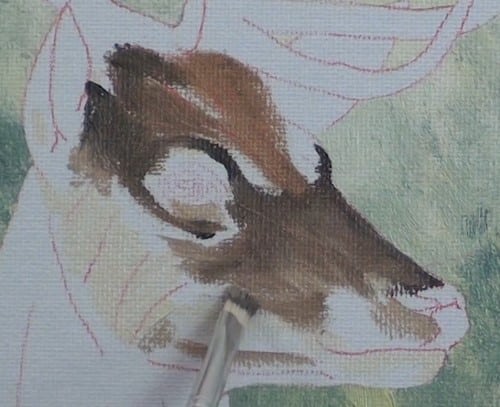
Begin with the lightest colour. Refer to your reference picture as you block in the correct colours in the correct places. After applying the major colours, switch brushes and begin applying the lesser tones. Make impromptu mixes as needed. Blend the colours as you go.
Painting the eye and forehead
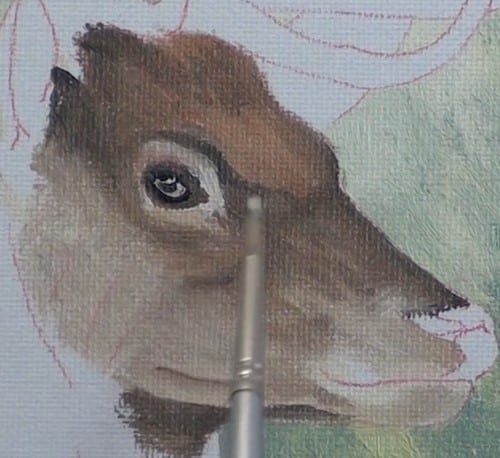
Begin with a narrow brush and paint out from the dark center of the eye. Refer to the reference photo as needed. Blend colours.
Move to the forehead and add in the small details.
Painting the mouth and nose
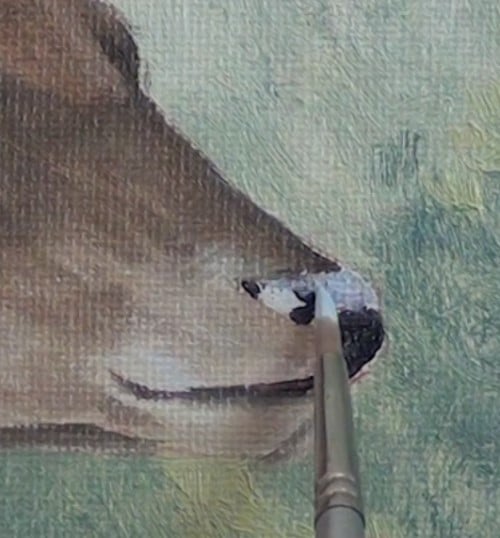
Paint the darkest black for the bottom of the nose, then continue with a lighter tone to finish the nose. Add a touch of sky colour to the mix to paint the reflections. Add the accent and highlight colors.
Paint the remaining details on the face as seen on the reference picture.
Painting the ears
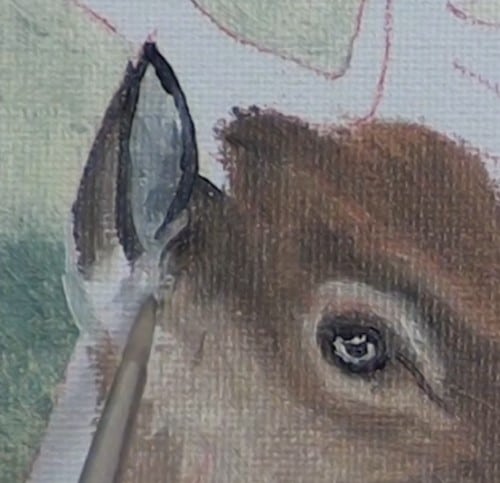
Start by painting the dark of the ear on the left. Add the appropriate colours to the inner ear. Continue putting in the remaining ear details.
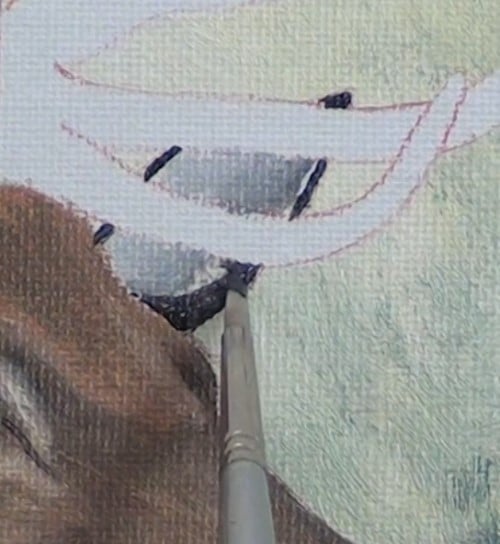
Move to the right ear and paint it according to the reference picture.
Retouch any facial details before moving on.
Painting the antlers
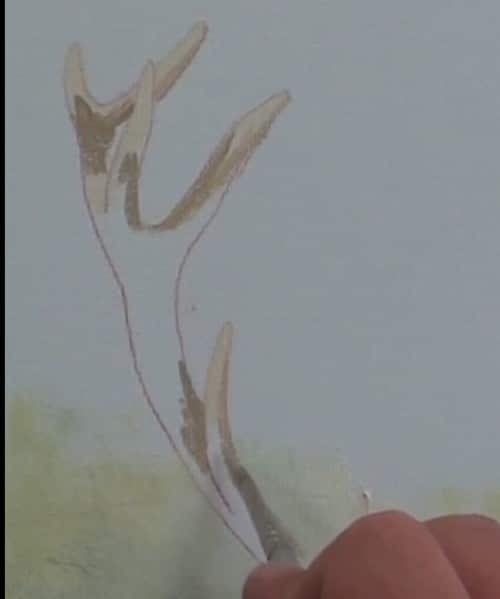
Modify the existing colours for use on the antlers. Add medium to help the paint flow more easily.
Work carefully to get the right colours in the right places to accentuate the rounding of the antlers.
Start at the top of the left antler and apply the lightest tones first. Then add the next darker colour. Blend those first two colours.
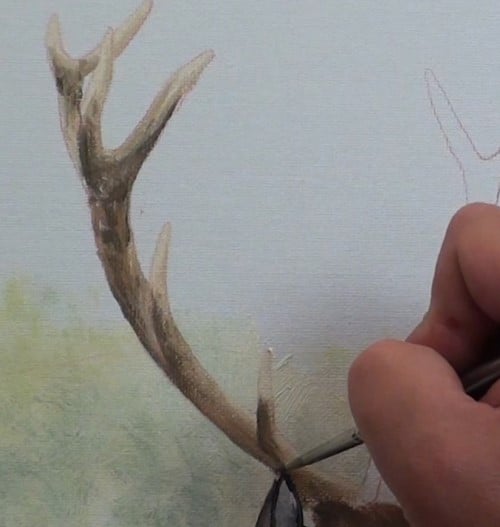
Apply the next darker tone to the remaining area. Blend into the first two colours.
Note that there are markings on the antlers. Finally, add the darkest tone in dips and dashes in appropriate areas. That will give the desired mottled effect.
Go back and touch up the details so that it looks nicely blended. Add a dark contrast along the left side to accentuate the rounding.
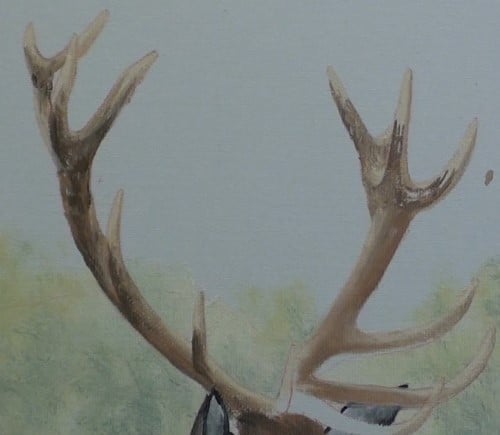
Use the same technique to paint the right antler.
Painting the neck
Begin blocking in the appropriate fur colours in the appropriate areas on the neck. Be sure to follow the direction lines. Due to the colour variations, create impromptu mixes as needed. Blend the colours.
Painting the legs
Because the colours on the legs are most like the mixed colours on your existing palette, paint them next.
Start by placing the lightest colours first, then move to the continuing darker tones. Blend those.
Go back now and look for areas were the tones need minor adjustments to account for muscles, rounding, highlights, shadows, etc.
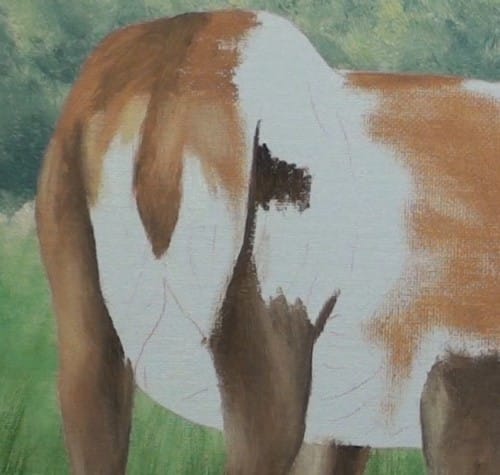
Painting the midsection
Readjust the colours for use on the body of the deer.
Begin by painting the lightest areas first. Work around them carefully to keep them from becoming contaminated with the darker colours.
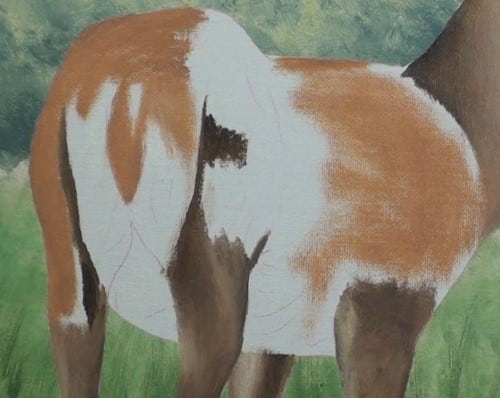
Move next to the top of his backside and begin blocking in the colours as they are on the reference picture. Continue with that method across the body, adding the different tones.
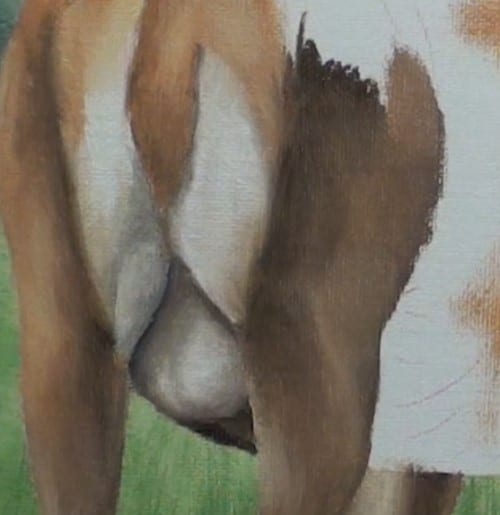
Blend out the farthest leg on the left and add the highlights. Then move to his backside and do the same thing. Add in the impression of hair without actually painting individual hairs.
Add the gray colour to shadow in the white area under his tail. Gently blend the area.

Follow along as Nolan paints the area between the deer's legs.
Block in any of the remaining colours on the midsection. Blend the colors together along the direction lines. Be sure no white canvas remains.
Adding individual grasses
Mix the grassy colours needed to add in at the bottom of the painting. The mixture will need to be thin. Move the easel/canvas to the edge of the table (see Nolan's demonstration).
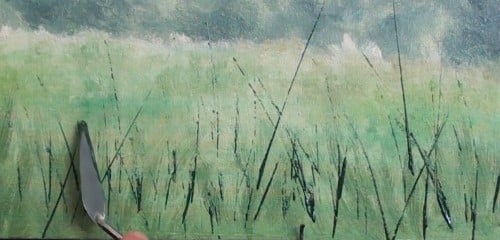
Use your knife to paint in the darkest grasses, varying the length and angles. Do the same with the other lighter grass colours. Finally, add a bit of detail to the tops of random grasses.
Finishing the painting
Once the canvas is covered, stand back and carefully examine every part of the painting against the reference picture. Make any touch-ups needed.
Click the button below to view the real time follow along version of this class:
Pin Me