Short Class Video
Class Tutorial
Painting the background
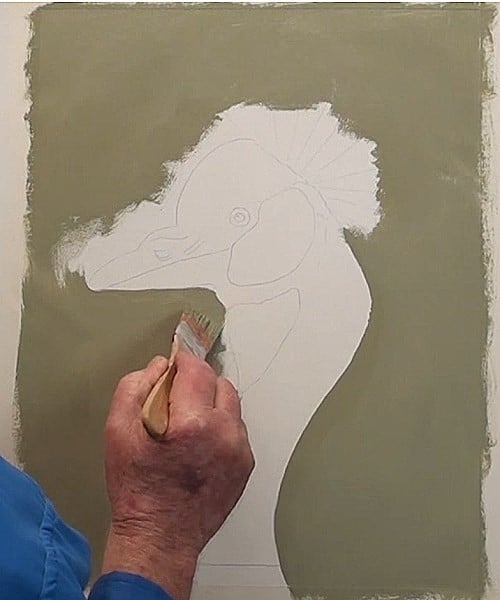
I have chosen a neutral green for the background. Take your time to carefully paint right up to the edge of the template outline.
Painting the face

Paint the areas of the face with Paynes Grey and be careful around the eye area. Because the head is covered with very fine feathers, I'm roughening the top edge with an ½ inch or 12 mm hardware bristle brush.
Fill in the eye area with a medium Blue Grey and then add the shadow at the top and a touch of White to lighten the lower portion. When you have finished this, add the highlight to the eye.
Painting the cheek area
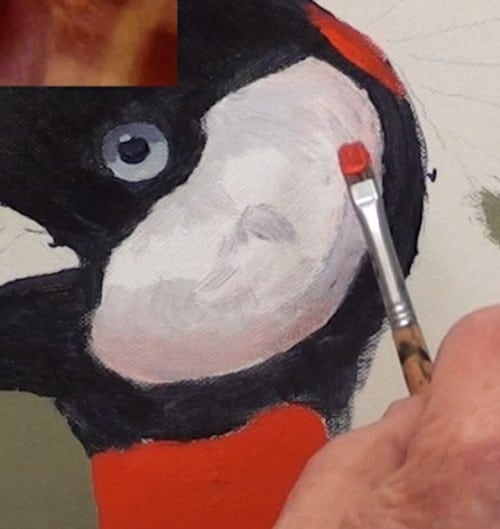
Add White paint to the cheek area and Cadmium Red to the throat, as well as a small section just under the crown. White always reflects its surroundings and we now need to show that the cheek is not flat but has a rounded shape to it.
Painting the beak

Sharpen up the lower edge and fill the upper portion with medium Grey. Once that is done, start adding the reflected areas with touches of white paint and Paynes Grey to bring out the roughness and moulding of the beak. Use a smaller brush for the finer details. Don't rush this area because it is one of the main characteristics of this majestic bird.
Check to see where you need to do some more work, or finishing touches, to the face and beak. Some more highlights and shadows may be necessary to get the 3D effect on the cheek area. Because the head is the focal area of the painting, take as much time as you need to do a good job here.
The lobe is mainly in shadow and we need to blend it into the top section of the throat. Use the flat of the brush for the gentle shading. Some of the red reflects off the bottom of the beak. Just the edge of the lobe catches the sunlight.
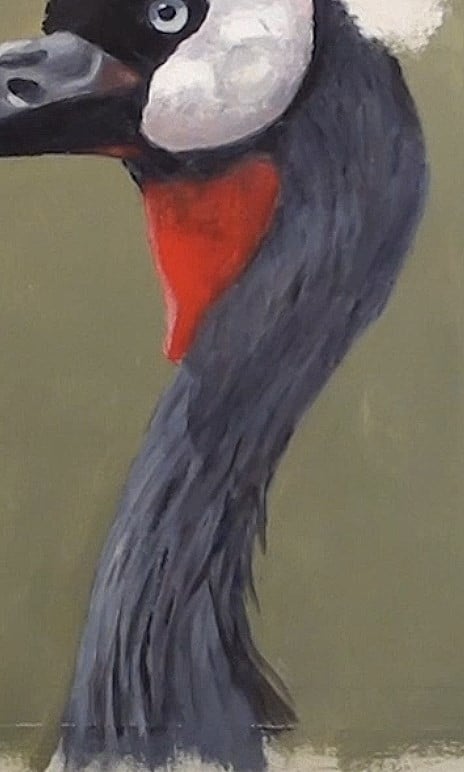
Painting the neck

Block in the neck with a middle tone Grey. Be careful in not going too far out of the neck area, as this will make the neck too thick. The inset here is of a different Crane because it shows off the neck feathers better than my photo does. Notice the crown color reflected onto the neck.
With some white we now need to block in the basic reflections and the feathers. Don't try to do too much detailing here at this stage. We are more interested in the rounding and moulding of the neck in general.
The lower end of the neck consists of some rather long feathers, and it is the shadows that will lift the feathers off the flatness of the board or canvas. Again, don't rush it here. Carefully compare what you are doing against that of the photograph.
Painting the highlights of the neck
This is where you need to take it more slowly. The correct placing of the highlight, in conjunction with the shadow is what gives each feather the 3D look and effect. I'm doing all this with the cutting edge of the flat brush. Some feathers also need to have that windswept look.
Painting the crown

Now for the major part! We first need to block in a background of some toned down Burnt Sienna. Don't make it too light otherwise the spikes will not show up properly. They also spread out into half a sphere, hence the darker shadow painted in. Add a very light covering of Cadmium Yellow over them and then, with a mix of Burnt Umber and Yellow Ochre, paint in these spikes with the edge of a painting knife. Be careful to radiate them all out properly.
Continue the crown with various mixtures of the colors and then adding the highlight with a large mix of Cadmium Yellow or Lemon Yellow. As you progress, add more white to the Yellow for the final brightness at the tips. A few more dark ones are needed for the crown to have the correct amount of tonal ranges.
Final painting

Click the button below to view the real time follow along version of this class:
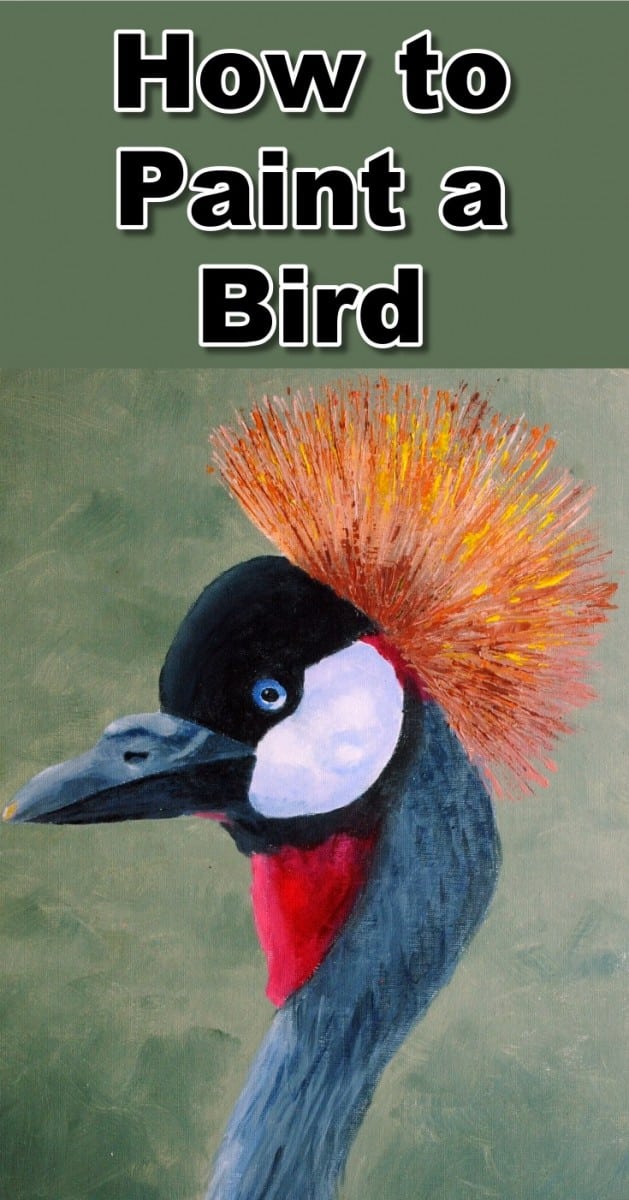
Pin Me