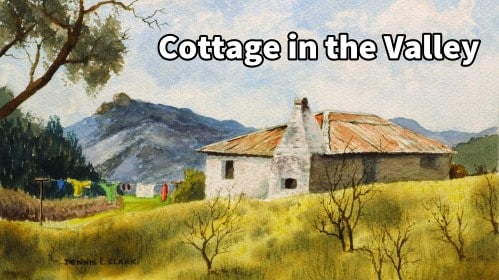
Short Class Video
Class Tutorial
Painting the sky
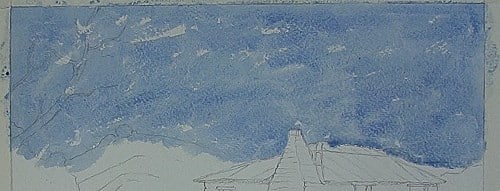
Fill a large brush with Blue paint and just randomly paint, or rather brush, it over the sky area without trying to fill it completely. Now, crumple up a piece of tissue, or Kitchen Roll, and begin dabbing over sections of the sky to bring out the hazy clouds. Don’t worry about the small unpainted sections.
Painting the distant hills
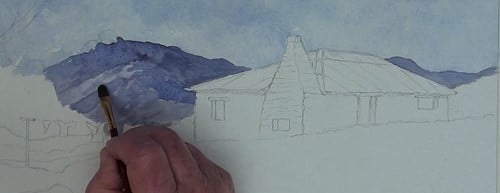
This is a dark mix of Ultramarine Blue and Alizarin Crimson or Cadmium Red. The closer hill is slightly darker on the shadow side of the hill. Lift out the highlights with a tissue. Don’t paint the rocks yet that are on the summit.
Painting tree clumps

The colour for these trees is a mix of Viridian and Burnt Sienna. The tree clump on the left is closer, so indicate some loose leaves against the skyline. A touch of Sienna plots the rocks on the summit.
Start the roof with a light wash of Burnt Sienna.
Now that this area has dried we can now begin to indicate the tree mass a bit better. With a much darker mix, and using the side of a small brush, dab in the impression of the trees and then carefully leave out the top of the clothes line and the clothes.
Painting main tree
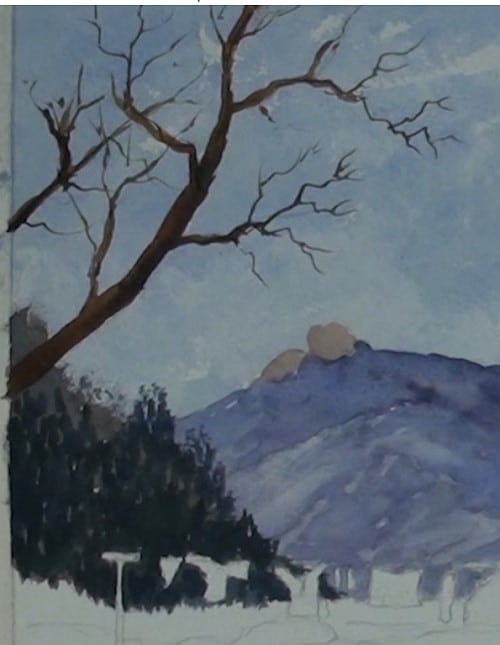
Touch some blue into a strong mix of Burnt Sienna to make up a dark brown. Plot in the two large branches and work in all the secondary branches. All the finer twigs are added in with a #2 Rigger brush. Always paint the twigs away towards their ends which will always be much thinner than their starting points. Another secret, if you can call it that, is to paint them, not in a straight line, but with multiple angles, as this makes them look much more realistic.
Painting the leaves
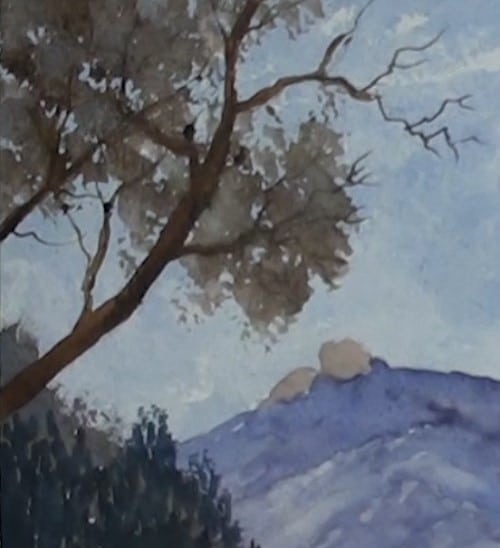
These leaf clumps are dabbed in with a sponge. Leave some sky holes, as well as the dry branch. Notice that this branch is subtly pointing the viewers eye towards the cottage.
Adding detail to the hills
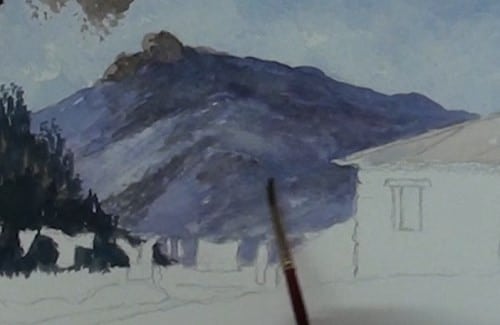
Finish the rocks and add some distant tree clumps on the hill, as well as all the different tonal ranges for interest..
Painting the cottage
First, add some very subtle shading under each of the cloud masses. Don’t overdo this. This very light Sienna adds a little bit of warmth in the clouds.
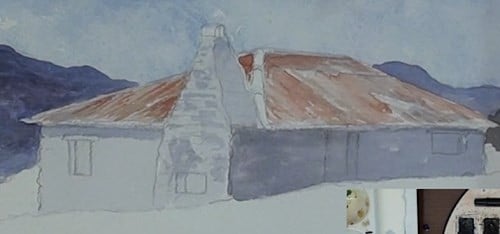
The roof begins with a darker mix of Sienna as this indicates the rust on the roof sheets. Gradually build up the rust colour as you paint along.
The under-painting for the walls is a light blue-grey mix. This wall is not completely in the sun. The other wall in the shade is just a darker blue-grey. Plot the other shadows and we will come back to them later.
Painting the foreground

Add the distant green and the small shrubs on the left. Now lay a nice wet wash of light green over all the foreground and while it is still wet, drop in some of the dark green mix. See how soft the edges have become as they merge. Slowly and carefully build up the darker patches. The left side will be darker because of the tree shadows. The light is coming in from the left. This foreground has long grass so we will not see to many stalks – just the soft mass of the grass tops.
Adding detail to the cottage
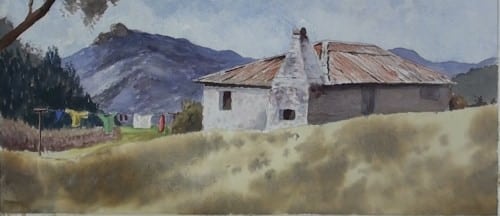
While this grass mass dries we can go over to the cottage and begin some of the detailing. With a couple of small round brushes show the sheet separations and some indication of the corrugations. While painting the dark shadow under the eaves, carry on and glaze some lighter colour over the wall for further contrast. This shows up the lighter wall.
Paint the clothes on the wash line in a variety of colours to brighten up the painting. Use a sharp craft knife to lightly scratch in the washing line itself. Now that the dark wall is dry, add a warm glaze over it.
With the same warm colour mark some onto the lighter wall and chimney. As you do this, work up more subtle details and darker areas to show up the roughness of the walls and chimney. Add the doorway and complete the window and the oven opening. With a small brush, more details are painted on the walls.
The two bushes at each end of the cottage help to bring out the contrast to the walls.
Adding detail to the foreground

The impression of the grass is painted in with an old hog hair brush with splayed hairs, which is ideal for imitating long grass. Just add some in at the dark patches because the strong sunlight has burned out details in the bright light. The grass will be more detailed closer to the viewer.
With a #2 Rigger or Fine Liner, paint in the fruit trees. As mentioned previously always work outwards and thinner and thinner. Also notice how the branches are not straight, but have differing angles. The main tree is painted larger and over the cottage to add distance in the painting.
Final painting
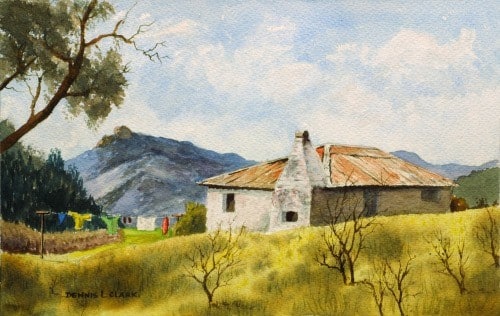
Click the button below to view the real time follow along version of this class:
Pin Me
