Short Class Video
Class Tutorial
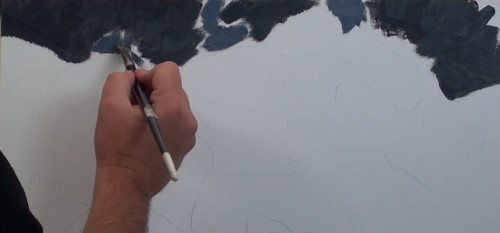
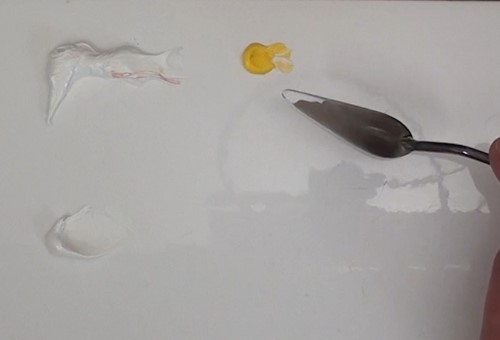
Part 1 - Colour mixing for the Background
Nolan uses a multi-step technique to mix the correct colours:
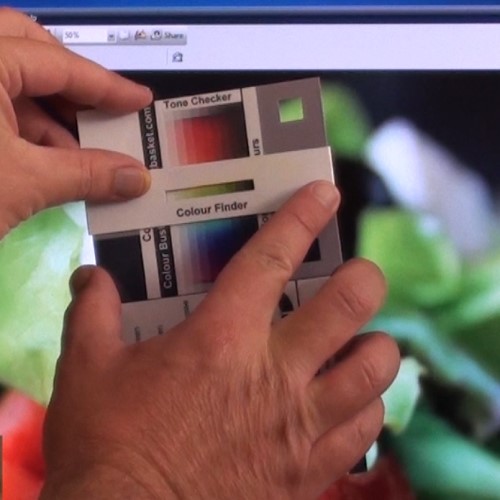
1. Uses the Colour Buster to determine the components of each colour.
2. Blends the colours, gradually adding darker tones to lighter tones. No medium is added at this stage.
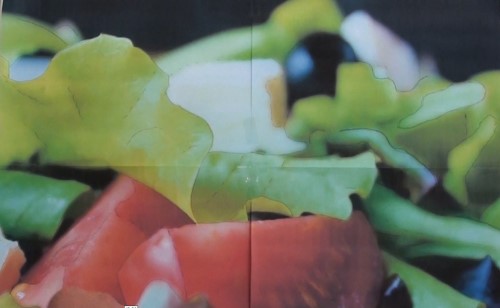
3. Compares colours directly to the picture on the computer screen, rather than comparing colours to a reference photo.
4. Be ready to adjust impromptu colour mixes as needed.
When needed, the colours will be moved from the mixing palette to a painting palette. Medium will be added then if needed.
If paint needs to be saved from one painting session to the next, it can be covered with plastic wrap and moved to the refrigerator.
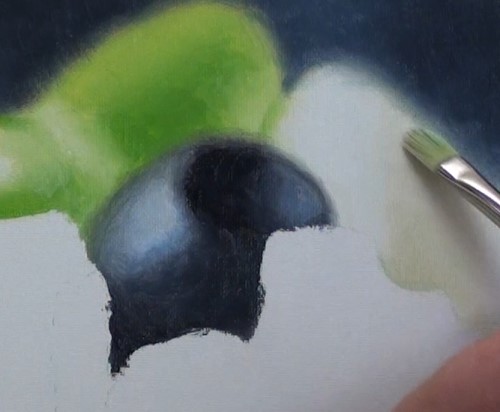
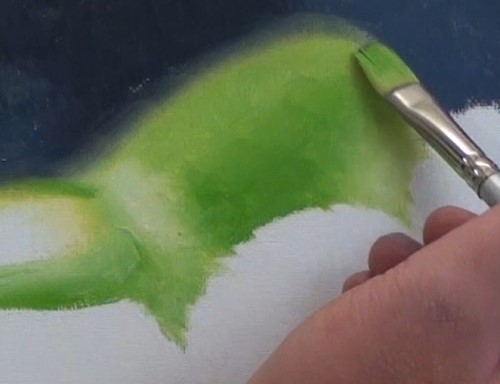
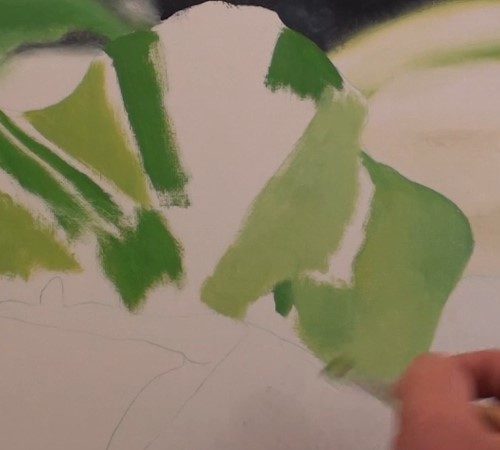
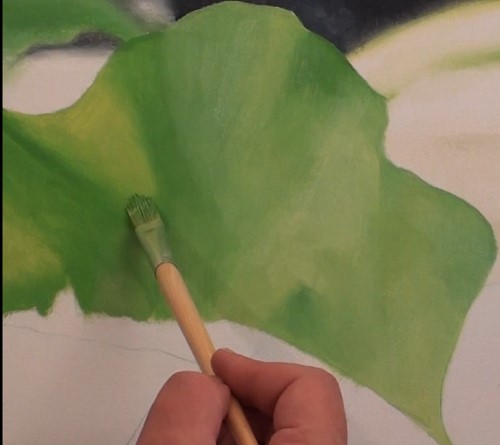
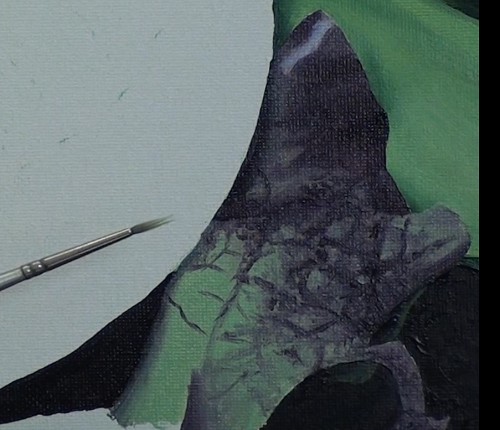
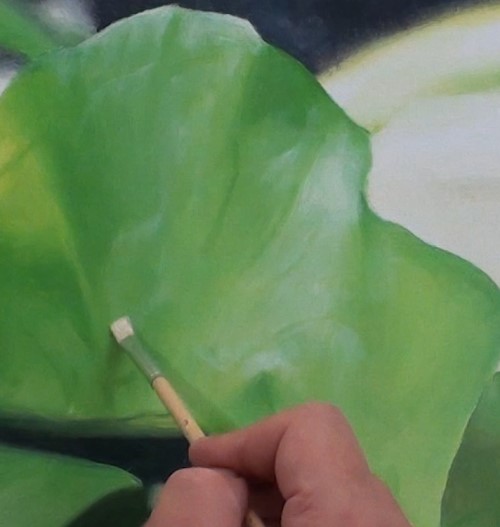
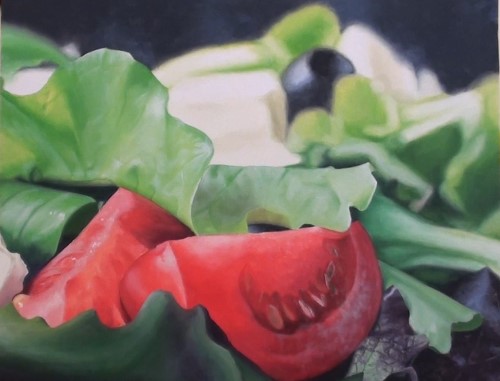
Part 4 - Painting the Background Lettuce, Feta cheese pieces and Olives
Make impromptu mixes as needed for the salad ingredients.
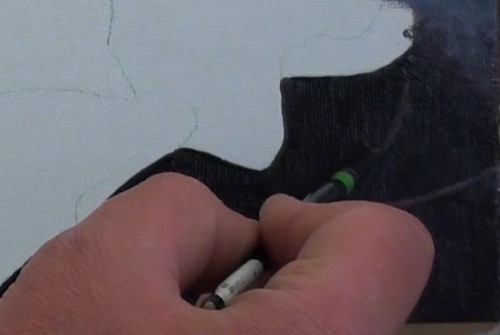
Use the same procedure for each piece, beginning at the back, then moving to the foreground. Start by blocking in the darkest shades, then lighter shades, in the appropriate places one piece at a time. Blend in each to remove sharp lines, keeping them slightly out of focus.
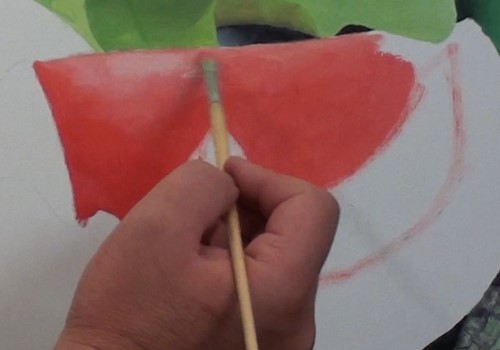
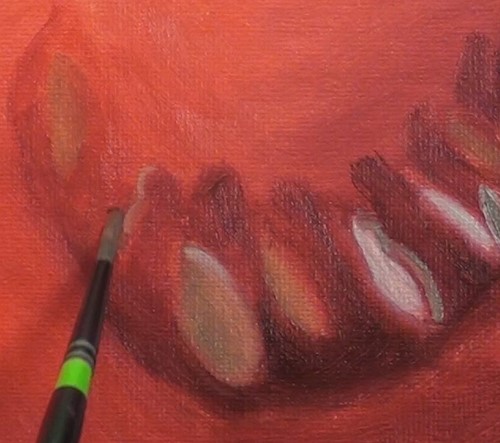
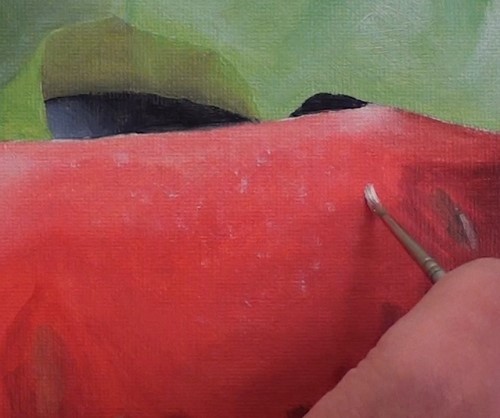
Part 8 - Painting the Tomato Slices
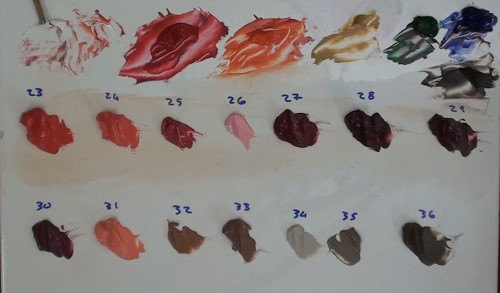
Use a device such as a Colour Buster if necessary to help you determine the exact colours for the tomatoes. Note the extensive palette that Nolan has to achieve the variations of colour in the tomatoes.
At this point, wait several days for the paint to dry.
Begin a applying the correct color washes in the appropriate places, following the contours as you go. Be sure your wash is thin enough for the underlying color to shine through. Go back to be sure you have not missed any of the reflections and highlights on the lettuce, tomato slice, and the seeds.
Click the button below to view the real time follow along version of this class:
Pin Me
