Short Class Video
Class Tutorial
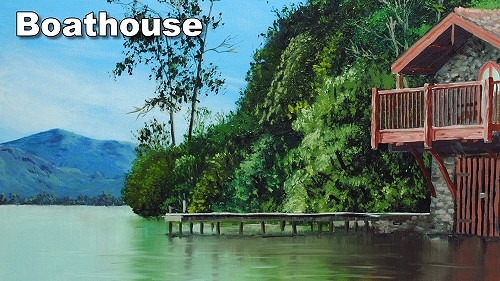
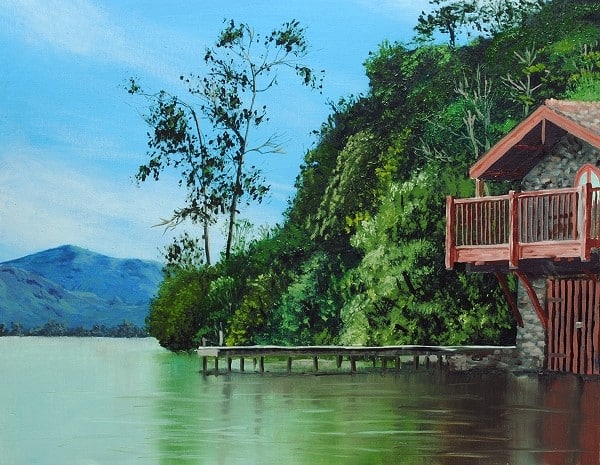
Let’s paint a landscape with a lake and a boathouse.
Painting the Sky
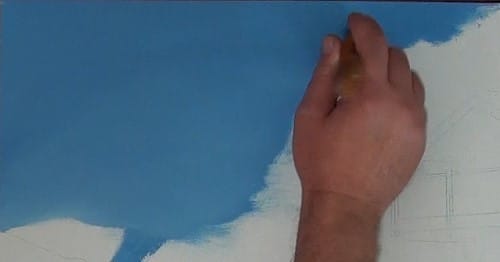
In order to get the effect I want certain areas need a dry underpainting. To speed up the drying process I am going to complete the underpainting in acrylic.
I start by blocking in the sky using Cerulean and white.
To show distance in the sky I add more and more white towards the horizon.
When I get to the silhouette of the hillside I paint over the edge into the hillside area. This will allow me to show the gaps between the leaves later on.
I then use a soft 2 inch brush to even out the blending in the sky. The transition from light to dark blue must be perfectly smooth.
Underpainting the Distant Mountains
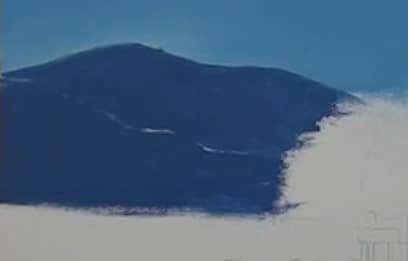
We can then add a touch of red to the dark sky mixture in order to get the distant mountain colour.
There are two mountains so I leave a very thin line of canvas open to show where they meet.
Underpainting the Foreground Hill
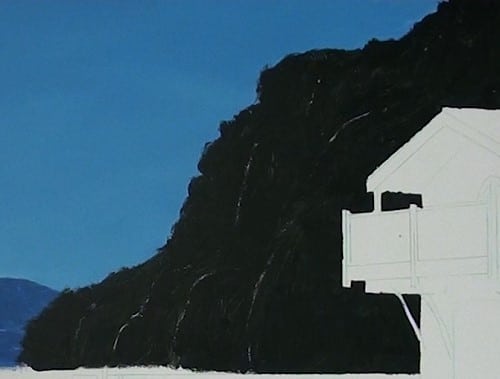
To block in the foreground hill I mix Sap Green into Paynes Grey. I then plot out the silhouette or edge of the various trees by leaving a sliver of canvas showing. Just as we did for the distant mountains.
You can see that I am not too careful where the sky and hill meet. In fact I purposefully add a few overlapping dabs and dashes as this starts to create a natural silhouette.
I am however careful to paint the silhouette of the boathouse nice and crisp. This is a man made object so we need to get things accurate.
Underpainting the Boathouse
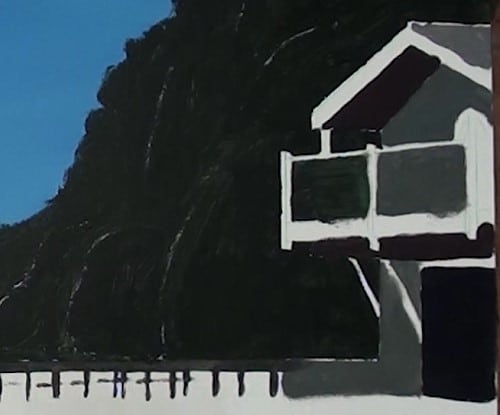
The boat house is built out of stone. To save myself the hassle of trying to paint grouting around each stone later, I am going to block in the entire wall using the grout colour. I’ve mixed the grout colour using Paynes Grey, white and Raw Umber.
There is an area on the balcony where you can see the trees on the hill showing between the balusters is so that is blocked in with the green mixture.
Notice how with just these few, flat blocked in areas we can already picture the final scene.
I then dry the painting with a hair dryer before switching to oil paint for the rest of the painting.
Painting the Clouds
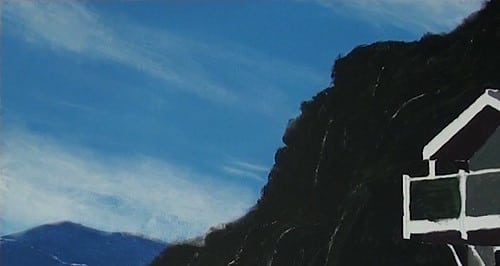
For the clouds I am using Titanium white and a soft filbert brush. I block in the main areas of cloud and then soften their edges to make them fade away. At times when I have very little paint on my brush I work in some of the softer clouds.
Again notice how I have painted the clouds over the silhouette of the mountains.
Now we can move on to the distant mountains.
Painting the Distant Mountains
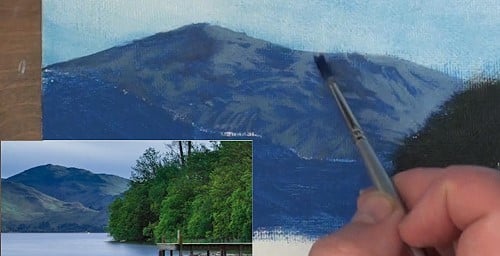
As they are far away we can’t see any detail. What we can however see are the contrasts formed by the highlighted peaks and the shadowed valleys. I use Cerulean, Crimson and white to mix a colour similar to the original blocked in colour. I then give it a grassy look by adding white and Sap Green.
Lastly I thin it down using painting medium so that it will flow off the brush when I paint.
To paint the contours I use a fine liner to block in the main shapes formed by the highlights on the mountain. As I work I use the photo to reference where the main highlights are, but I don’t try to get them exact. Even people that live in the area will not notice if your marks are off here and there.
For the shadows I add more Raw Umber to the mix.
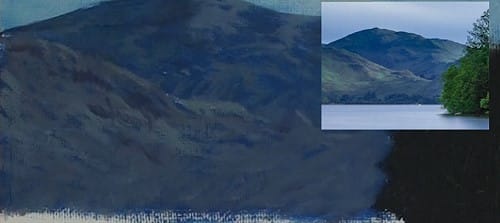
To make the next mountain appear closer I add more Sap Green in the highlight areas as well as Raw Umber in other areas to indicate that we can see more colour. This extra colour makes it appear closer.
As you can see the marks are quite abstract, but when you stand back it looks real.
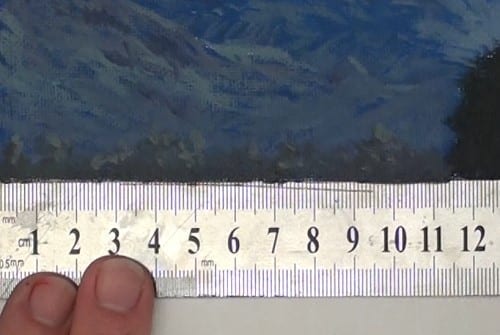
The trees on the distant shoreline are painted using the existing mountain colours. I create a silhouette using the dark colour then dab a few highlights on using the lighter colour.
With the distant objects complete we can move on to the right hand side of the canvas. This area is close to us so we will need to add lots of detail.
Painting the Trees
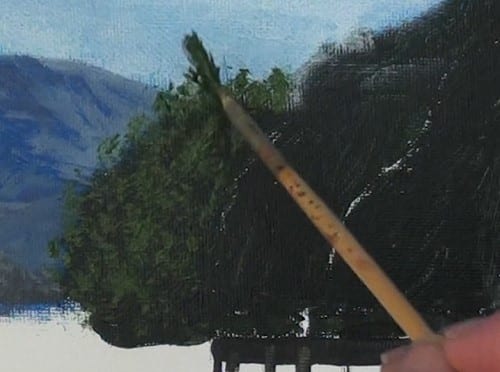
For the bushes and trees I use Sap Green as a base and then add different colours to it to get the highlights, mid tones and shadows; as well as the variations in colour between each tree. I would use colours like cadmium yellow, yellow ochre, raw umber, viridian Green, french ultramarine and white.
As I paint I will start at the darkest area of the tree and paint that in, then I paint in the mid tone colours and lastly the highlight colours.
Today I’m going to use a fan brush to paint the leaves. What is nice about using the fan brush are the random patterns that you can get by using different areas of the brush.
A disadvantage of using the fan brush is that you can quickly get repetitive shapes if you keep using the same area of the brush.
In other words the secret to using the fan brush successfully is to constantly turn the brush in your hand as you paint.
I also like to vary the angle of the brush for the same reason.
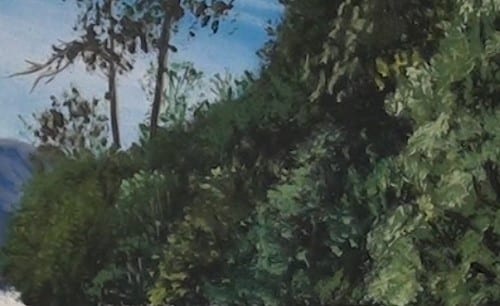
Interestingly, all the lines of canvas we left showing through in this area during the blocking in stage are where the highlights of one tree meet the shadow area of the one next to it.
This contrast is how you show where one tree ends and the other starts. Another way is to vary the colours you use in adjacent trees.
For example you could use more Cadmium Yellow in one tree and then more Yellow Ochre in the one next to it. This difference in colour helps to separate them.
Also notice how I am carefully adding detail to the edges of the trees. You want the edges of your tree to have a random shape and little bits of background showing through the leaves in order to make it look natural. If they make the edges too smooth they won’t to look real.
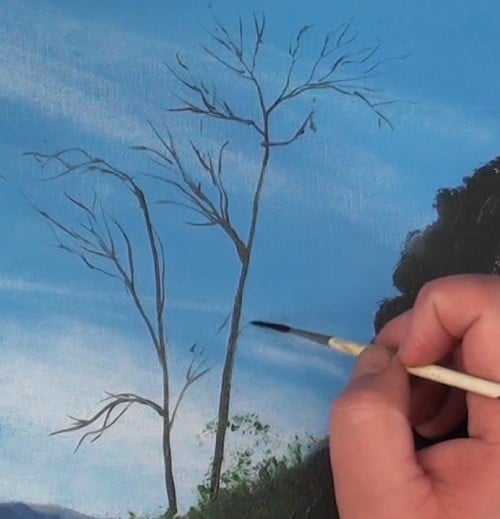
To paint branches I use a Paynes Grey and Raw Umber mix which I thin down to the consistency of an ink. They are then painted in using a rigger brush.
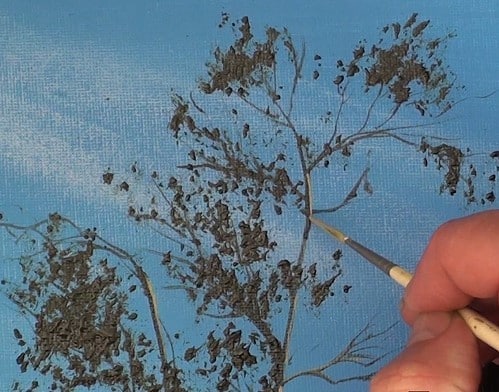
The leaves are also painted using the fan brush, but this time I am a lot more careful to place the clumps of leaves similar to that on the reference photo.
To highlight the branches I simply use a lighter version of the branch colour.
Painting Stone Walls
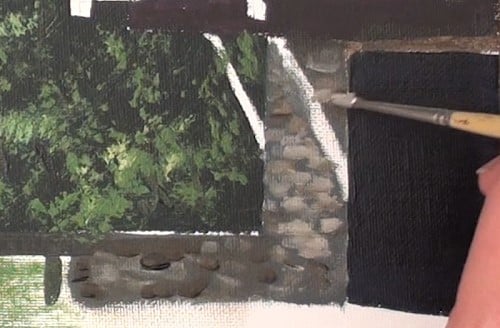
To paint the stone walls of the house I mix up a few different shades of grey using white, Raw Umber and Paynes Grey.
Each stone is a different size and colour so I randomly dab in each one using a different pressure and angle on my fine liner. I also use a different colour every now and again.

I don’t try to add too much detail to the jetty. I highlight the light edges with white and add a few Raw Umber dabs to suggest planks. I also don’t paint the pillars holding up the jetty as we first need to paint the water around and behind them.
Painting Wood
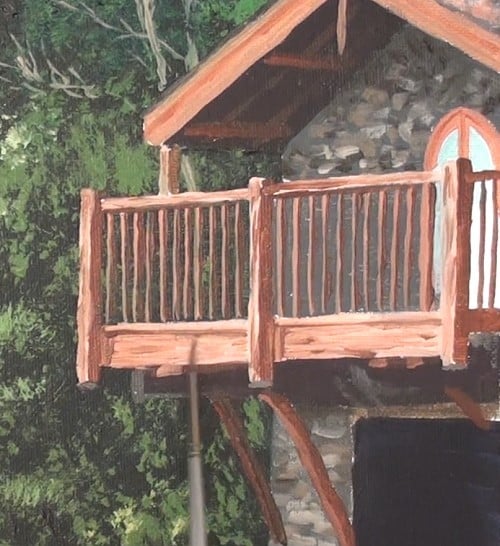
Moving to the roof and the deck, I use different shades of burnt Sienna and raw umber to carefully paint the tiles, fascia and balustrades.
Note how I give each baluster a thin, shadowed edge to indicate it has thickness.
To create a wood effect, I scribble in random lines using a contrasting colour.
The boathouse door is painted in the same way.
Painting Reflective Water
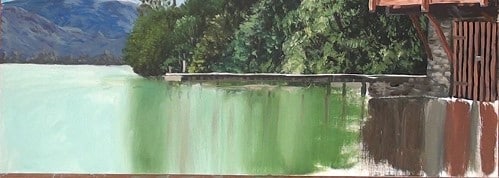
For the water I use Cerulean Blue and white to block in the sky areas, the house colours to block in the house reflections and the jetty colours to block in the jetty reflections. These are all blocked in vertically.
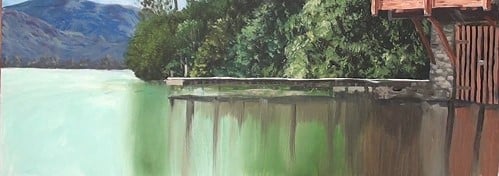
I then use a soft Filbert brush to blend adjacent colours into each other, still using vertical strokes. The vertical strokes make the reflections look out of focus.
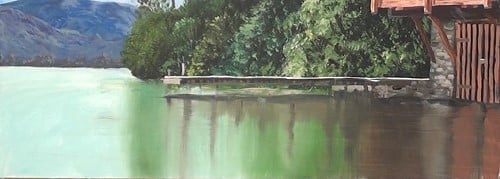
A clean dry brush and horizontal strokes are then used to add movement to the water.

Lastly I use some of the sky colour to add horizontal ripples to the water.
To complete the painting I add the pillars holding up the jetty:
Click the button below to view the real time follow along version of this class:
Pin Me

