Short Class Video
Class Tutorial
Drawing the background
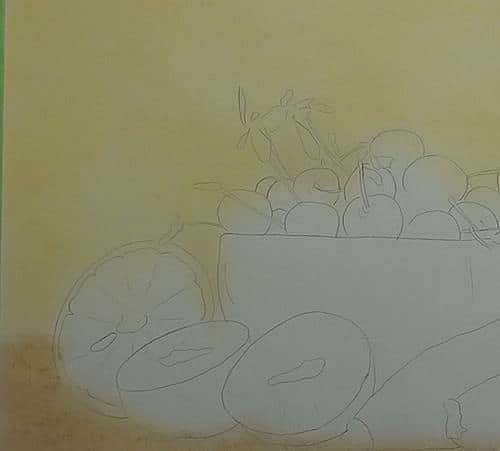
Lightly coat the pastel paper with soft Ochre pastel and smooth it out with a piece of tissue. Do the same to the table section with a soft Brown pastel stick.
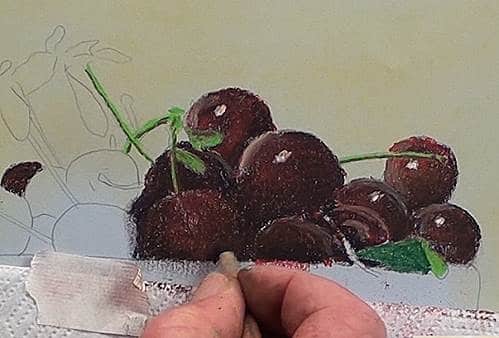
Drawing the cherries
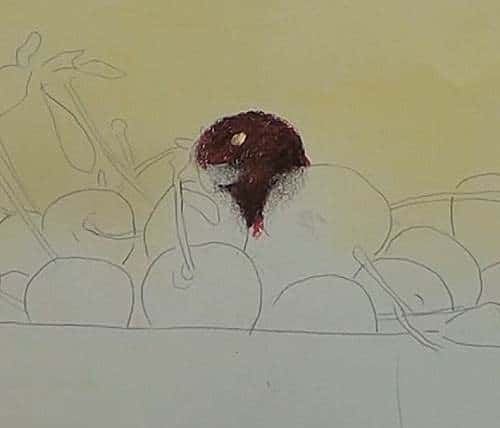
Start painting the cherries with Cadmium Red and go over it with a Black pastel pencil so that it becomes a dark maroon colour. Blend softly with a finger. Add the highlight and the lit up face with a Yellow pastel. The main light for the still life is from the lefthand side.
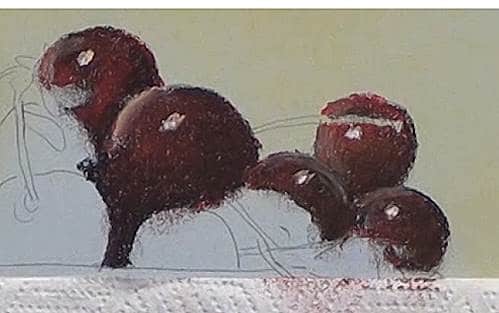
Continue to paint all of the cherries in a similar manner. It is best to paint each cherry individually, starting from the furtherest ones and working forwards the nearest cherries. When the lit-up face is added, it will effectively show and produce an overlap of the one behind it.
Add in the stalks and leaves as you work your way over towards the left of the painting. Notice the piece of Kitchen roll taped to the pastel paper. This prevents most of the falling dust from smearing the paper. Always try to work as clean as possible.
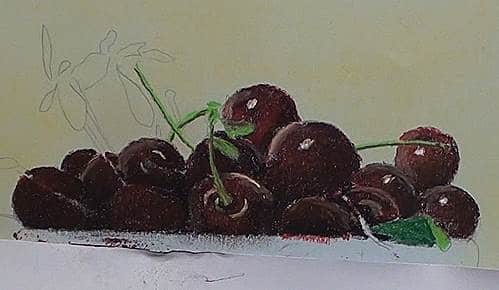
Not all the cherries will have light reflecting off them as some are in the shadow area. Some are also slightly darker than the others. It would look very monotonous if they were all of the same color and tonal range.
Drawing the leaves
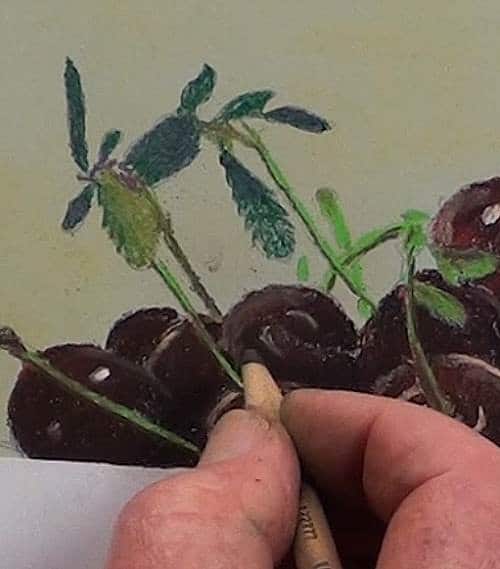
Complete the bunch of leaves and cherry stalks with varying colors of green. Darken up some with a Black pencil and add the shadow side to the stalks.
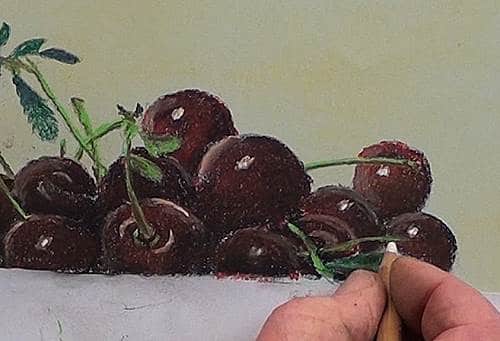
Notice how the loose piece of paper has protected the pastel paper from smudging. Touch up with a White pencil.
Drawing the bowl

Block the bowl in with a bright Yellow Green and do some very subtle shading for the dark and light areas. Smooth out as needed.
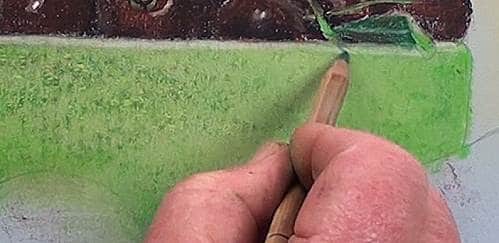
Add the darker green shading by toning down with a Black pencil. Highlight the rim of the bowl and add the yellow reflection caused by the orange. Add the shadow of the overhanging stalk and also the stalk on the left.
Drawing the orange
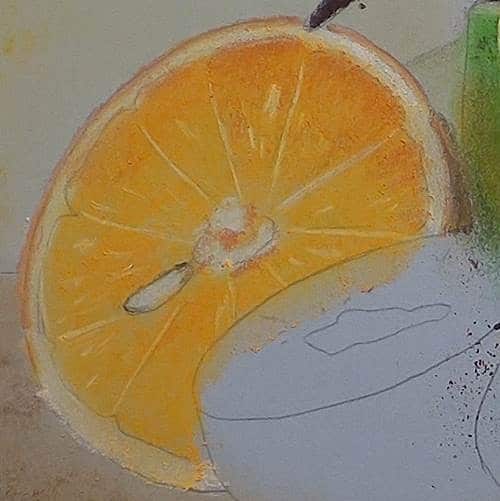
Fill in the rind of the orange with White and the whites in the center of the orange. With a light Orange color fill in the center and smooth down with a finger.
With a darker Orange color, shade the outside section of the orange leaving the center area lighter.
Start marking out the sections with a white pencil and add in the reflections caused by the moisture.
Begin the shading with a Black pencil as well as a Burnt Sienna pencil.
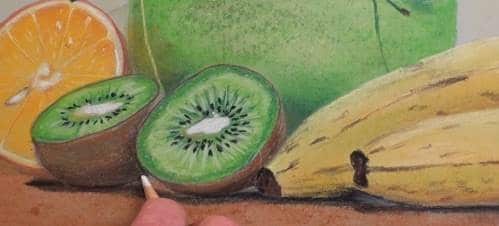
Drawing the kiwi fruit

Lightly block in the peel with a Gray pencil – smooth out and overlay a Burnt Sienna color. Add the thin dark line for the skin or peel thickness. With a dark Green pencil, blend in the inner and outer green rings and mark in all the radial lines. Add the very light areas and lines with a White pencil.
Add all the pips in with a Black pencil
Drawing the bananas
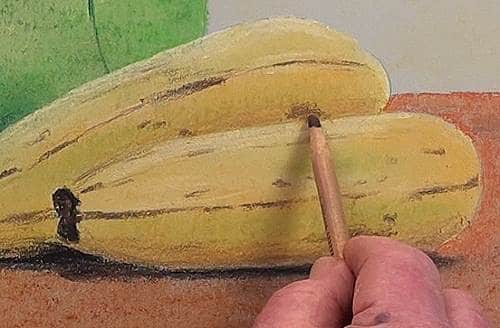
Block the bananas in with light Yellow and smooth out. Use a light Orange for the shadows. to separate the bananas. The bananas in the photo are too new so we are going to add character to them by making them look older.
Add some Green and with a Black pencil start painting in the lines and discolorations, as well as the ends. Add some extra lines with Burnt Sienna.
Drawing the table
Add Burnt Sienna for the table and blend with a piece of tissue. Add the shadows with a dark Blue pencil and go over it again with a Black pencil and blend.
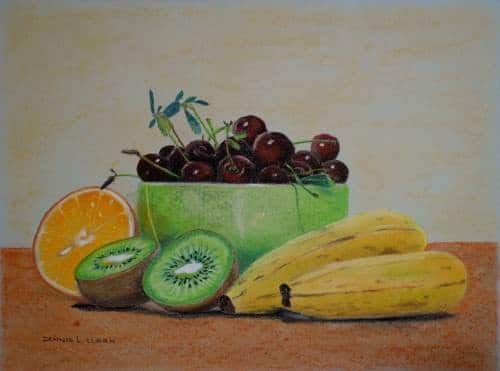
Final drawing
Click the button below to view the real time follow along version of this class:
Pin Me