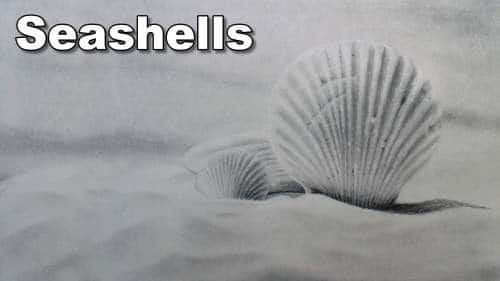
Short Class Video
Class Tutorial
Drawing the background
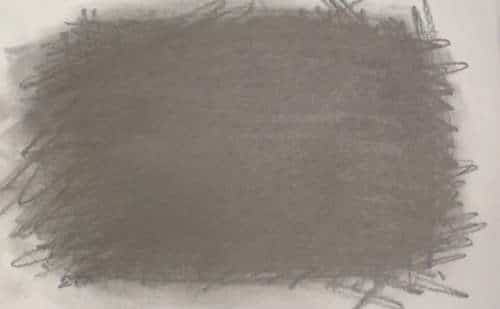
Take a scrap piece of paper and cover it with graphite from a 6B pencil. Rub a soft cloth over the surface to pick up some of the graphite.
We are now going to use the cloth to draw with. Start by shading in the background. As you can see there isn’t any detail, just a few shadings.
Drawing the sand-like effect
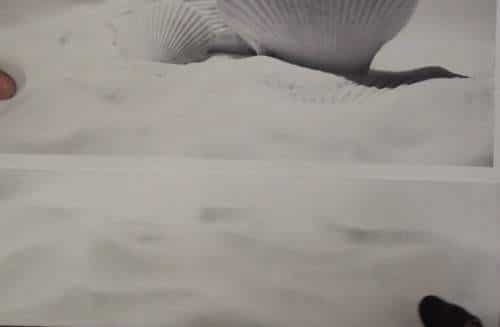
We can now also shade in the sand in the foreground. Put down a line and then often it towards the bottom of the page. By adding several of these lines at random places we create the illusion of the sea sand.
Drawing the basic outline of the shell
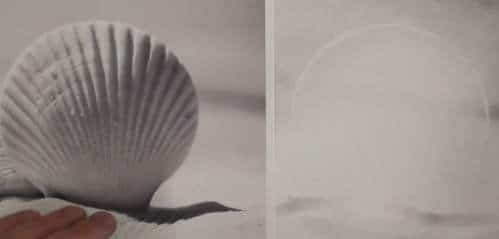
Now use an eraser to plot the shape of the large shell and use your cloth to get the basic shading in place. Do the same with the two smaller shells. We are just trying to establish their shape and position at this point.
Drawing the shading to form each rib
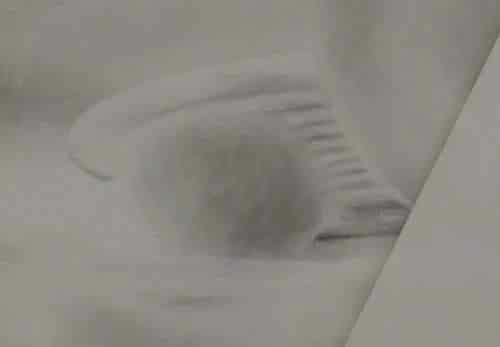
Now we will alternate between the eraser and the pencil to complete each shell. Vary the pressure on the eraser and pencil to create the shading formed by each rib. What you want to look out for is how quickly or slowly each rib fades lighter or darker. Then you also want to compare the tonal values to get a match.
Start adding shading to the seashells
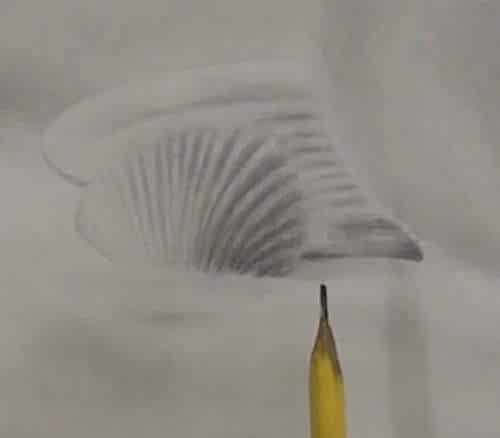
This front shell is curved so get each rib lighter and lighter going to the left to make it look curved and indicate the sun is coming from the left. Make the area underneath the back shell ready dark to create a looking in effect.
Now lets move to the large shell, this one is the star of show so we will need to add more detail here and we will do this gradually. So start with the basics by getting the overall tonal value correct. You want the shell to look curved and its shape to be accurate.
Drawing the big ribbed shadings
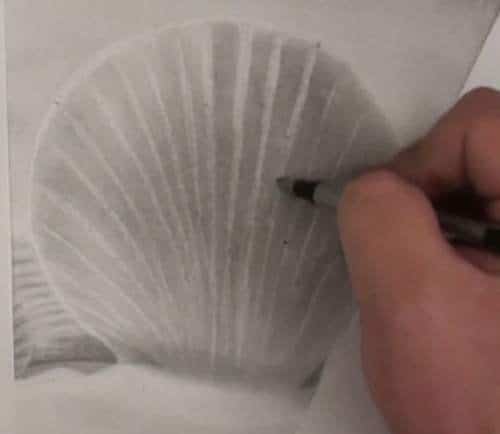
The next most important detail is getting the ribs shaded in. Use your eraser to plot out the ribs. What is important here is to get the directions of these ribs correct. What is not important is getting each rib in the correct place. In other words the amount of ribs your shell will have is probably going to en up being different to the shell on the photo.
Drawing the kneaded eraser
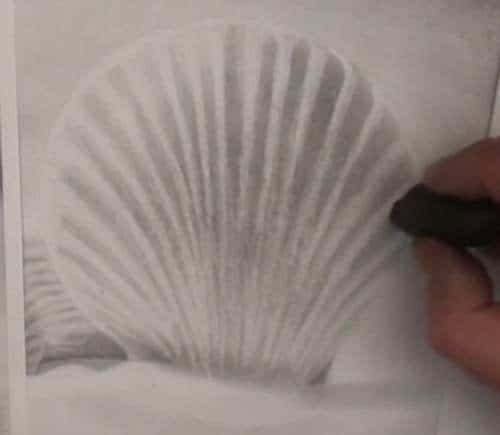
Start with soft thin lines and then gradually lighten and widen them. If it starts broad and bright and then tapers darker and thinner on the photo then do the same on your drawing. I am using a pencil shaped eraser, you can also use a kneaded eraser, or even a regular eraser.
Refining the shadings on the seashells
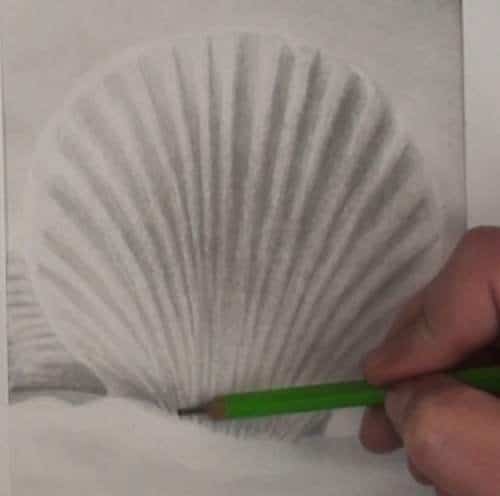
With the highlights sorted you can use pencils to adjust and fine tune the valleys between each rib. Because the sun is coming from the left each valley will be darker on the left and lighter on the right.
The bottom area is in shadow so you can go quite dark there.
At the moment we have a perfect shell. Lets give it some character by adding dings and dents caused by tumbling around in the sea.
Adding some scratches to the seashells
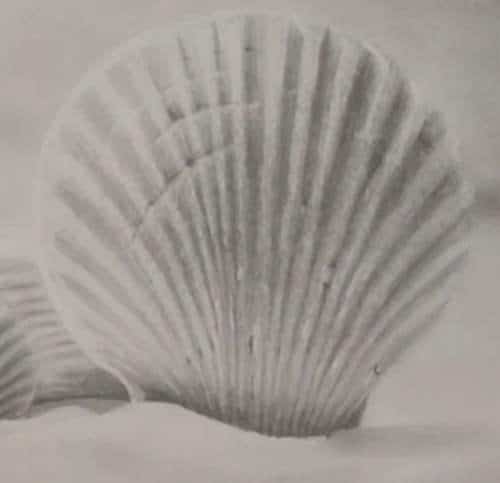
The most prominent of these are the scratches. To draw them you need to notice that each scratch forms its own highlight and shadow so lift out the highlights and shade in the shadows. Now lets lift out and draw in a few more pock marks. And ensure the edge of the shell is well defined.
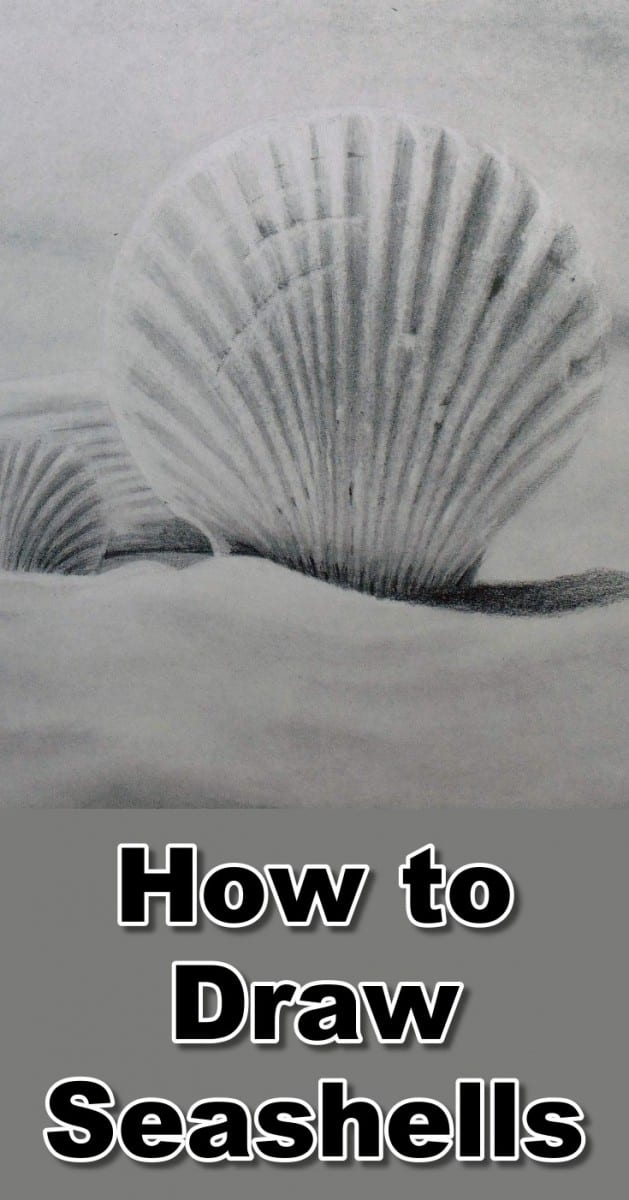
Lastly we can add the shadow cast by the shell onto the sea sand. This is darker against the shell and fades lighter to the right. And with that we have a beautiful shell drawing.
Final drawing
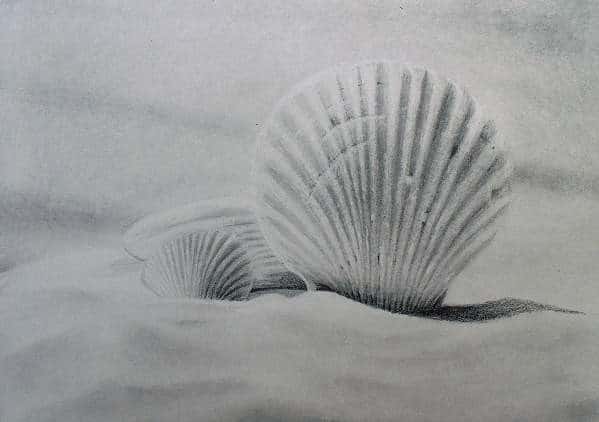
Click the button below to view the real time follow along version of this class:
Pin Me
