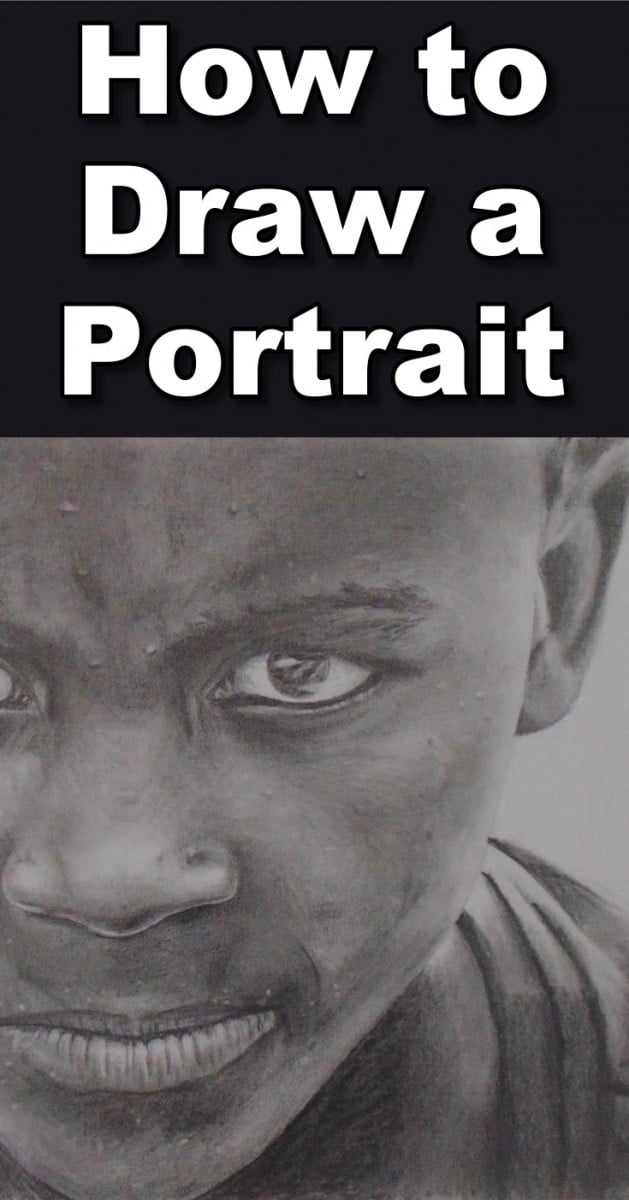
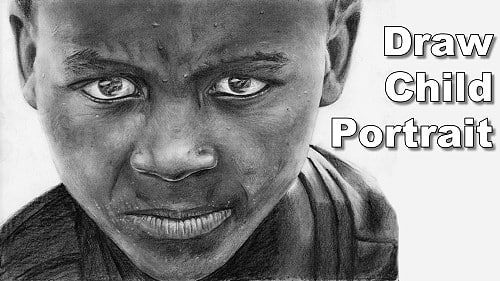
Short Class Video
Class Tutorial
Drawing the basic shape of the face
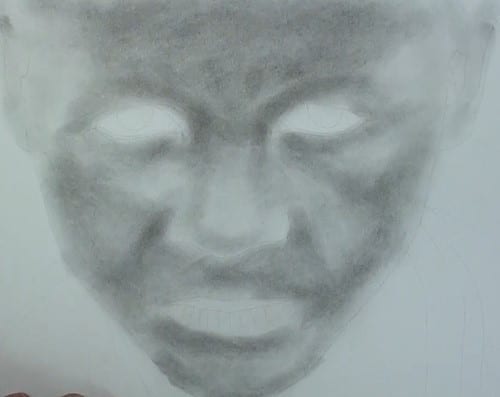
Today we will draw the portrait of a little boy on the playground who is angry at his friends.
I use a graphite filled cloth to quickly build up the basic tonal values on the face.
I don’t care about the detail at this point, all I am interested in is establishing the major contrasts around the main features, as well as laying in the basic skin tone of the portrait.
This step lays the foundation for the detailed work to come.
For areas where the cloth and finger are too large, I dip an ear bud in graphite powder and continue to draw using that.
The Q-tip allows me to even start establishing a few basic shadings here and there.
I build the contrast in my portraits up in layers so as I lay one layer of graphite over the other, the darks get darker and the light areas appear lighter.
I build up the contrast in the skin area until they are almost complete.
I then move over to using my pencils and start adding detail to the drawing.
At this point I’m still only concentrating on establishing basic shadings.
Drawing the detail to the face
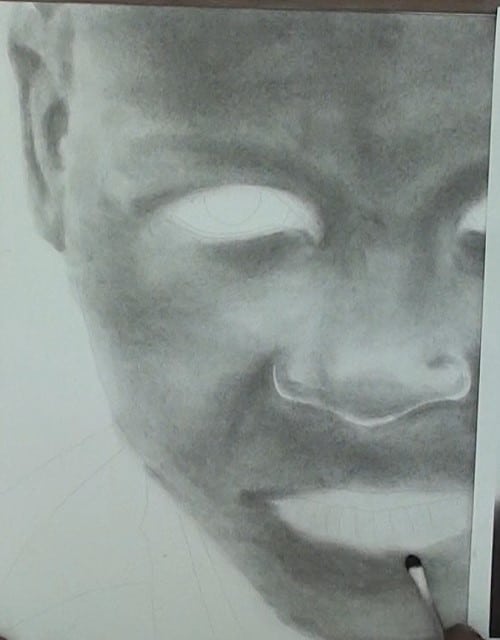
I will choose one small area on the face and work on getting the total values correct in that area.
I’m looking for the shape formed by the tonal value, the direction of the shape as well as the transitions between the various shapes.
I ask myself does the one shape stop in a line, or is there a smooth transition between adjacent shapes?
Is that transition quick or slow, or even quick in one area and slow in another?
Getting these elements and transitions correct is critical to creating the correct shape of the face.
At this stage of the drawing you want to stand back and look at your drawing from a distance often.
Standing back allows you to spot the major contrast changes in the face better.
As I work you will see that I’m constantly changing my pencil to match the total value in that area.
2H or H for lighter areas. HB or 2B for mid tonal values and 4B TO 8B for the darkest values.
If I need to lighten an area I will use either my pen shaped eraser or my kneaded eraser.
Drawing the eyes
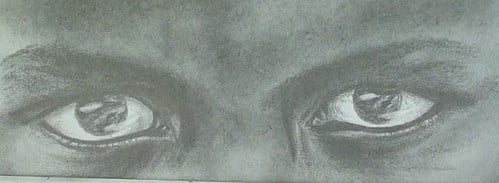
For the eyes I add a shading to the white of the eye to indicate the eyeball is round.
I ensure that the iris is perfectly round, even using my artist’s licence to show that if required.
This boy’s eyes are very dark so I concentrate on showing the reflections in the eyes instead of trying to draw the details of the eye.
Drawing the forehead and eyebrows
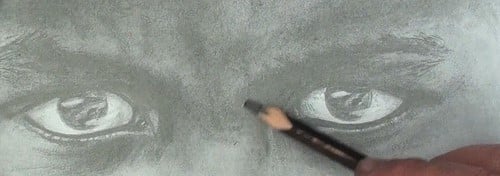
I then move to the eyebrows and the forehead.
The boy is angry so has a frown which we need to draw. You do this by indicating that quick total value changes as the skin bunches together from the frown.
To add detail to the cheek I concentrate on adding all the little imperfections and variations in total value.
Adding detail to the nose
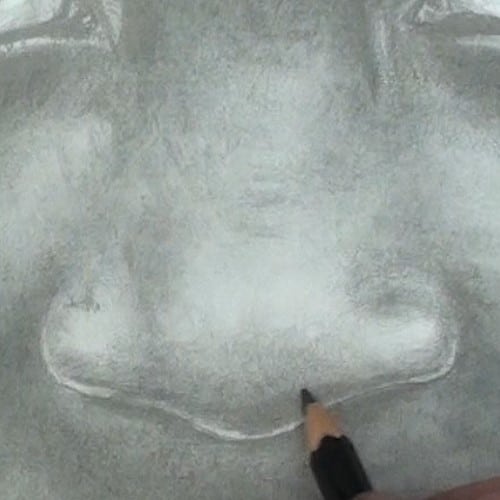
With a nose I add the shadows underneath the nostrils as that makes the nose protrude off the face.
The shadings at the tip of the nose and nostrils define the shape of the nose so I spend quite a bit of time insuring the shapes and tonal values are correct.
Drawing the lips and mouth
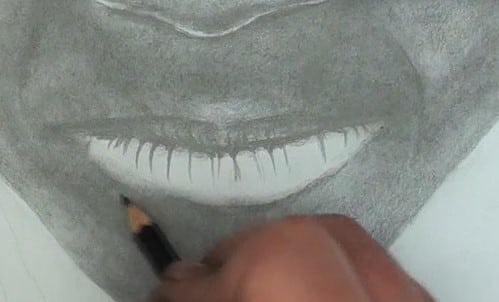
Moving onto the mouth. When drawing the mouth I will draw one lip at the time.
The most important thing here is the shape of the lips. Especially the outer contour. Get this wrong and you will lose the likeness.
The top lip points down so is usually darker than the bottom lip.
I also look for the wrinkles on the lips. These vary dramatically from person to person so also make a big difference when trying to achieve a likeness.
This boy has subtle wrinkles on the top lip, but quite pronounced wrinkles on the bottom lip. As a result I only suggest them at the top, but use them as a starting point when drawing the bottom lip.
The bottom lip points upwards so I look for the bright highlight formed in the top central area and then faded darker from there.
Drawing the shirt
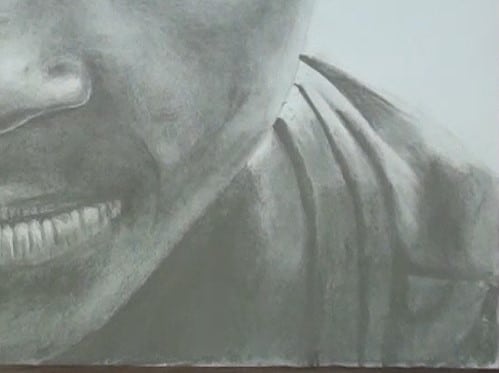
The boys shirt is drawn out of focus. This then creates the illusion that the face is closer and the shirt further away increasing the illusion of depth in the drawing.
As the shirt is out of focus I simply add a few basic shadings to the correct places without adding any details to the shirt.
Complete the drawing by adding more detail
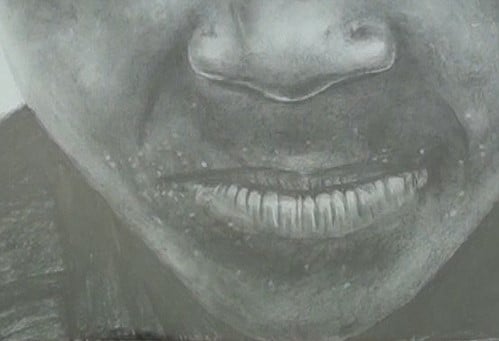
With the basic portrait complete you can start to add some high detail.
The little specks of sand around his mouth are lifted out using a kneaded eraser.
I also lift out a few imperfections on the skin in other areas of the face to suggest more detail.
If you’re creating a bump then don’t forget to add a shadow to the bump to indicate it’s height.
To finish off the drawing I accentuate the bunched up skin on the bridge of the nose.
Final drawing
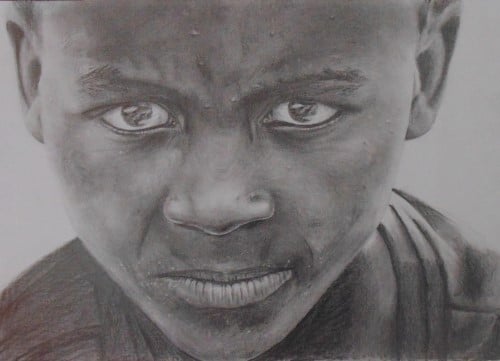
Click the button below to view the real time follow along version of this class:
Pin Me
