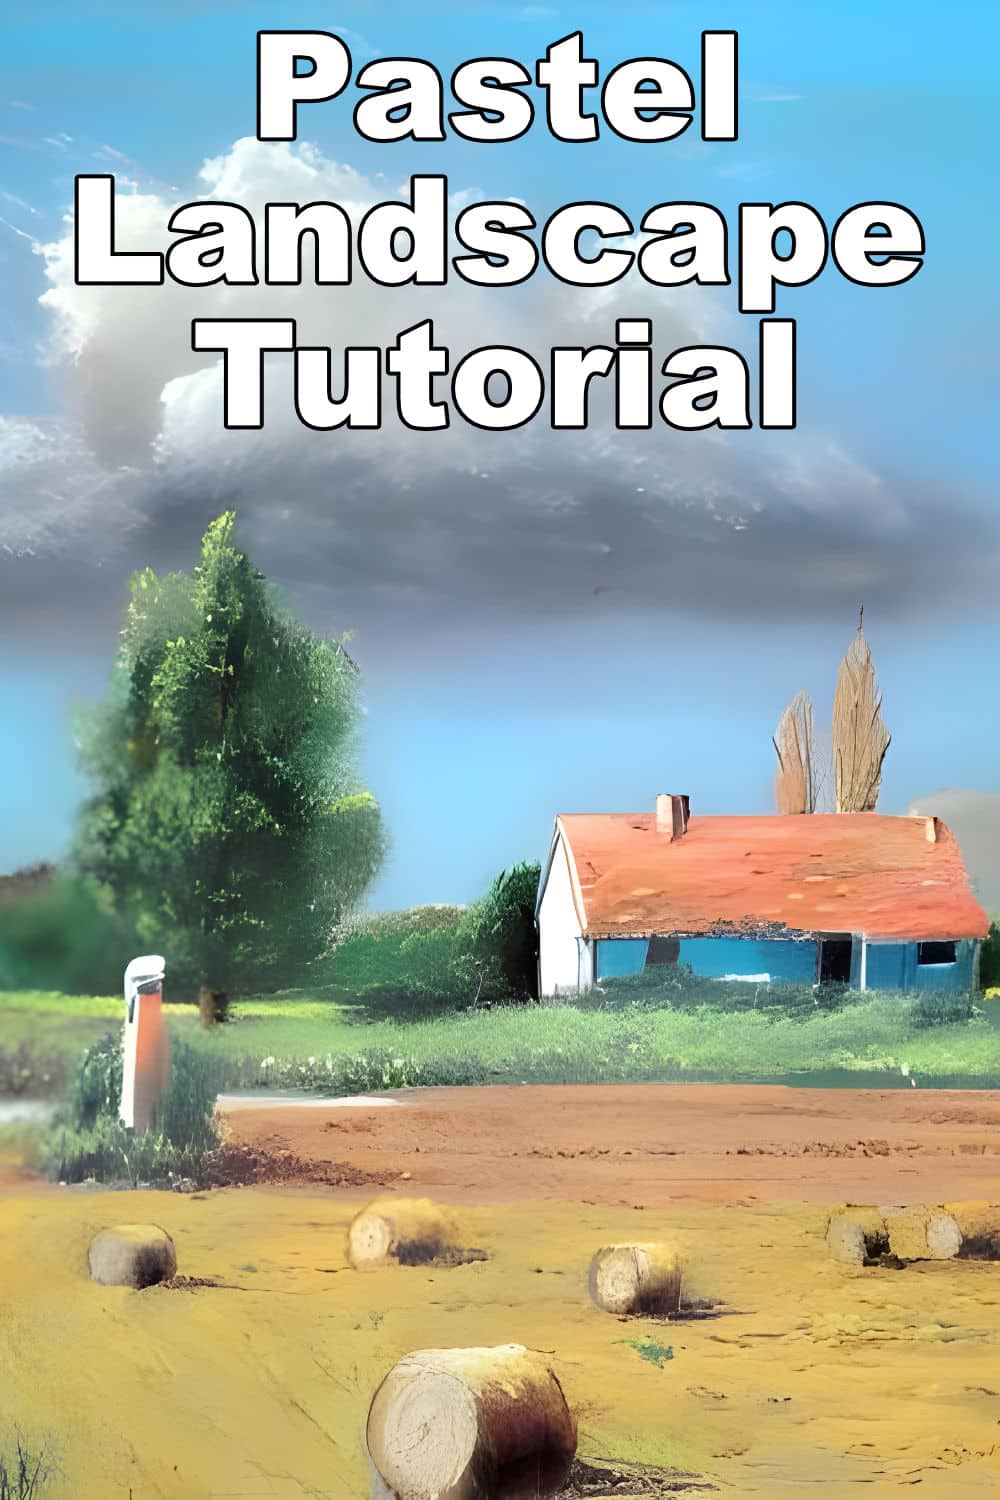
Class Tutorial
Painting the sky and clouds
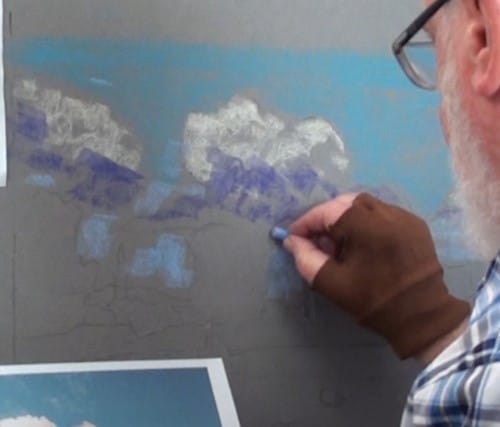
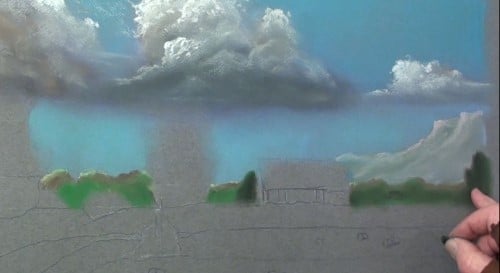
Transfer the template to the pastel paper, and start by locating the white billows. Then stroke in the shadows and the blue of the sky. Don't try to blend them at this stage. Holding a print in the hand helps to keep everything in perspective.
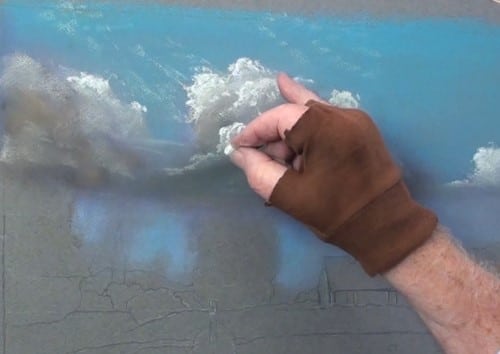
Take a soft white pastel and start painting in the sunshine on the various billows. Remember to keep the edges fluffy.
The background trees
Begin adding in the background trees. Keep them simple with no detail.
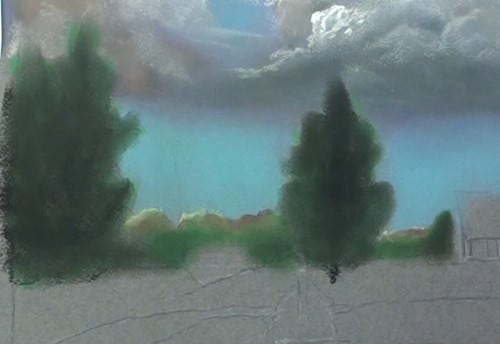
Block in the basic shapes of the trees. Don't make them symmetrical – one side must be different to the other side.
Painting the cottage
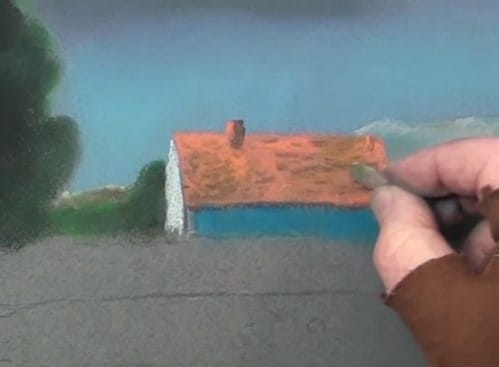
We can now also start blocking in the cottage.
Using a pastel pencil gives the impression of detail on the roof.
Distant mountains and green fields
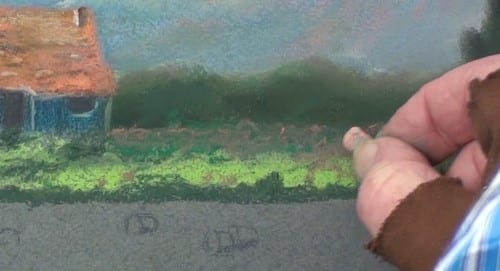
The distant mountains shown more clearly. Use a grey green for the grassy field and add more sunshine as you get closer to the edge of the road.
Edge of the pathway
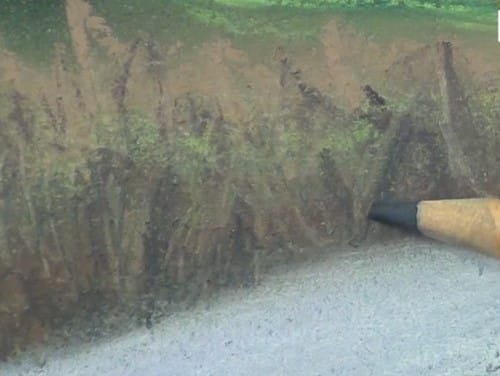
The shadow side of the tall grass on the edge of the pathway. Just give the impression of the grass.
Detailing the trees
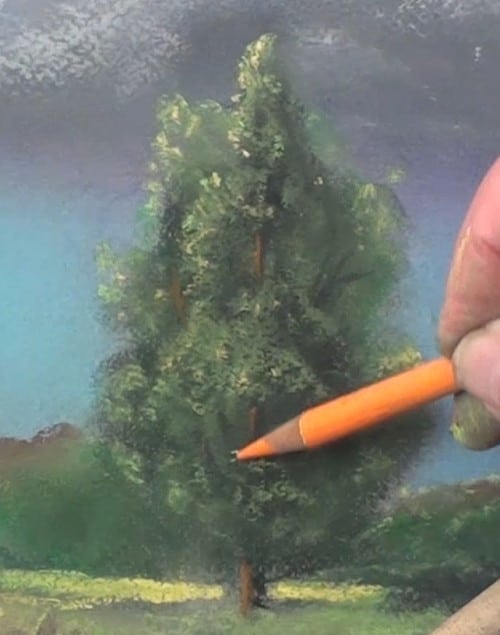
Work on the trees. The one on the left is in deep shade while the smaller tree catches the sunlight. Notice the use of tonal ranges to lift out each individual bough. Don't try to paint the leaves.
Add the Poplar trees
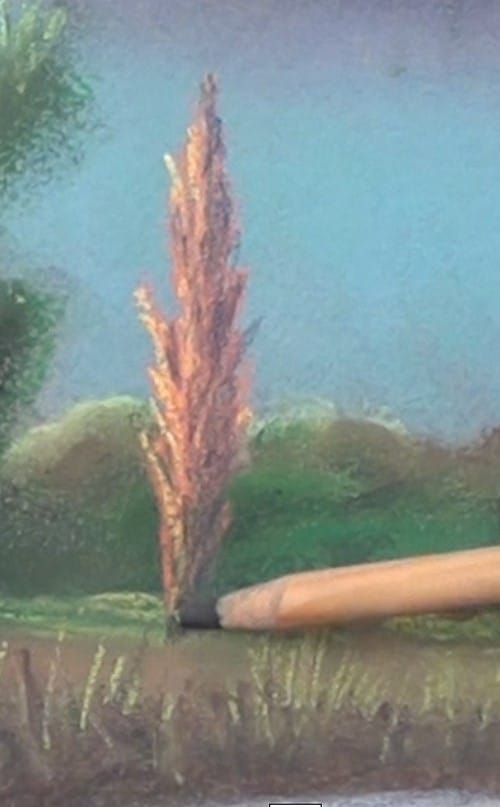
Add the shadows and add a touch of green for contrast.
Painting the foreground fields
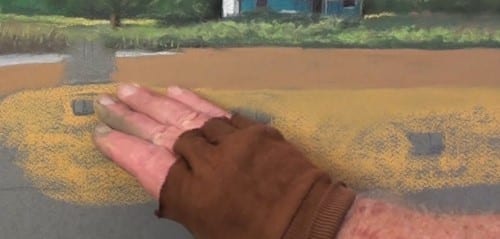
Block in the different field colours. Leave the gaps for the hay bales and the ruined post.
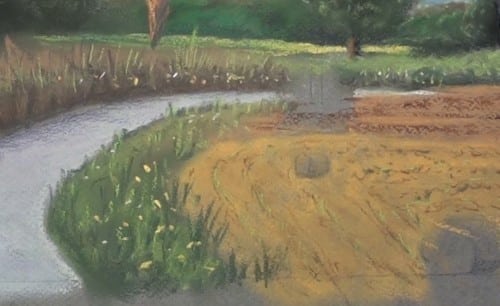
Paint the edging of the pathway. Show less detail towards the further end. Add a few flowers for interest.
Painting the hay bales
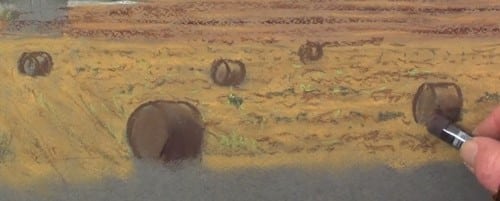
We can now begin blocking in the hay bales.
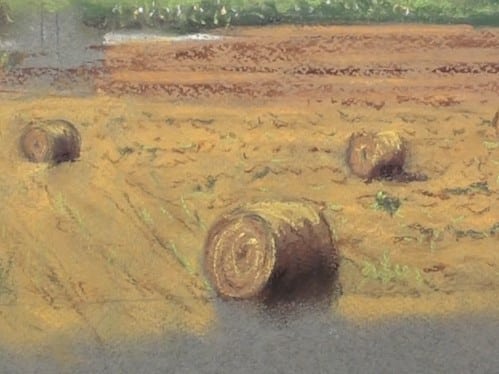
Some highlights have been added. Darken up the shadows near the bottom of the bales.
Adding highlight to the mountain
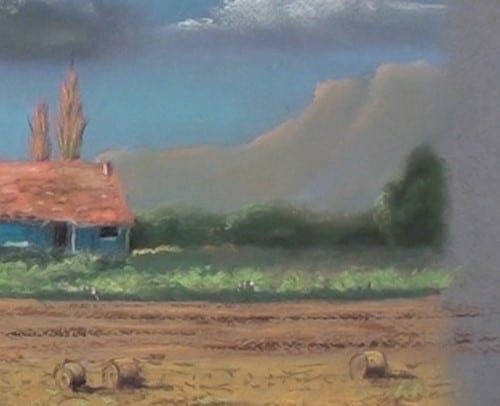
Add the sunlight colour to the mountains.
Adding character to the painting
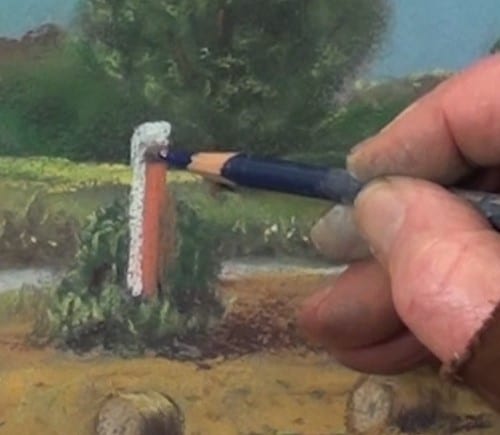
Paint in the post and the weeds around it.
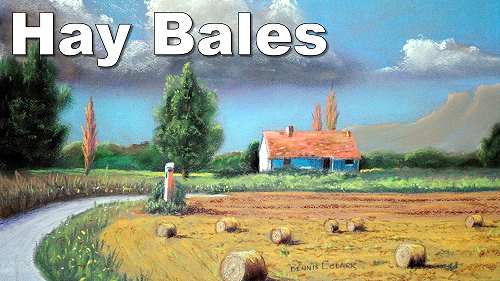
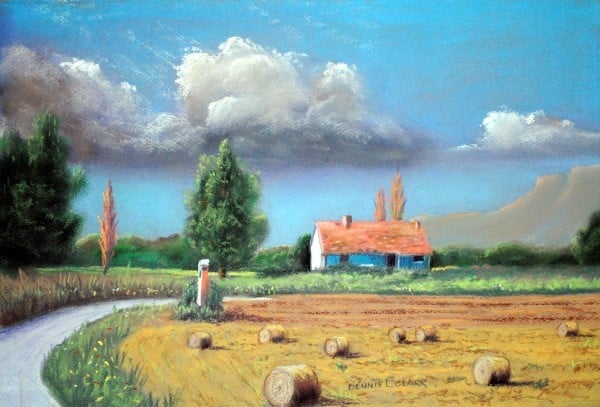
Final painting
Click the button below to view the real time follow along version of this class:
Pin Me