Class Tutorial
Sky and distant mountain
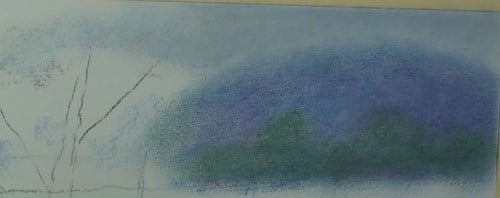
Apply a light blue over the sky area and smooth it out with the finger. The mountain is a purple colour. Leave the profile soft and hazy. The distant trees at the edge of the lake are also only vaguely blocked in – no details.
Paint the water
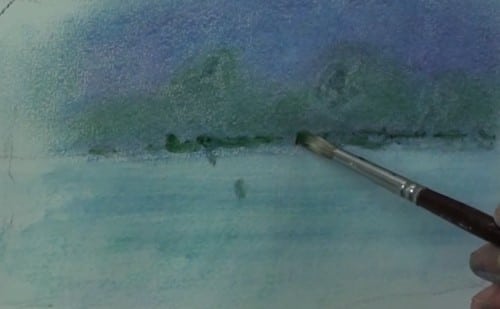
Layer some soft white in the water area and gently add a blue/green colour. It also must be soft and hazy. Using a brush dipped in water just darken up the base of the trees on the opposite shore.
Paint the foreground tree
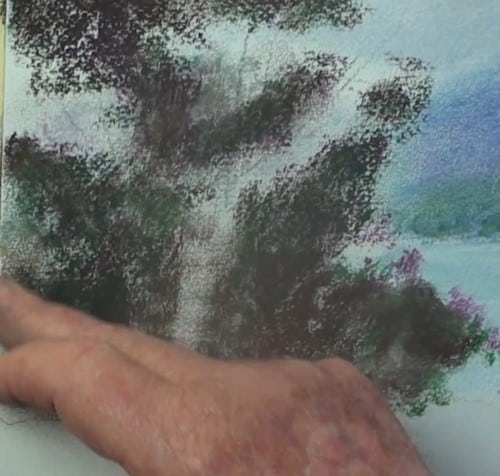
Block in the shadow areas with a mauve/brown stick and then overlay some dark green. We are not painting the tree as shown in the photograph.
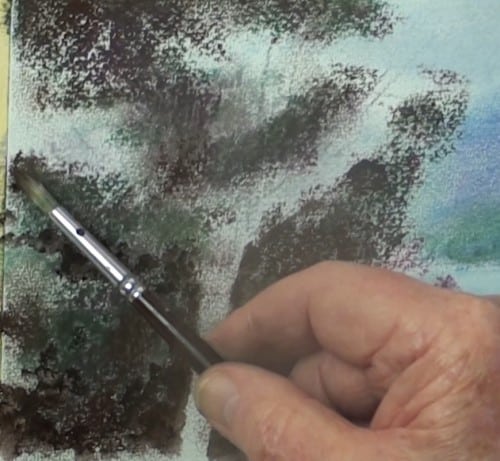
Use a round bristle brush dipped in water and then when touched to the pastel will darken it up. Use a dabbing action to give the impression of leaf clusters.
Start the foreground
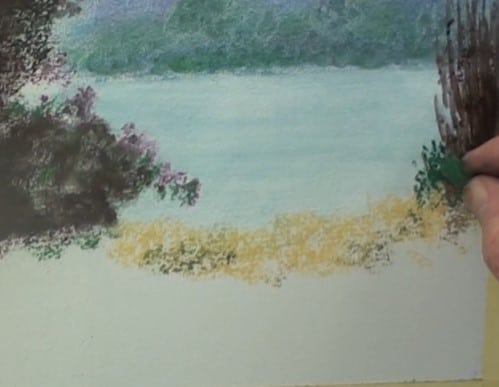
The shrub on the left is the mauve/brown and the shoots have been pulled out of the centre with a wet brush. Begin adding the sunlit grass with a pale yellow such as Naples yellow.
Paint the trunk and branches
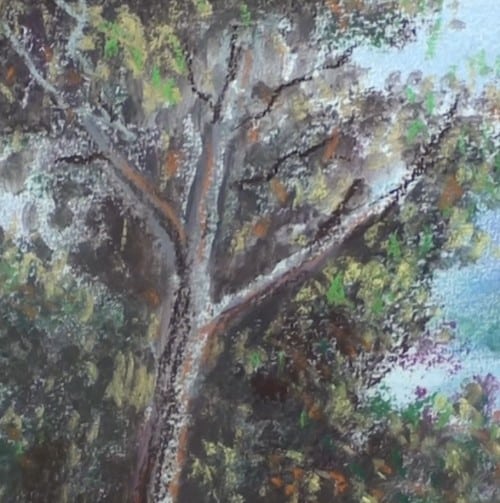
Sketch in the trunk and branches with the brown and touches of orange. The light is from the right hand side. Remember that the branches thin out towards the tips. Touch in some Naples yellow and light green where the sun hits the branches.
Back to the foreground
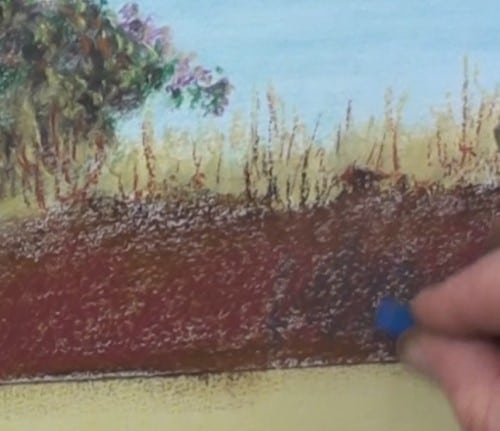
Layer a bit of red and then some blue over the initial brown underpainting. This should result in a warm grey colour.
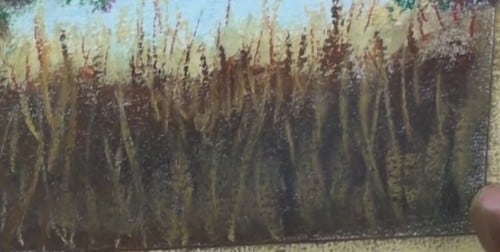
The nearby tall grass can now be stroked in with an upward motion so that the grass ends with pointed tips.
Sky reflection on branches
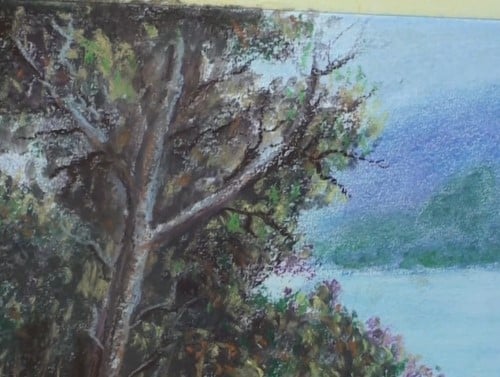
Add some blue sky reflections on the trunk and branches.
Sketching the figures
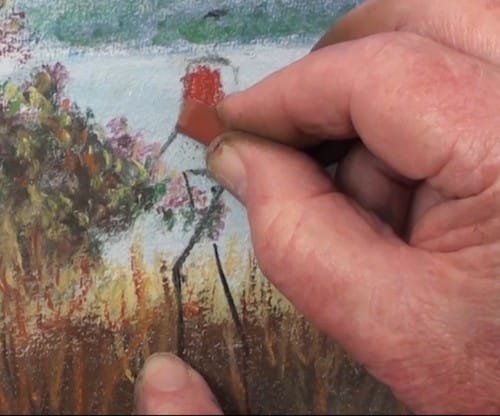
Using the “half” formula as explained earlier on sketch out the proportions of the two figures.
Painting the figures
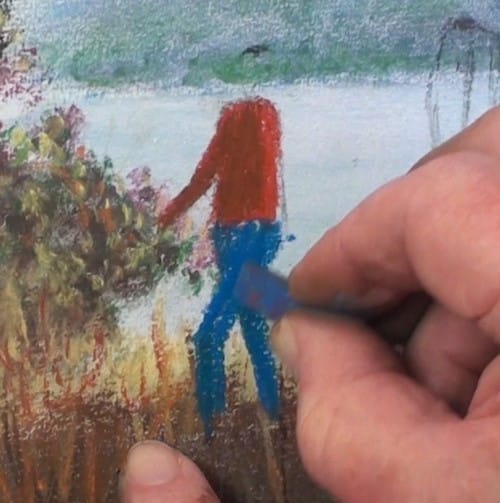
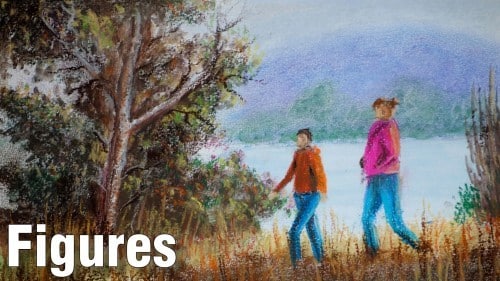
Use any colour of your choice to paint the figure with. Start the body thin and then fill out to suit.
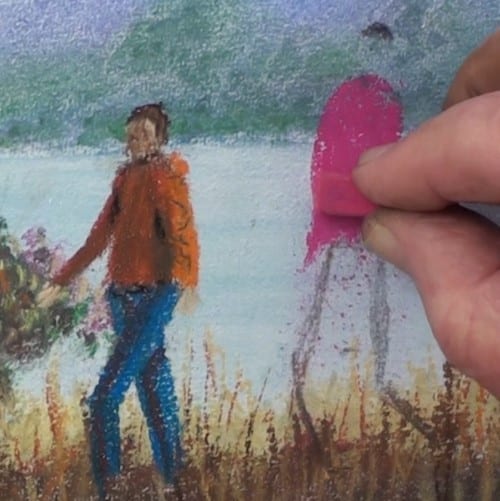
Begin the second figure. Don’t try to add features to the front figure. You can’t see them in the photograph! Add the shadows to the figures.
Final painting
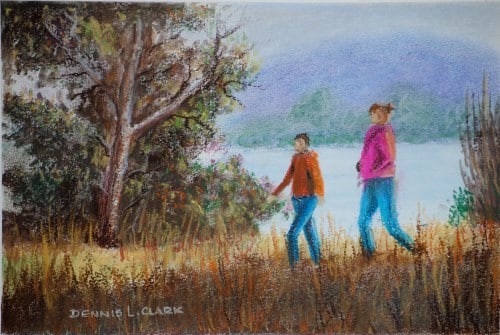
Click the button below to view the real time follow along version of this class:
Pin Me
