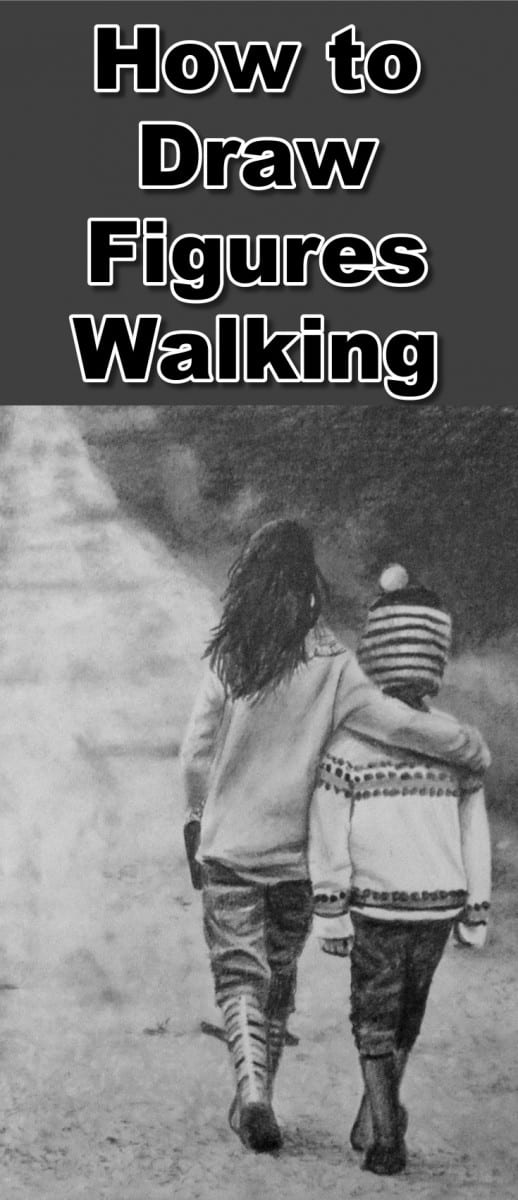
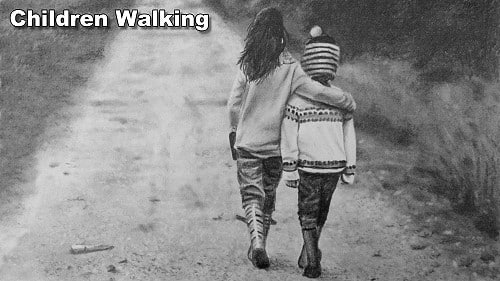
Short Class Video
Class Tutorial
Drawing the background
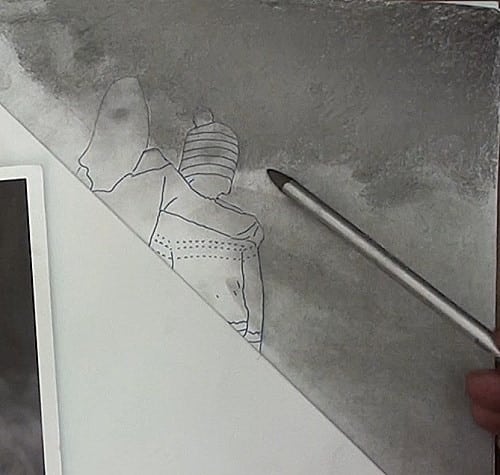
We will start at the back and work our way forward.
The top right hand area is very dark so I use my 6B graphite stick to gradually lay in this tonal value.
I then use a cloth and graphite dust to lay in the basic tonal values in the rest of the background.
This gives me some graphite on the paper which I can then add to or lift out as required.
I will then go back and start refining these tonal values.
The background is fully out of focus so to get this bokeh effect I make sure there are no hard transitions between the different tonal values. In other words to make the background look out of focus you can’t have any hard edges.
With the background out of focus you don’t really know what you are drawing so I just concentrate on getting the random shapes in roughly the correct places.
What is more important are the tonal values so I darken using the graphite stick and lighten by erasing using a kneaded eraser.
Drawing the pathway and adding detail to the foreground
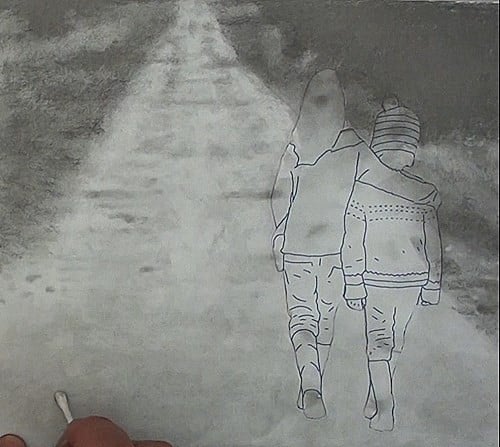
As we come forward things gradually become more in focus. We can start to make out the shapes of grasses, stones and sticks. So I gradually pay more and more attention to the random shapes formed by these objects.
I look at their total value, shape, size and the direction of the strokes I need to use in order to replicate the shape.
When I need to erase I will shape the tip of the kneaded eraser to mimic the shape I need to erase. If I need to erase a dot, I create a fine tip on the eraser. If I need to erase a line, I create a chisel shaped tip.
For areas like the road that need a soft edge I use the rounded end of the eraser.
In the road we need to create the impression of the tracks formed by the tyres so I worked these contrasts in.
I found however that the graphite stick was making marks which were too hard edged so I moved over to using an ear bud dipped in graphite powder.
The Q-tip also worked well to suggest the multitude of larger rocks and stones in the road.
I then alternated between the Q-tip, kneaded eraser and pencil to create a gravel effect.
Notice how things appear a bit darker in the foreground. This helps to give a nice looking in effect to the drawing.
I then also draw one or two small detail sticks and stones in the very front foreground to indicate that this area is in focus.
I also darken up the ground where the two figures cast a shadow. The shadow will give them height once the drawing is complete.
With a background finished we can move on to drawing the figures.
It is at this point where most people start to panic at the thought of drawing such complex figures. Yet drawing them is super simple if you follow my technique of divide and conquer.
I ignore the fact that what I am drawing are two complex figures. Instead I look at only one small part of the figure in turn and draw that.
Drawing the girl's clothing
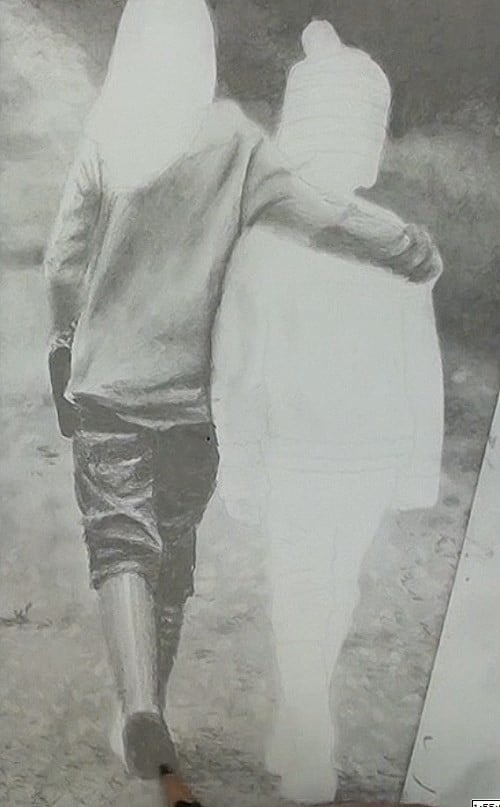
Here I have chosen the girl’s jacket. I then break it down into even smaller areas if possible. So I draw the back, then the one sleeve, then the other sleeve and so on.
As I draw each piece I am looking for changes in tonal value, the direction of those changes as well as any shapes formed by the tonal value changes.
I lay down these basic tonal values, then revisit the area to refine and define further.
Drawing clothes is nothing more than a series of shadings as the fabric bends and folds. What you need to do is see what type of a shading does that fold create.
Is it a short, sharp shading or a long, gradual one? Does the shading go from very dark to very light or somewhere in between?
A good example of that are the shadings formed by the girl’s pants. The left leg has high contrast shadings while the right has low contrast shadings.
Concentrate on drawing one shading at a time in the correct place, at the correct angle and at the correct total value. Before you know it the figures will be complete and looking awesome.
The girl’s hair is very dark so I block it in in the direction of the hairs, leaving a few lighter areas to suggest detail in the hair mass. I then also add a few flyaway hairs at the edges to suggest more detail.
Drawing the boy's clothing
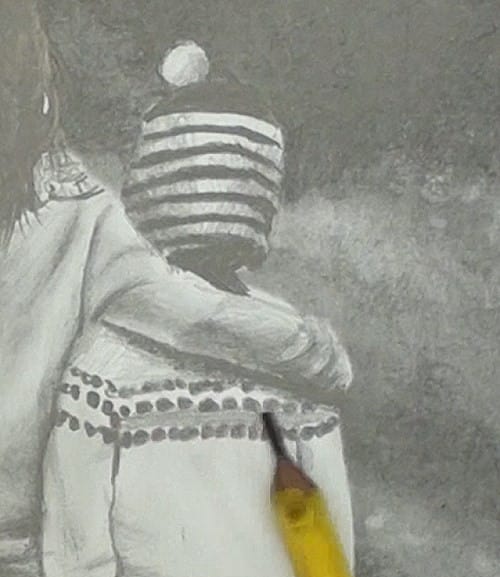
Moving on to the boy, I draw the stripes on the beanie first and then the shadings in the white striped area second.
You can also draw the shadings first and then the pattern second if you prefer. You will notice that I did it the other way around when drawing the girl’s boots.
The jersey is white which means that the contrasts are going to be very low so you need to look very carefully to spot these shadings.
They are there though and you need to draw them in otherwise the jersey will look flat.
With the shadings complete you can add the design to the jersey paying careful attention to the direction of these designs.
The designs wrap around the jersey so help to define the shape of the body.
The hand is not very prominent so I just suggest it without drawing any detail.
His pants are very dark so as with the white jersey you need to look carefully to spot the tonal value changes and draw them in.
You will see I mark the folds first then colour the dark around them to ensure I don’t lose the position of the folds. From there I can carefully reduce the contrast until the tonal values are correct.
I then finish up the drawing by adding the boy’s boots.
Final drawing
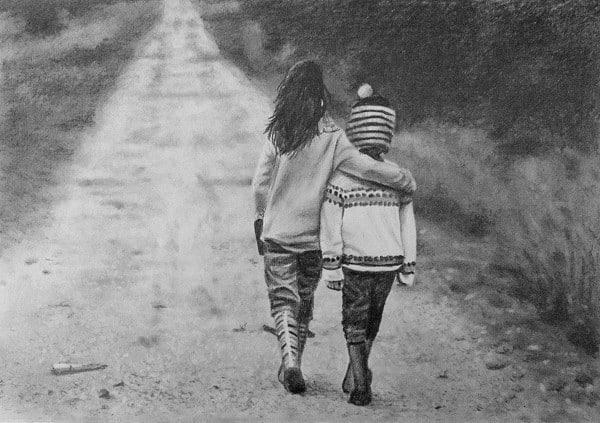
Click the button below to view the real time follow along version of this class:
Pin Me
