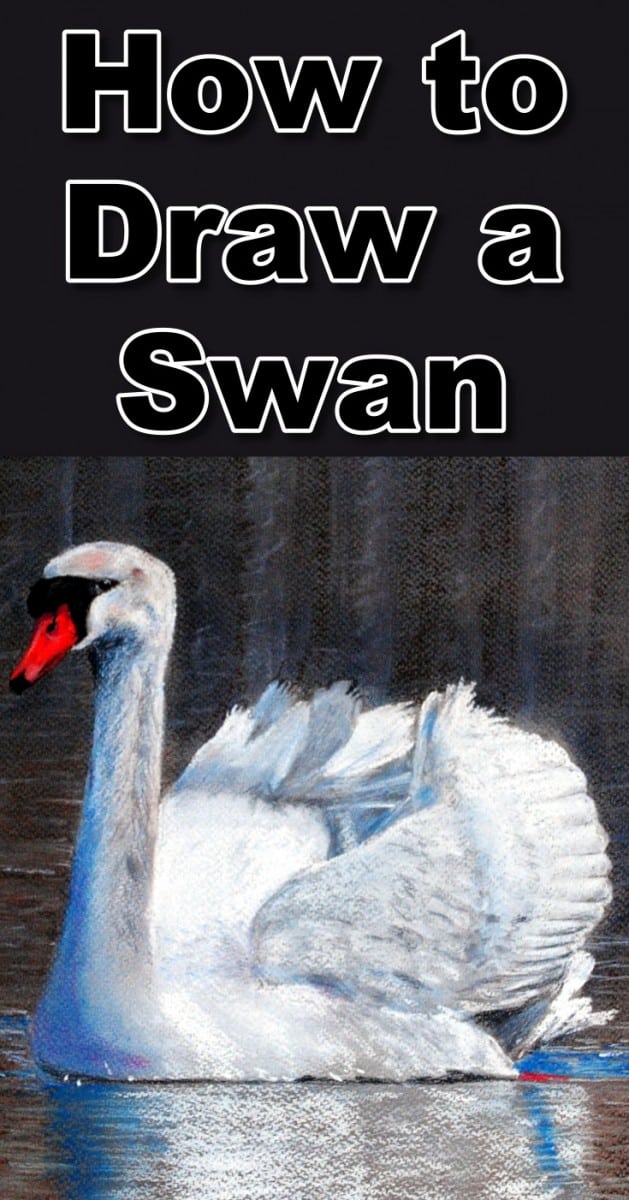
Short Class Video
Class Tutorial
Drawing the background
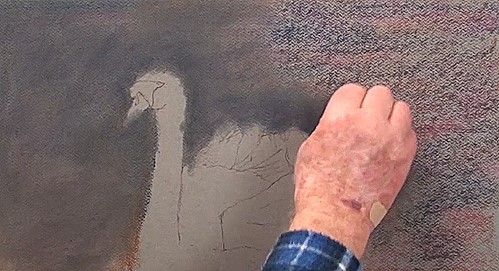
For a darkish background take a Burnt Sienna soft pastel and stroke it over the top portion of the background. Then take a red pastel and do the same over the previous color. Lastly stroke a dark brown over all the other colors. See how lightly it has been done. Now, crumple up a tissue and use it to blend all these colors together. Carefully blend until slightly over the outline of the swan so that a halo will not form around the swan later on. The lower foreground is lighter than the background.
Drawing the background reflections
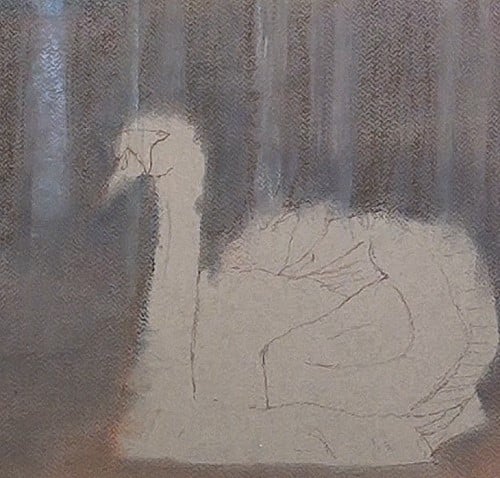
Sunlight is reflecting between reeds in the background so use a light blue pastel to add in the reflections. Some of the reflections will be less obvious than others as well as broader and narrower. Don’t make them all even.
Drawing the head
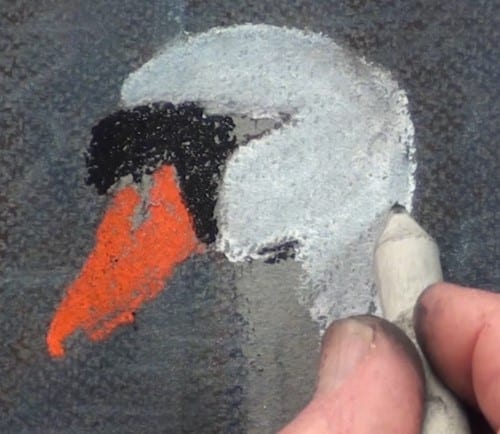
Block in the head with a soft white pastel, and then black for the forehead and orange for the beak. Blend with a paper stump and add the eye with a black pastel pencil, then do the nostril and the tip of the beak.
Shading
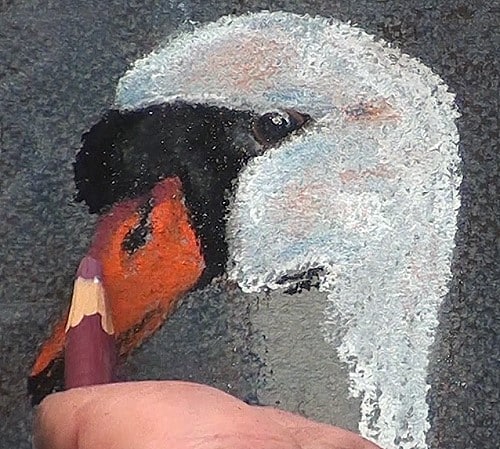
Very softly shade in the head with an orange and a blue pencil. Add the shadow on the beak with a mauve pencil.
Drawing the neck

The neck shadow is painted in with dark blue and a black pencil, using the side of the tip. Blend with a paper stump. Notice how I’m using the tooth of the paper for effect. Continue working down the long neck and blending as previously and smoother as we get lower down.
Drawing the ripples
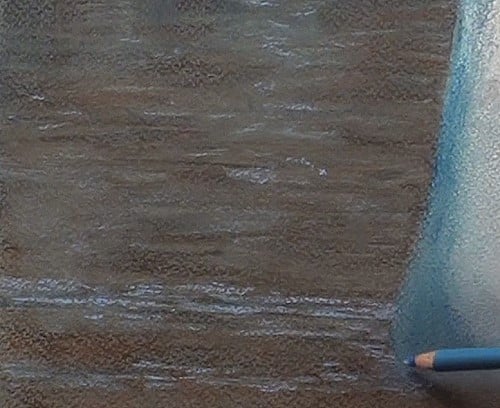
Softly stroke in some water ripples. Make sure they also go behind the neck. Add some blue and black ripples as well. Notice the downward reflections caused by the reeds. Now add some of the ripples caused by the movement of the swan.
Drawing the body and the wings
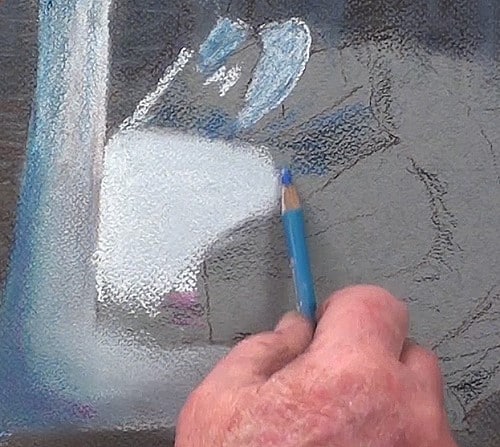
Mark out all the areas where we need deep shading and begin adding some of them in the painting using a blue pencil and a light covering of black to produce a blue/gray colour. Smooth them out with a paper stump. Do some negative painting with the black pencil to produce the split ends of the feathers.
Block and smooth out the body before starting on the wings. The wings are painted using a soft white and the black pencil.
You have to be very careful in this area as the feathers are not very defined as they are very soft and downy. The best way is to look at the area as a lot of different sized tonal ranges.
Begin with the large grey area near the body and build up the light and dark areas. Don’t try to do too much blending at this stage.
A glance at the wing will reveal three prominent areas each with their own characteristics. Keep these in mind when working here.
Plot out the feathers of the trailing edge and show the lighter areas. With a white pencil softly do some blending without losing the shapes. A black pencil, again, for the grey shading.
Build up the tonal ranges with the white and black pencil. Jump around a bit, all the while taking note of the wing, as a whole.
Lower body – When you have obtained the basic tonal ranges of the wing, work on the lower body at the water surface.
Drawing the wing
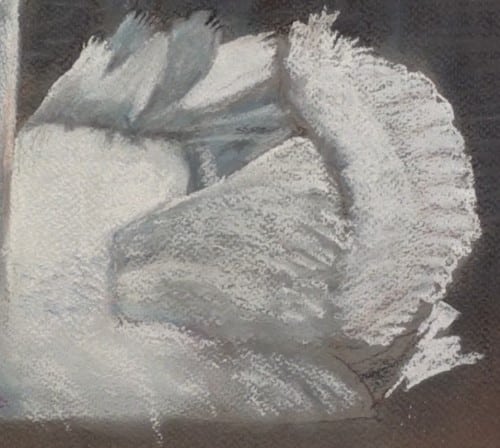
Now we can go back to the wing and start defining the shapes a bit more accurately. Do some very gently blending with the finger as you go along.
Drawing the head
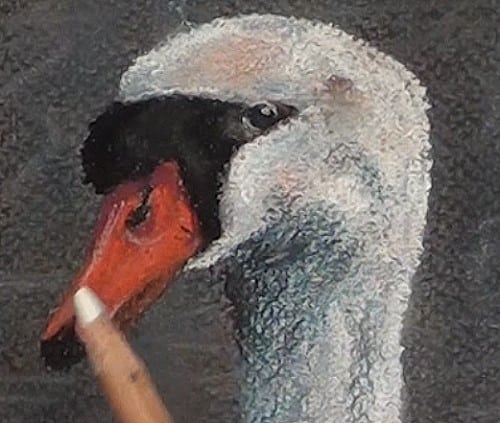
Let’s go back to the head and neck and finalize the shading and details by adding in all the small stripes for the feathers.
Drawing the reflections
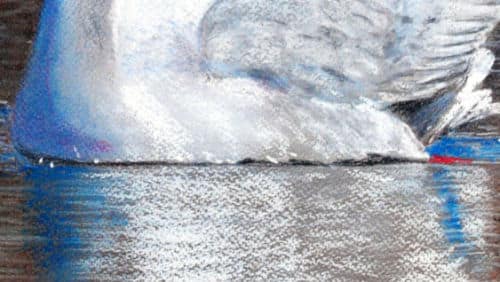
With the side of a soft white stroke in the swan’s reflection and blend softly. Use the white pencil to enhance the ripples in the reflection as well as on the sides: A dark blue for the shadow reflections and a black pencil for the shadow along the waterline.
Drawing the reeds
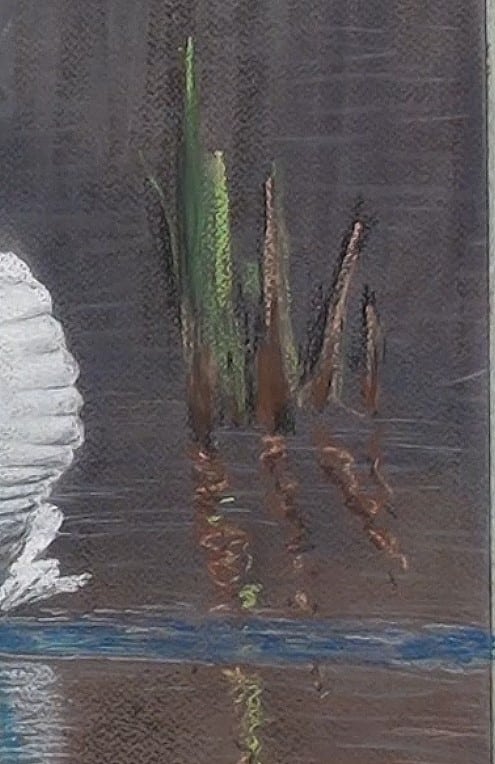
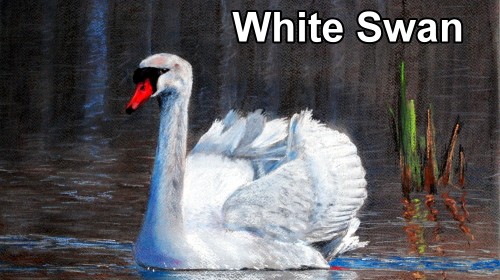
For balance and some extra color, some short reeds are added. Don’t forget that the reflections of the reeds are affected by the water ripples.
Final drawing

Click the button below to view the real time follow along version of this class:
Pin Me
