Short Class Video
Class Tutorial
Drawing the eyes
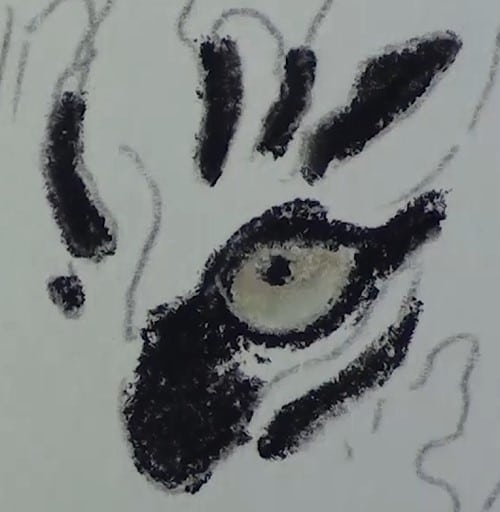
For the eyes use a light green pastel pencil and then blend a touch of black to dull the eyes down slightly. Add the pupils with a black pencil. Begin adding in some of the black areas around the eyes.
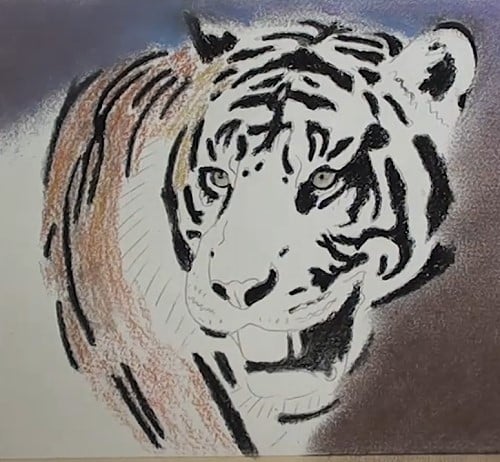
Drawing the black stripes of the body
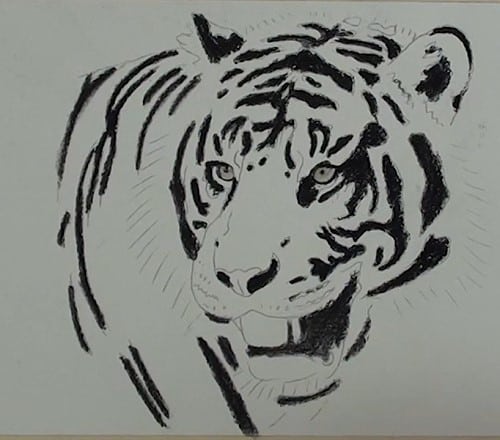
Begin, using a black pencil, to add in all the black lines and patches. Don't do any blending at this stage. As we progress around the head, the tiger template starts to look like a tiger.
Take a paper stump and begin pushing the loose pastel into the paper. This darkens up the lines and patches. Don't try to blend the edges at this stage.
Drawing the background
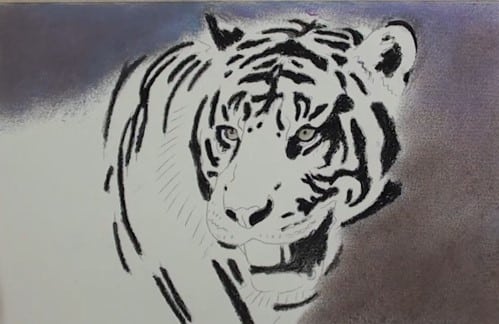
Lightly stroke a blue-grey pastel stick in the background area. Blend with the finger and add some black and blend further, keeping it a bit darker below. Use the stump to blend it nicely against the edge of the tiger.
Adding color to the body
Add the body color with Burnt Sienna or a similar color and blend with the stump.
Drawing in the face colors

Burnt Sienna is marked into all the areas between the black patches. Add it very lightly in the nose area. Blend the Burnt Sienna with a paper stump. Be careful in not pulling in too much of the Black pastel. Add some Yellow Ochre color to the nose as well as up on the left side of the face. Do some light blending on the nose.
Drawing the tongue
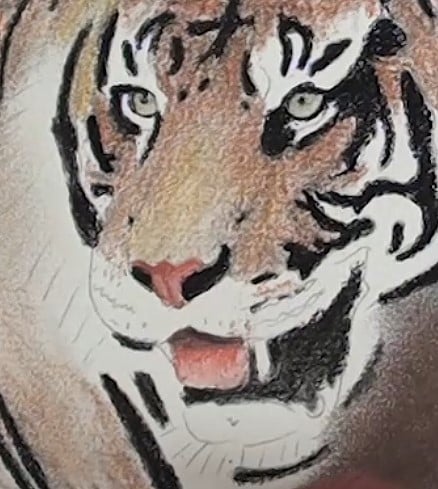
The tongue is painted with a light pink pastel pencil and the shadow areas with a dark pink. Do the same to the tip of the nose. Lighten the tip of the tongue with a white pencil.
White reflects some of the sky. For this white in the shadow use a bluish-purple pencil. Blend with a stump and burnish over with a white pencil.
Adding more detail to the ears and body

Strengthen up the body color and darken up the lower parts by pressing harder on the Burnt Sienna pencil. Blend with your fingers.
The white hairs did not show up properly so I had to darken up the area beneath the loose hairs. The white pencil was not quite white enough so I used a white pastel stick instead.
For the fly hairs on the right the white pencil is OK as they are in the shade. Continue in the shadow side of the face.
Paint the ear with the same colors we used for the body. Add the few loose hairs over the black. The left ear is easy to complete. Did you notice how I pushed and rolled the pencil for the fly hairs?
Adding detail to the face
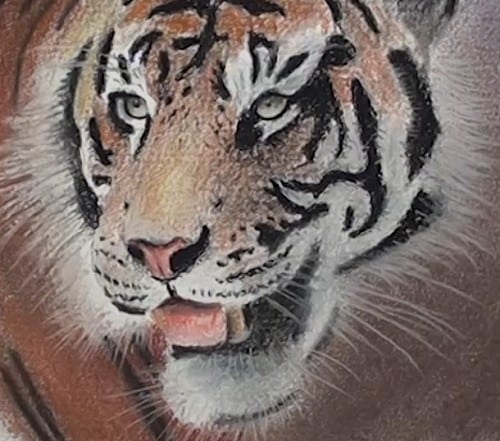
All the smaller black marks are now added with a sharp pointed black pencil. Get them similar but not necessarily exactly the same.
Add the light shading and plot in all the dotted lines where the whiskers originate. Add the shadow to the eyes and the highlights. Unfortunately I tend to jump around quite a bit.
The teeth are not white but a dark yellow – maybe he needs a toothbrush! Add the Grey and white around the chin as well as all the loose fly hairs. Paint in all the whiskers. Finish the other tooth.
Drawing the main body area and whiskers
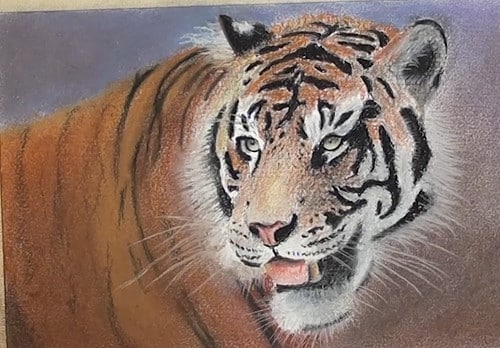
Stroke some Burnt Sienna near the top and dark brown lower down. Blend them with the fingers and add the yellow at the neck. Add the few black stripes.
Finally draw in all the long whiskers. A few touch ups here and there for finishing touches.
Final drawing
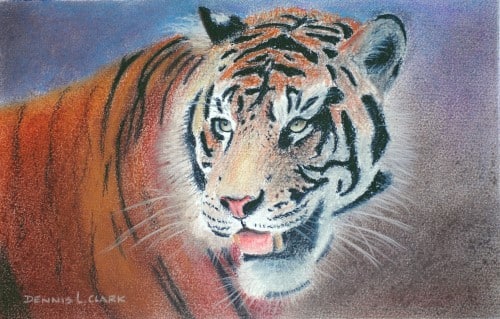
Click the button below to view the real time follow along version of this class:
Pin Me