Short Class Video
Class Tutorial
Drawing the background underneath the bridge
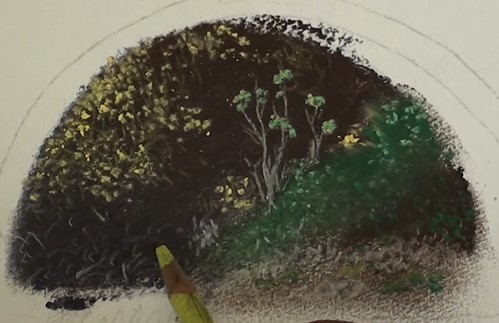
Here we have a picture in a picture which is nicely framed by the bridge. The background is very dark so lay in some black with a pastel stick and smudge it well, leaving the embankment area slightly lighter.
Begin tapping in the leaves with a light yellow-green pastel pencil. These will be the leaves in shade. The brighter green leaves are tapped in using a soft pastel stick. Add a dark green for the embankment and tap in some light green spots.
With a white pastel pencil draw in the thin trunks and some light colored features. Do some minor touching up with white, yellow and green pencils in this area.
Drawing the bridge
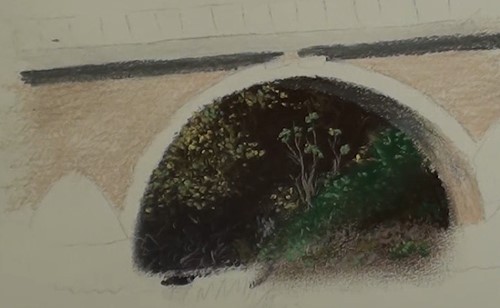
Lay an undercoat of light brown on the side of the bridge and lightly smudge it. Add the ledge shadow with a black pencil and smudge lightly. Use the pastel on the stump to add the shadow on the underside of the bridge. Touch up with a blue pencil.
Drawing the foliage and bridge railing above the bridge
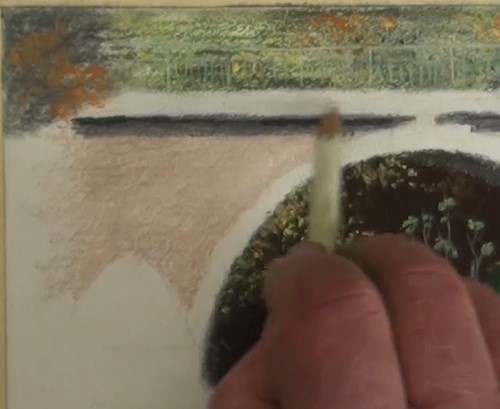
Paint in the green foliage above the bridge using a light yellow pencil. For the darker shades use a darker green plus a black pencil. Complete the section of the bridge to the right and go back and darken up the foliage. With some soft pastel sticks spot in the various colors of the leaves.
Bridge railing – The bridge railings are sketched in using a sharp-pointed white pencil.
Adding detail to the bridge
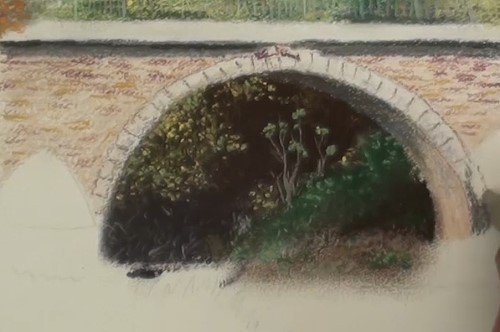
With a brown pencil draw in the impression of the masonry, some darker than the others. Mark in the bricks of the archway and begin to draw the abutments on the left side.
Drawing the left-hand side foliage
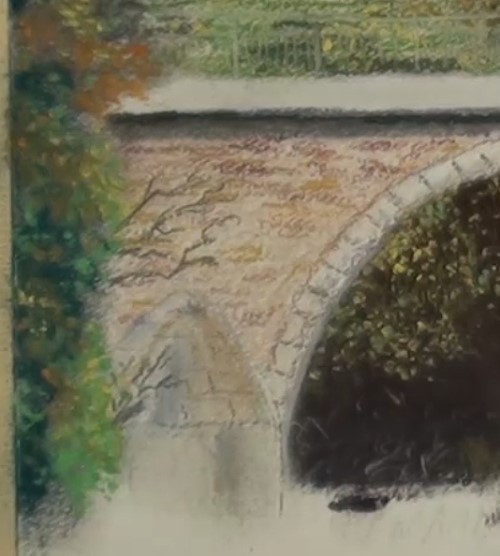
Add the dark background and the various colors of the leaves. Also lightly sketch in some dry branches.
Drawing the embankment on the right-hand side
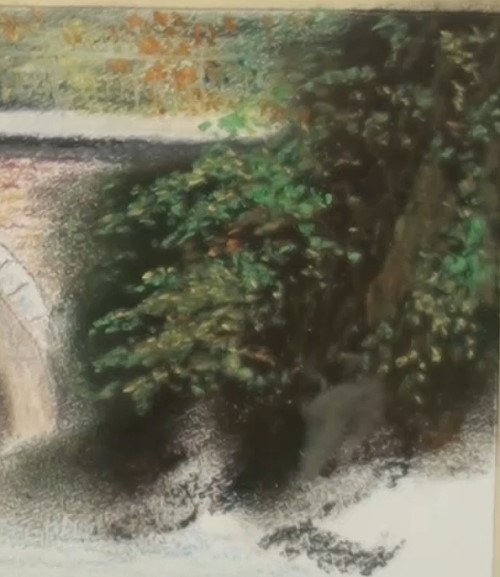
Begin by adding the dark blue of the stream in the shade. The shadow undercoat is black, some Viridian and a touch of dark brown. Blend with the fingers. Using the edge of a soft light green pastel stick, dab in all the leaf clumps of the overhanging branches. Also dab in the orange colored leaves.
Drawing the foreground
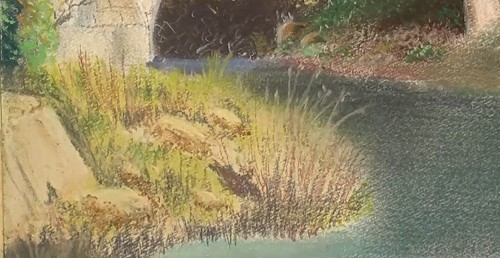
Cliff face – This is a small cliff with pink colored rocks. So, using a pink pencil, stroke in the cliff side and the two main rocks at the stream’s edge.
Left embankment – Smear in the light brown under-painting and start the top edge with a light green pencil. Because the light colored grasses overlap the darker color of the river it is best to paint the river now. Start off with a light covering of black and then some green over it. Blend it all with the fingers keeping it a bit lighter lower down.
Here I jump around a little bit plotting in the various objects before detailing. I am busy building up a series of tonal ranges, ie, lights against darks. Once I’m satisfied, I now begin to add the grasses, plus those that overlap the dark of the river. I’m using various greens and browns for the grasses.
Take your time building this area as it will have the most detail. Keep building up your lights against the darks for impact. Add some of the grass reflections in the foreground water.
Drawing the reflection in the water and the finishing touches
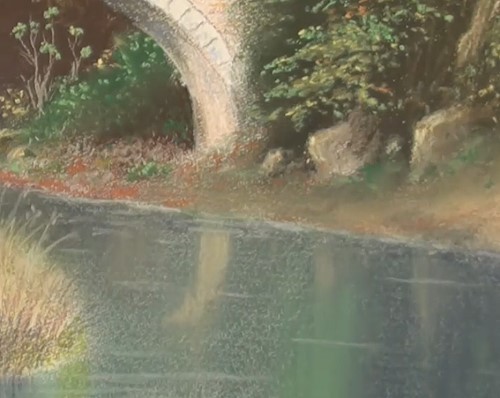
Reflection in the water – Add the reflection of the arch’s lower end and blend. There must be no sharp edges. With a pink pastel put in the reflections of the rocks. With a white pencil edge off where the water meets the ground. A few discreet horizontal lines on the water reveals it surface ripples.
Finishing touches – Now that we have a good idea of what the painting looks like, we can finish off the left embankment. Some darks to lift out the rock, etc.
A warm color under the bridge points us to the focal point – the center area under the arch.
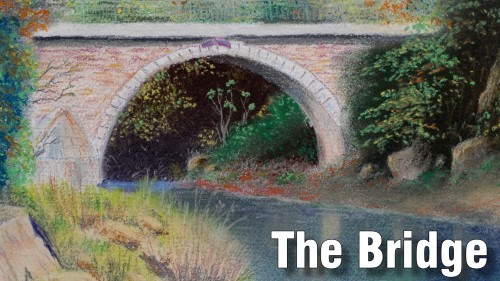
Final drawing
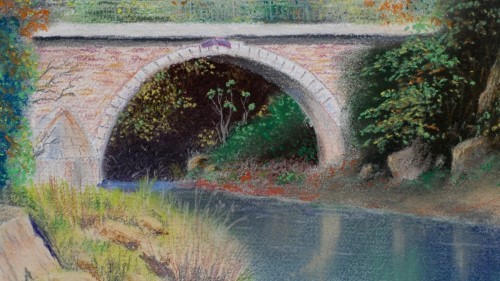
Click the button below to view the real time follow along version of this class:
Pin Me
