Short Class Video
Class Tutorial
Transfering the drawing onto paper
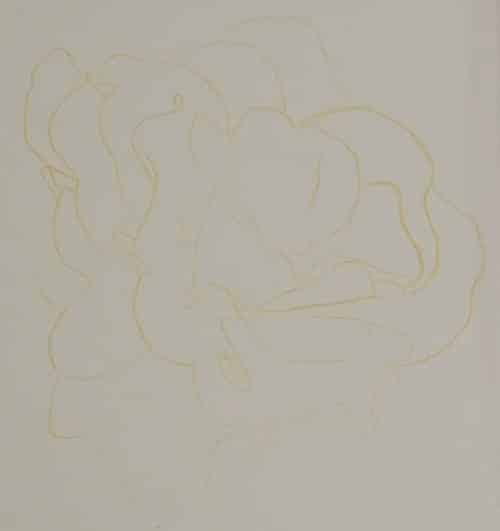
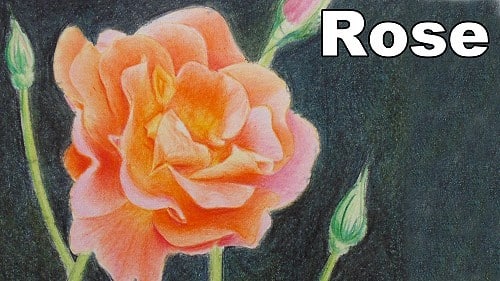
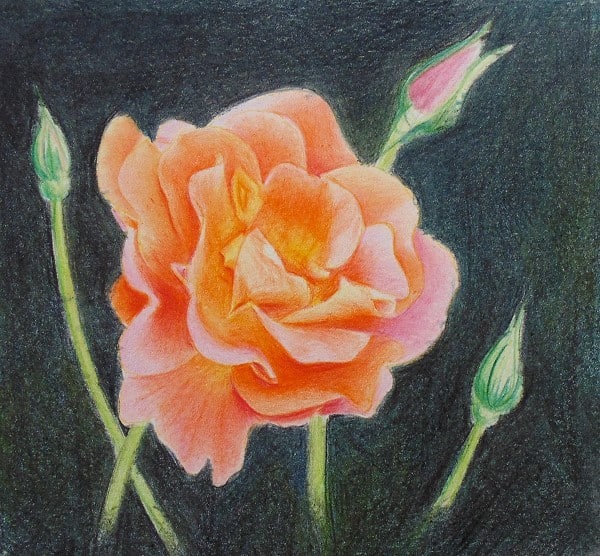
Today we will draw a rose in coloured pencil.
I never sketch directly onto the drawing paper as that dirties up the paper.
I rather first draw onto a loose sheet and then transfer the final lines to the actual drawing paper.
To transfer the outlines of the rose to the drawing paper I use dressmakers carbon paper.
Dressmakers carbon paper comes in different colours so you can use a colour which will blend into the final drawing.
In this case I am using yellow carbon paper.
When drawing one of your aims is to keep the drawing as clean as possible so you will see that I keep my reference photo underneath my hand.
That way it acts as a protection for the drawing.
Drawing in the underlying colors
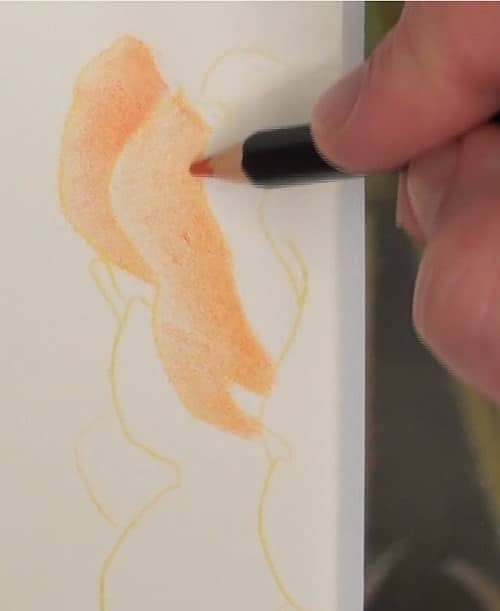
I’m right handed so you will see that I start drawing from left to right. That way I never need to work over or lean on completed work areas.
When drawing I start by looking at the lightest and underlying colour.
Each petal will have an overall underlying colour.
It could be any colour, but in this rose it is mostly pink. If you look at some the other petals however you will also see orange as an underlying colour.
I will lay down this underlying colour first.
From there I will gradually work my way darker in the correct places.
As I work getting the total values correct is always my top priority.
If my colours are a bit off in the final drawing it won’t matter, but if I don’t get the tonal values correct then the shape of the petals will look wrong.
With roses you will find that in general each petal appears lighter towards it’s outer edge.
This contrast shows depth and distance between adjacent petals.
In general the outer edge of the petal who also end in a sharp or found edge.
Refining the petals using sharp contrasting colors
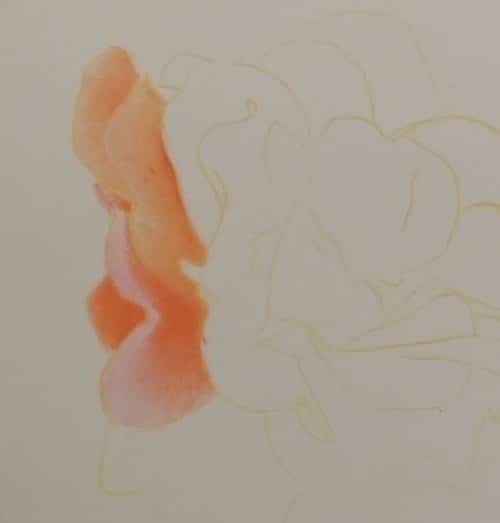
The sharp contrast between the light outer edge of the front petal against the dark inside of the back petal also shows distance.
I then look for places where this found line softens until it disappears. These transitions indicate that the distance between two petals is reducing until they touch.
At the point where they touch you will have a lost line. In other words you can’t see where the one petal starts and the other one ends.
Drawing these transitions between lost and found lines also helps show depth and dimension in your drawing.
To get the colour of the area that you are drawing correct, you need to look and compare.
Look and compare the area you are drawing against the corresponding area on the reference photo.
Then ask yourself is the area on the reference photo more yellow, red, pink, purple, blue, etc., than what I see on my drawing.
In other words you’re trying to spot what colour is missing on your drawing.
For example, if you see that there is too little pink in your drawing then choose your closest matching pink pencil and continue drawing with that pencil.
As you continue colouring keep looking and comparing.
Often the missing colour changes as you lay down this second colour so you may need to change to a third or even fourth colour in some areas.
Always start with a light pressure building up the colour by adding one layer over the next.
Only when you see you are not able to get as dark as required using layers do you start to press harder on the pencil.
Pressing hard must always be your last resort because once you press hard it becomes very difficult to fix or erase mistakes.
Drawing petal by petal
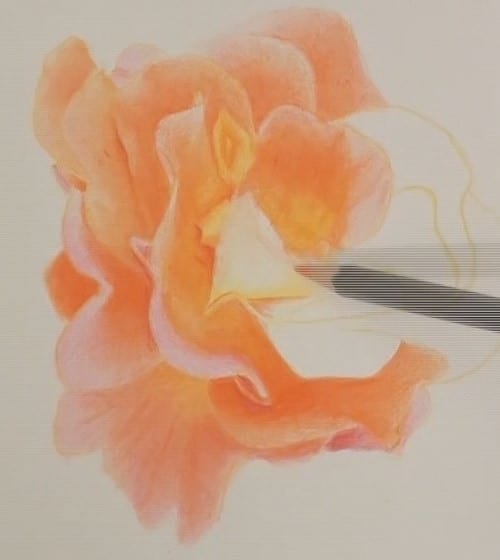
As you can see I draw the flower petal by petal.
As I complete a petal I will revisit previous petals to ensure they still look correct.
When you are drawing a petal you have white paper surrounding it. This lightness of the paper makes the colours you are adding to the petal look darker than they really are.
This however only becomes apparent once the adjacent petals have been completed.
By revisiting the previous petals you are able to now better spot the correct tonal values, making your drawing even more realistic.
I will continue like this and shade in the entire flower.
I then revisit each petal again, not only to adjust any incorrect tonal values, but to also add any lines, marks or blemishes I see inside each petal.
I will also ensure I have nice crisp found edges.
Colored pencil drawing is a slow process so use this as a way to relax and switch off from the outside world. If it takes you a week or more to complete a drawing that’s quite okay, as long as you have enjoyed the drawing process.
Drawing the stems of the rose
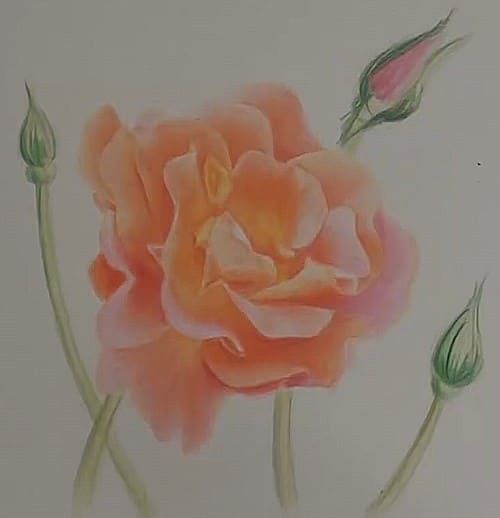
For the stems and buds I sketch them in and then roughly add colour to them.
I don’t want to add too much detail to them. They are just there to support the rose.
You can see that I am almost sketching them in to ensure that I don’t get too much detail.
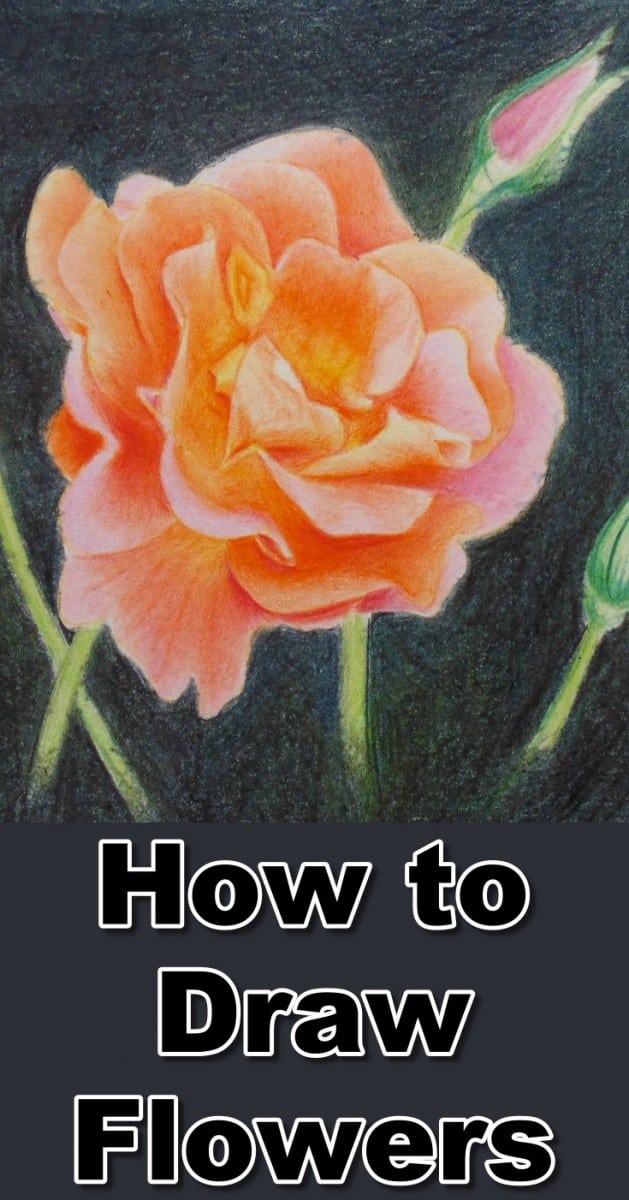
At this point you could call the drawing finished, but I decided to add a dark background in so that we can see what I would look like.
Drawing the background
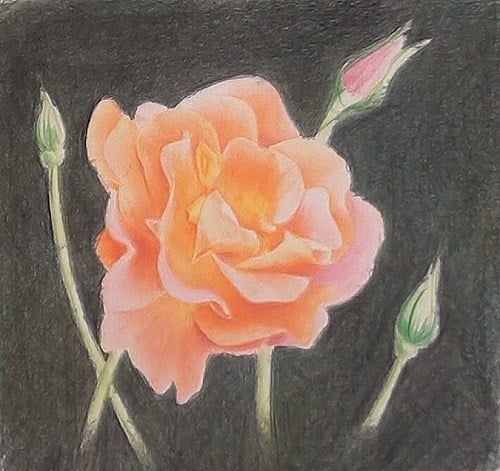
For the background I’ve used black as well as brown and green pencils. The brown and green add colour to the black to stop it from looking dead.
When adding a background like this it is critical that you don’t leave a halo around the flower otherwise it will flatten the entire drawing.
Carefully work your background all the way up to the edge of the flower.
With that the roses complete.
Final drawing
Click the button below to view the real time follow along version of this class:
Pin Me
