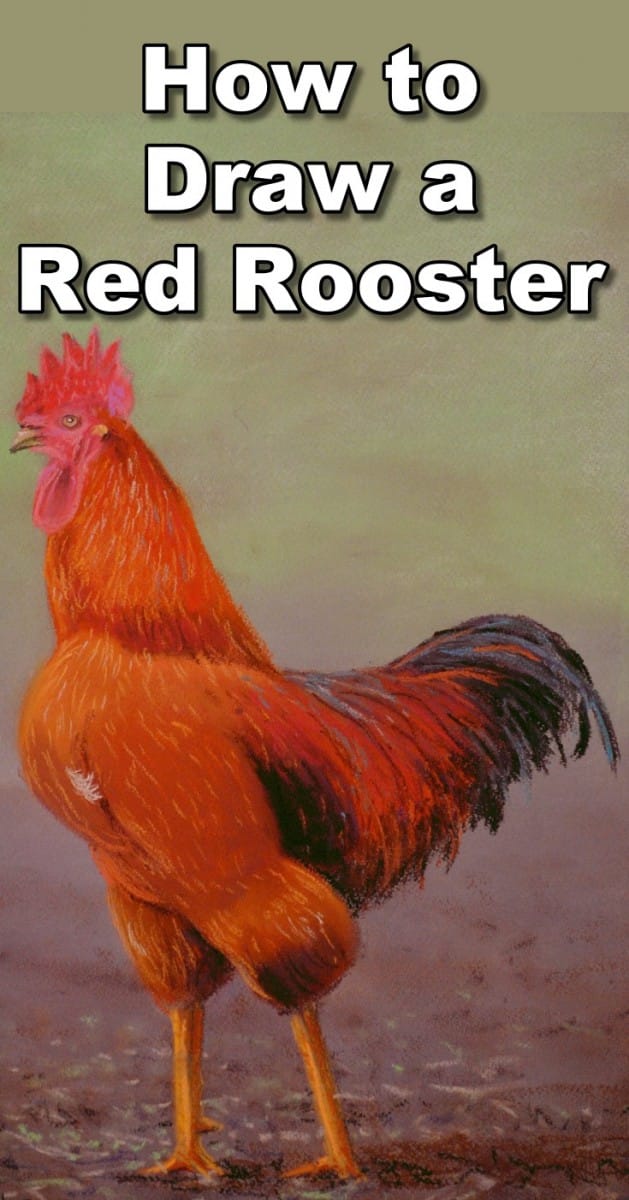
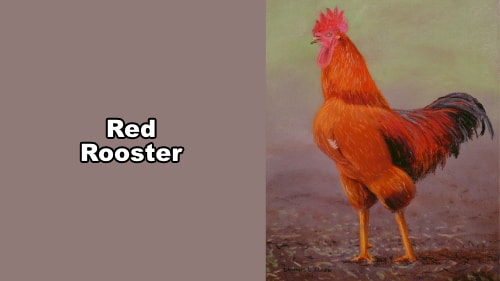
Short Class Video
Class Tutorial
Paint the background
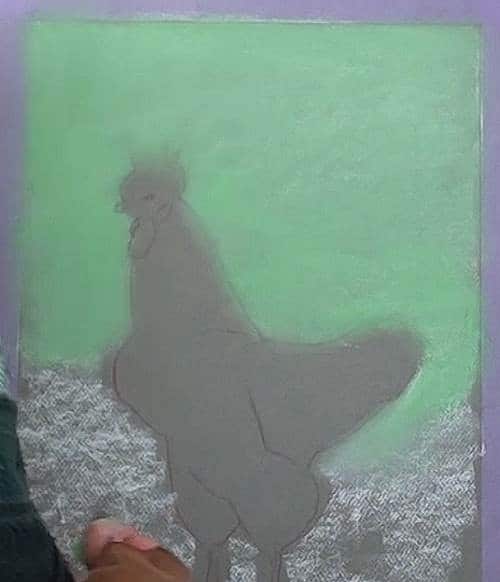
Draw the rooster on a large sheet of Gray pastel paper and with a soft White pastel stick very rouhtly cover the whole area around the rooster. Take a light Green and lightly go over the White in the top half of the painting and smooth out with the fingers. Darken up the outline some more so that it can be seen under the background green colour.
Paint the foreground
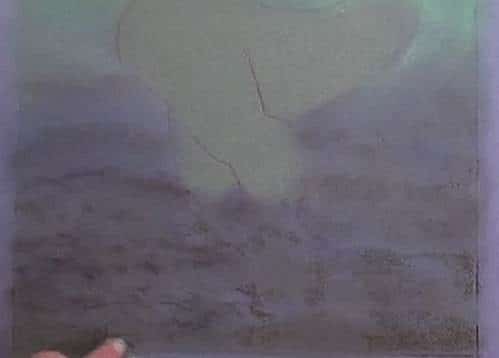
Add a violet colour over the foreground White and smooth out. Again, darken up the outline. Use a dark pastel pencil and not a graphite pencil for the outlines. Darken up the lower section some more. Add some dark Brown into the lower section and let it have a mottled appearance. This is only the underpainting.
Paint the neck
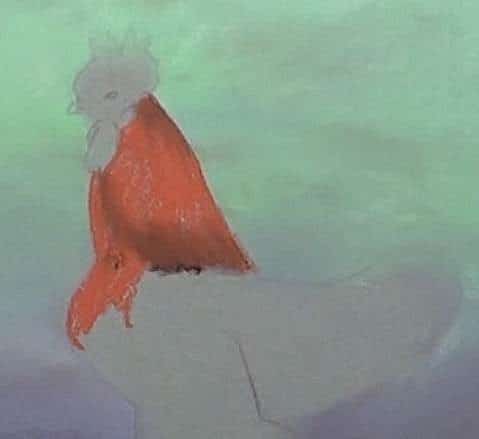
With a Burnt Sienna or similar begin painting in the neck and with a darker red/brown softly add in the darker sections and shadows.
Paint the chest
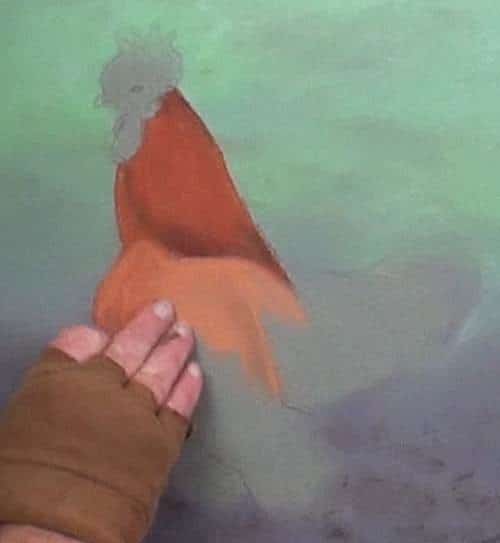
With a very light Burnt Sienna cover the chest area.
Paint the body
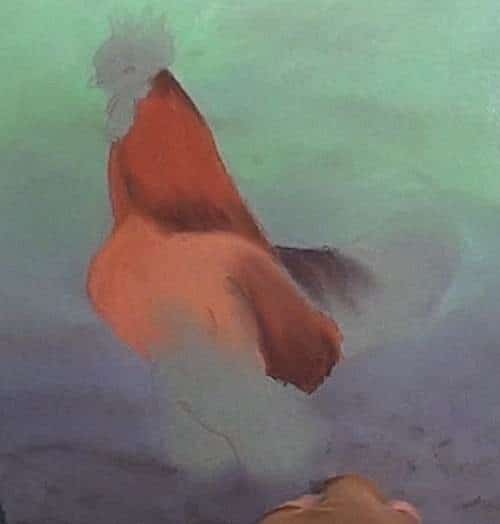
Now the dark tonal ranges need to be painted in order to visualize the form and rounding of the body. Continue adding the rest of the body colour and begin strengthening the shadow areas. Do all this slowly and carefully by starting light and gradually getting darker until the correct tonal range has been reached. Some Red has been merged into the tail feathers. Don’t try to add detail at this stage.
Paint the tail feathers
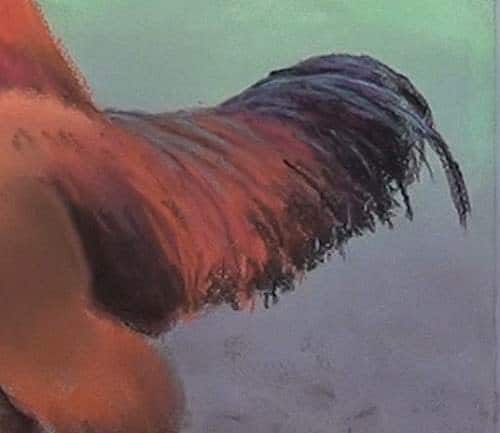
Some Violet is added as an undercoat to the end tail feathers and just a touch of it in the deepest shadows. Now we can begin adding in the shapes of the feathers. Keep them rather loose and flick out towards the tips. Add the darker feathers with a Black stick.
With a light Blue gently stoke in the shine on the feathers caused by the reflection of the sky colour. This adds a nice shine to the feathers.
Paint the body feathers
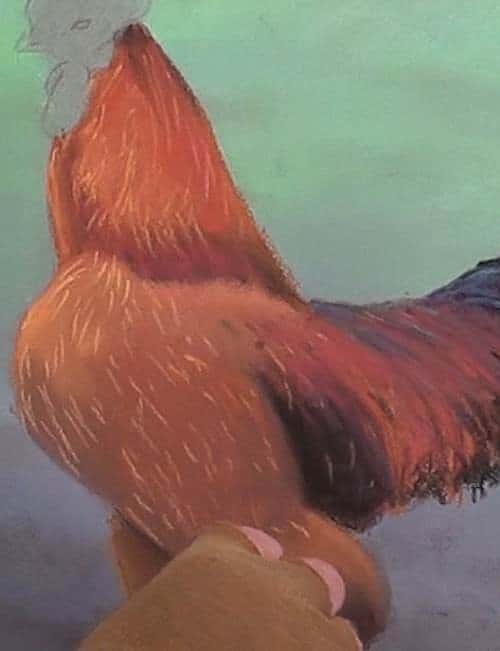
With the very light Burnt Sienna stroke in the neck feathers. Be careful to follow the body contouring. Continue refining the body shape and bring in some Violet and Red where needed.
Now, with a pink pastel stick, begin flicking in the feather details on the body as well as on the legs. Some areas have highlights. Add in the few White feathers on the chest.
Paint the head
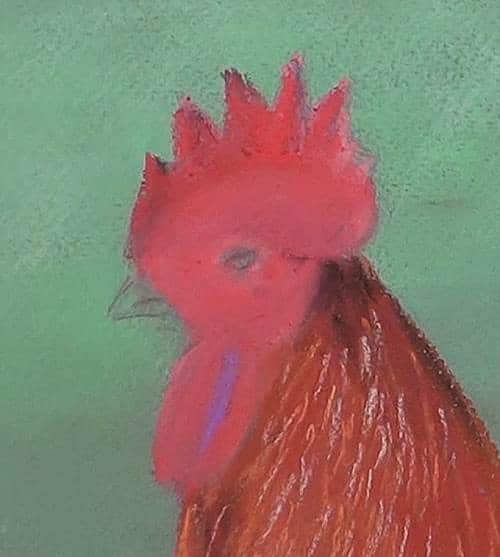
With a dark pink block in the whole head area except for the eye and the beak. Paint in the darker areas with a Red stick and then smooth in the darker shadow areas with a dark Purple pastel pencil. Smooth the whole area out gently and with a soft Purple/Brown stick darken up the shadows a bit more.
Paint the eye and beak
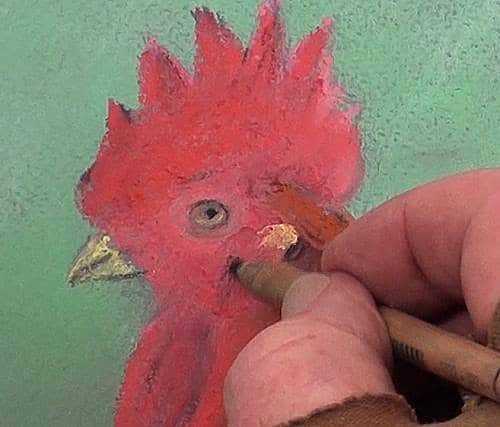
With the various colours of pastel pencils paint in the eye, beak and all the other smaller details in the head area. The highlight in the eye is added with the sharp tip of a White pencil. Twist the pencil as you do this. Use the White pencil to add the highlights on the neck feathers.
Because the head is the actual focus point of the rooster, you can spend a bit of time here with detail.
Paint the legs
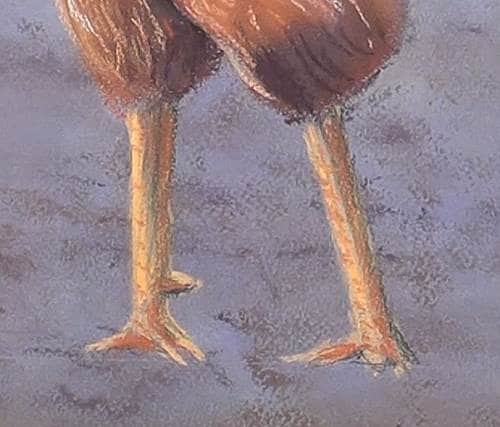
The legs are painted in with a Yellow/orange colour. Start thin and then gradually widen out to the correct thickness. You will not see the full toes as these are hidden in the grassy area. Add the highlights and then paint the shadow on the right hand side of the legs. Add a few impressions of the scaly legs.
Paint the grass
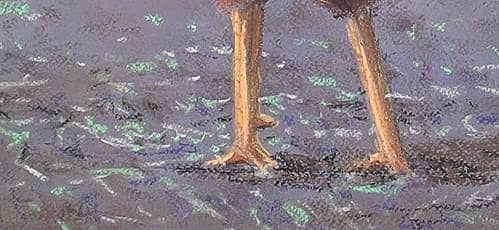
Place random marks in the foreground grass with White, light Green and Violet. Place the Rooster’s shadow on the grass.
Final drawing
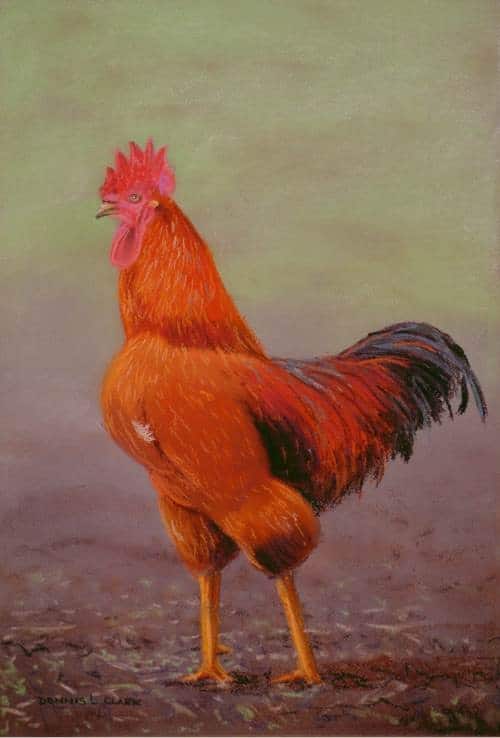
Click the button below to view the real time follow along version of this class:
Pin Me
