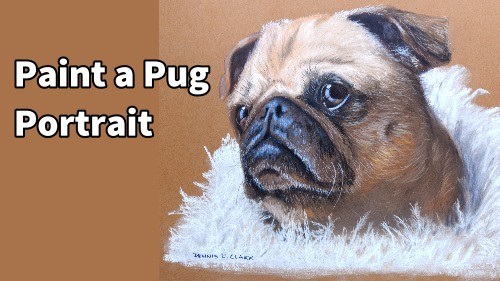
Short Class Video
Class Tutorial
Drawing the eyes
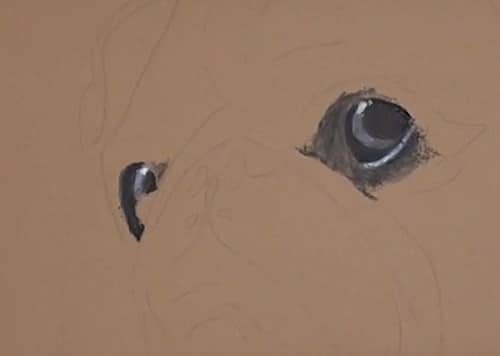
When painting something live, I normally prefer to start with the eyes as they are the window to the soul and they also reflect the personality of the individual. Take particular care with the highlights in the eyes, because these are the only indications which show if the subject is alive or not.
Drawing the ears
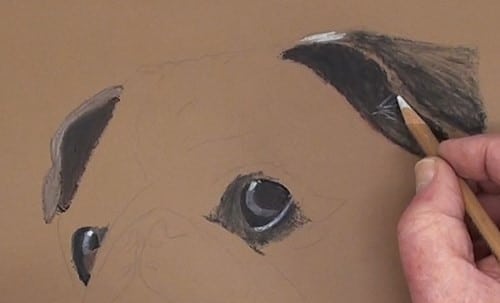
The deep shadows of the ears are painted next. A Black and a Brown pencil is used while the White pencil is used for lightening up some of the tonal values. Blend with a rubber shaper or a paper stump.
Drawing the forehead
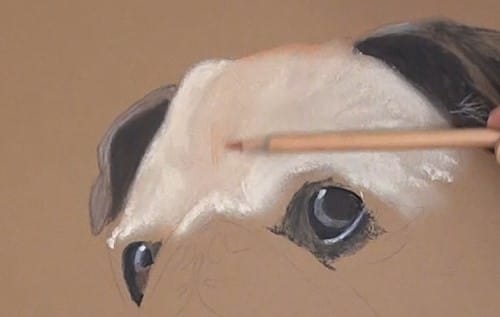
Block in the darker portion of the forehead with a Burnt Sienna pencil and the lighter areas with a light Burnt Sienna tint. Notice that all applied strokes are layered in the direction of the hair. We can now lightly blend them together and burnish with the Burnt Sienna pencil as well as a Grey pencil. Do all this with short strokes that finish at the tips of the hairs. Carefully indicate the folds of the skin. These folds are characteristic to the Pug.
Adding detail to the forehead
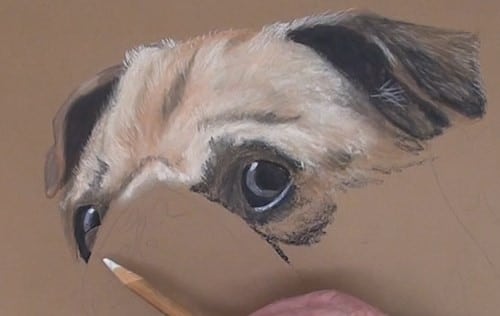
Use a Black pencil to deepen up the shadows as well as the dark hairs. Do this carefully at the eyes.
Indicate the hairs in an expressive manner but not each individual hair. For the dark sections, the sharp pointed white pencil does an excellent job. The White pencil also highlights where the main lighting reflects off the face the most. Slowly go over the forehead again to finally create all the apparent hairs and subtle shadings.
Adding detail to the eyes
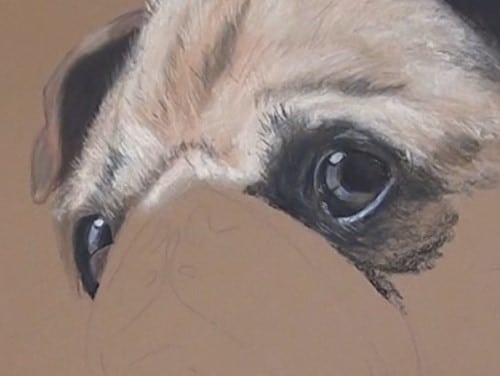
Now that the surrounding areas have been completed, we can finish completing the eye details. A White and Black pencil is used to add the lighter parts and the deep shade. Carefully compare the eye and tonal ranges against the reference photograph. We want the eyes to look very much alive.
Drawing the mouth and nose
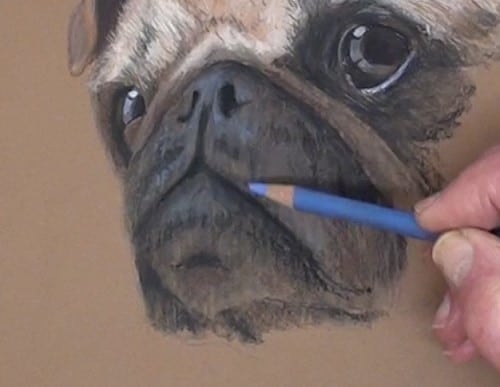
Plot in the nostrils and the lip lines and begin shading in all the tonal ranges as tonal ranges are very important in any painting. Use a rubber shaper or a paper stump to do some light blending because we don’t want to lose all the nice texture. Very lightly stroke in some light blue. The snout, being slightly damp, will reflect some of the sky color. Add some White over the brighter areas and lightly blend over it with a paper stump.
Adding detail to the face
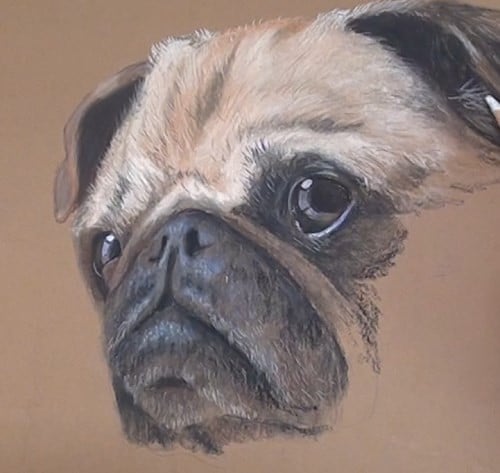
A Burnt Sienna pencil is being lightly scrubbed over all the areas except for the highlight areas. Even the snout has a brownish tinge to it. Now is the time to finalize the deep shadows to reinforce the moulding. With a Blue and a White pastel pencil, strengthen up the blue reflections. While you have the White pencil, it’s a good time to add all the tiny White hairs that show up against the dark areas, including the ears.
Drawing the neck
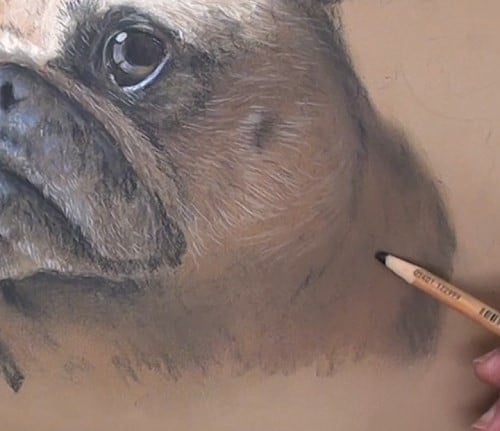
Block in the neck with a darkish tint of Burnt Sienna and smooth out. Do all the fold shadows with a dark Brown pencil and work in the darker sections with a Black pencil. Add all the hairs in a simplistic fashion. There is no need to add them where the neck disappears behind the blanket your Brain will fill them all in for you.
Drawing the white fur
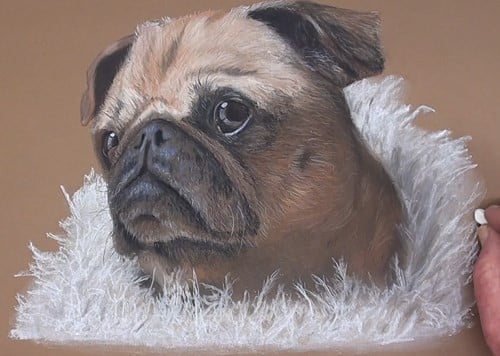
The blanket is mainly blocked in with a very soft White pastel stick. Roughly smooth out and start the deep shadow area with Black.
The fluffiness of the blanket is done with the side of a White pencil. Note how I am doing this in a slightly criss-cross fashion. The fluffiness over the area is achieved by pushing the pencil point in an upward motion, as this ensures that the tips are pointed. Continue doing this in the criss-cross method. Now we can feather out the tips of those points to add to the fluffiness.
Lastly add some shadow that peep through the loose blanket edges. This adds to the 3-dimensional effect.
Final drawing
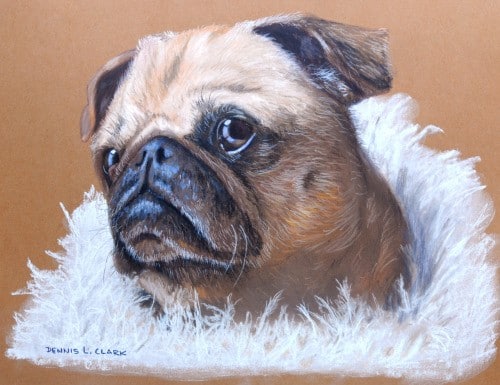
Click the button below to view the real time follow along version of this class:
Pin Me

