Short Class Video
Class Tutorial
Drawing the background
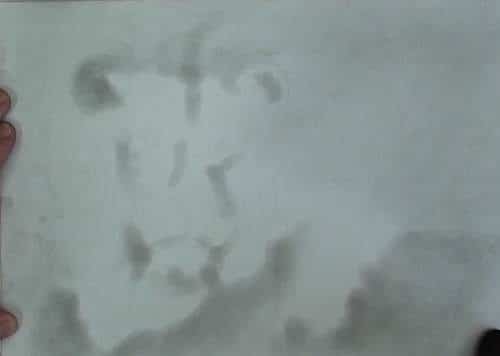
I start by laying down a light tonal value over the entire paper using a cloth dipped in graphite powder.
I then use the cloth to stretch out the basic tonal value in the lion.
This step allows me to quickly get a feel for the drawing as I am able to picture the lion within a few minutes.
As you can see I am not trying to create details or even shadings. I am simply laying down abstract shapes.
Drawing the hair
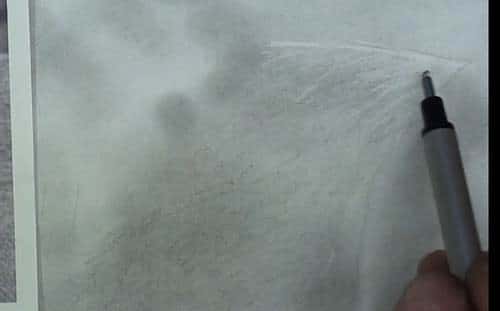
Now we can start drawing the lion. I will alternate between drawing with my pencils and erasing using a pen shaped eraser.
We will start with the body and hind leg as it is the easiest.
Using the chisel point pencil suggest the short hairs on the body and leg.
Don’t try to draw individual hairs though simply shading in the same direction as the hairs is enough.
Left out the highlights using the eraser and a flicking motion.
I don’t spend too much time here as it is not the focal area.
Drawing the lion's mane
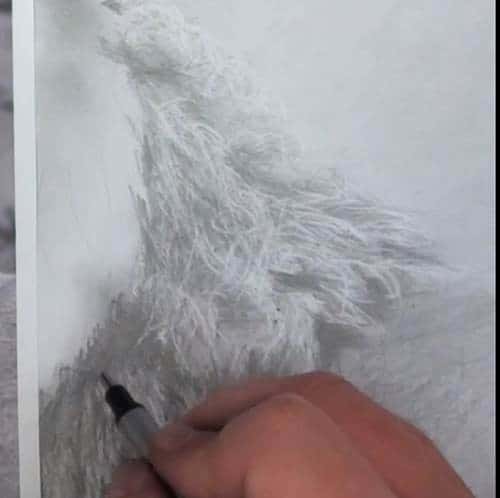
The main is pretty complex as it has the back area which is full of wiry matted hair and the front area which has long, light and flowing hair.
We will start with the back area by roughly establishing the contrasts and the general directions of the hairs.
For this I use the chisel point and a chopping motion.
As you can see I first establish the major contrasts and gradually look for smaller and smaller contrasts.
At this stage I completely ignore the fine detail. If you have hassles doing this then look at your reference photo by squinting your eyes so you are looking at it through your eyelashes.
This will allow you to see the basic shapes and contrasts only.
Once you are happy that they have been established, then you can start to add detail.
Flick in a few dark hairs in the correct direction. Then lift out a few light hairs using the eraser.
As the hair is very matted in this area you need to add many layers of pencil hairs vs erased hairs. So you will need to be patient while working in this area if you want it to look real.
Drawing the ears
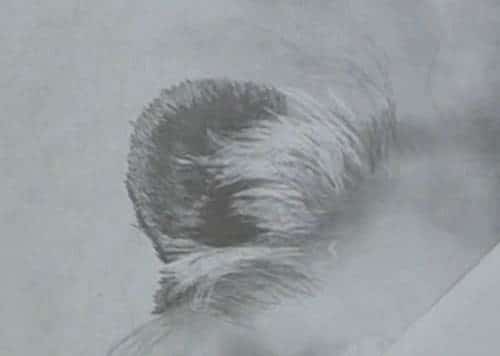
Next I move on to the ears. Here I stab in the short hairs using a very dark pencil. The darker inside of the ear gets many pencil strokes, the lighter outside ones get less.
Here you can see the closeup of how I draw and erase to get the hair effect.
For the shorter hairs on the face start at a point. Any point, it doesn’t matter and then work your way methodically around the whole face.
You draw using short continuous stabbing strokes using the correct value pencil.
For very light hair areas you can use the 2H pencil. To go darker use an H, then HB, then B and so on.
This multitude of short continuous stabbing strokes will simulate the short hairs on the face.
If you need to also use the eraser to lighten areas where needed.
As you draw look out for the directions of the hairs. It is critical that your strokes follow these directions otherwise the shape of the face will not look correct.
I will go ahead and complete all the short hairs on the face, you do the same.
Drawing the eyes
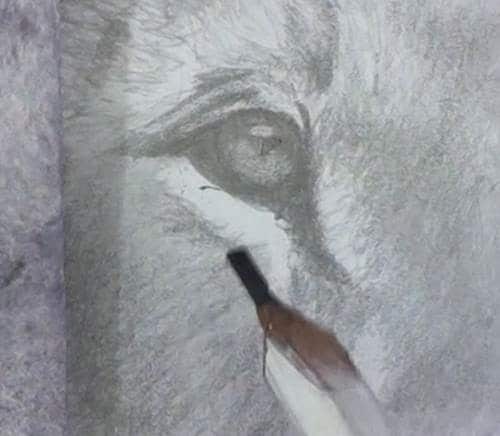
The eyes are the focal point of the drawing so we need to make them look good.
I always start off with the black outline as it helps to get the shape of the eye correct.
I then carefully shade in the correct tonal values in the eye.
Remember that a lion has a vertical pupil.
Then at the end I erase the reflections in the eye and complete the detail work around the eye.
Drawing the nostril
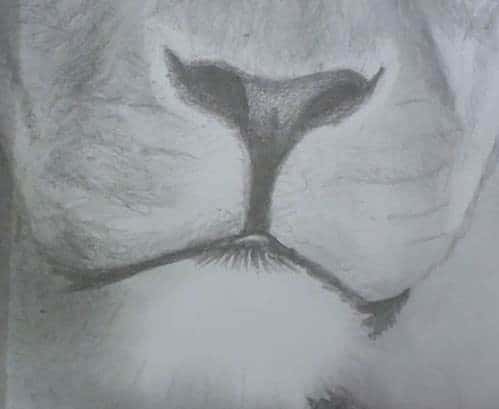
For the nose you want to get a looking in effect by the nostrils. You can do this by making the inside of the nostril super dark and then shading it lighter towards the outside.
Notice also that there is a lighter halo around the nose area.
The billy goat is very light so we need to draw using a few pencil strokes as possible in order to keep that area light.
Drawing the billy goat
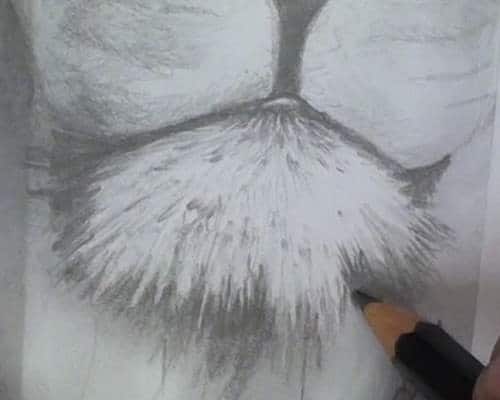
The way you do that is to negatively draw in the silhouette to establish its shape and then simply suggest a few details in the billy goat.
I complete the mouth area by drawing in the oval shaped dots by the whiskers.
Don’t draw the whiskers in yet though, they come later.
As I draw I am constantly checking over the drawing.
As you fill up more of the paper, the true tonal values of what you have drawn becomes more obvious. The white of the paper makes what you have drawn appear darker than it really is. As a result you have to keep checking yourself and adjusting your tonal values.
Most people don’t do this step which means their drawings often lack the lovely darks which are needed to bring their drawings to life.
Drawing the front mane
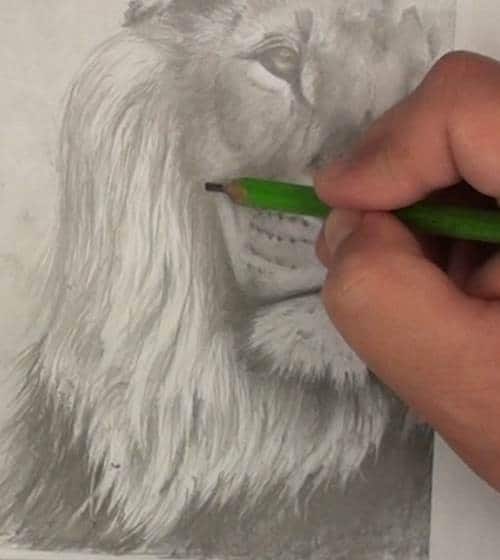
For the front main use your chisel point pencil as before, but this time use long flowing strokes along the direction of the hair.
As with the back main you will need to alternate between the pencil and the eraser again and draw in layer in order to get a natural effect.
Pencil, eraser, pencil, eraser and so on.
Here the directions of your strokes are very important as we all tend to either straighten our lines or exaggerate them.
What you want to do is carefully draw in a few of the most important directions. Then you will be able to work faster as you lay in the rest without losing correct directions.
We are nearly done with this drawing so what I am looking for at this stage are contrasts that can add depth and dimension. Contrasts like the shadow cast by the billy goat onto the mane and the contrast between the front and back mane.
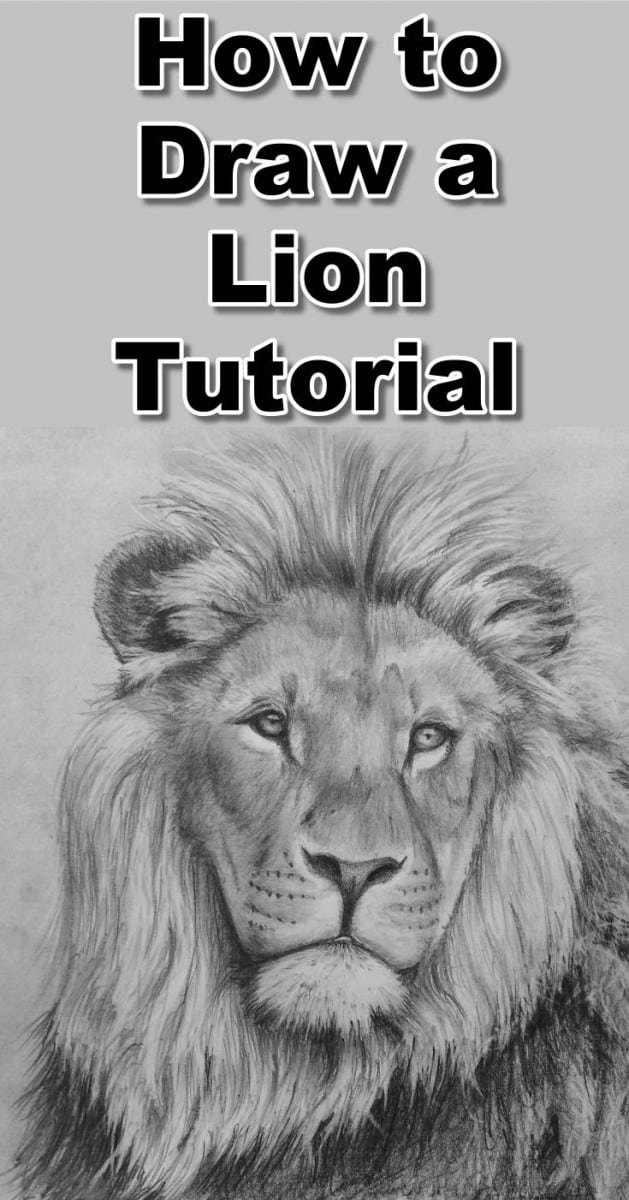
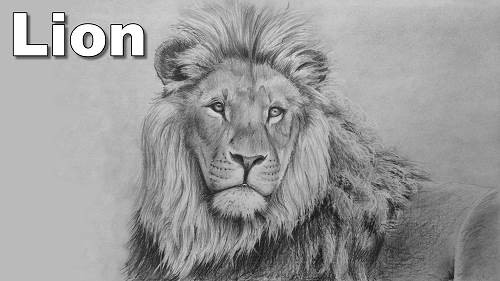
Final drawing
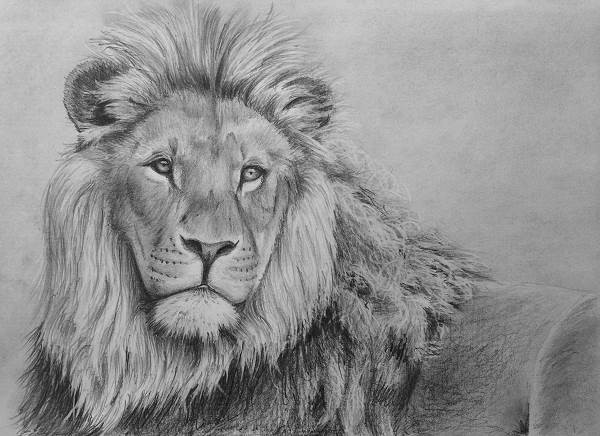
Click the button below to view the real time follow along version of this class:
Pin Me
