Short Class Video
Class Tutorial
Drawing the background
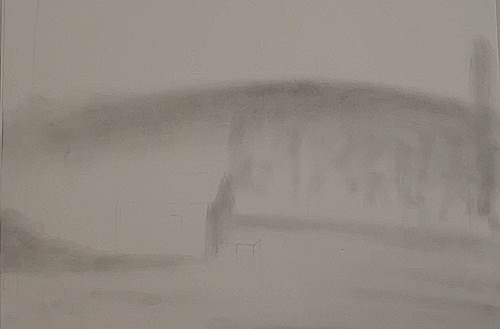
There is not much to sketch before we can start drawing. We only have the few outlines on the house to draw along with an indication of where the main trees will go.
Using a cloth dipped in graphite powder I lay in the basic tonal values across the scene.
As it is also misty there are mostly flat tonal values in this scene with only a few details to draw so this is a perfect beginner drawing.
As always I start with the most distant objects and then make my way forward.
Drawing the distant tree tops
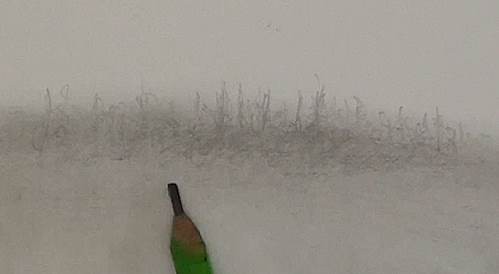
The distant mountain only has a few peak visible above the mist.
I suggest these peaks using random vertical strokes. To get these strokes random I think of an erratic heart rate monitor where some peaks are higher, others are lower, some are closer together and others are further apart.
I then also ensure these peaks fade away towards the bottom to show that they are disappearing into the mist.
Drawing the distant trees
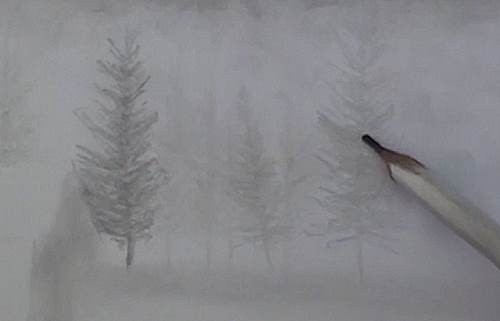
To draw the distant trees I first add a line for the trunk. Each of these trunks I make a different height and angle. This makes the trees look more natural than if they were drawn uniform.
For the branches I add more of the random heart rate monitor peaks, only this time they are generally shorter at the top and because longer to the bottom.
Creating the effect of the forest
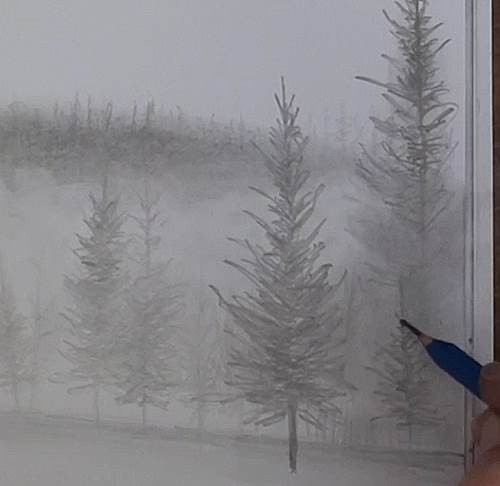
These trees are part of a forest which means that each one is a varying distance away from us.
So you will see that I use a different pencil and apply different amount of pressure onto the pencil as I draw each tree.
This makes each tree more or less lost in the mist.
Just look at how much depth this is adding to the drawing.
As you draw make sure you overlap your trees. If you don’t overlap them you will loose all your distance again.
The next trick that I am using to create the illusion of depth is to vary where the trunk meets the ground.
The further away the tree is the higher up on my page I end the bottom of the trunk.
There seems to be a road in this area so I add the suggestion of a fence and darken the ground on the right hand side. This makes the road recede into the mist towards the left.
This far right hand tree has its peak peeping out above the mist so I use a darker pencil to draw the peak. As I move down on the pencil to fade out the detail.
The lower part of the tree I simply suggest by laying down some graphite with the cloth.
Drawing the house
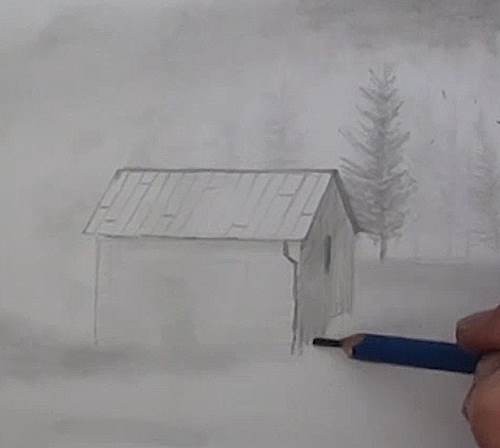
The house is very basic so we don’t want to add too much detail to it.
I start off by adding three different tonal values. One to each wall and another to the roof.
The only details we will add to the house is the overhang of the roof, the guttering and a few lines on the roof to suggest the shingles.
Creating mystery in the drawing
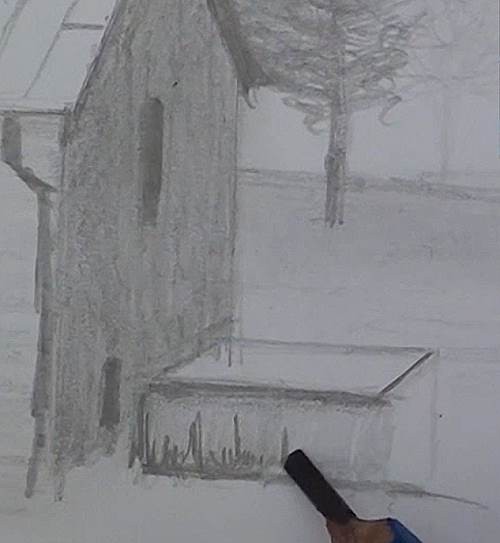
There is also a weird box next to the house which I decided to draw as it is a bit of mystery to the scene. What on earth would happen if they peep inside such an odd construction. Is it for the dog or the fire wood?
Drawing the snow covered ground
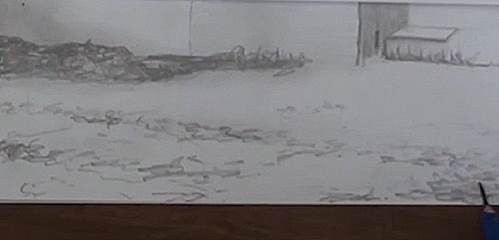
Now we need to draw the snow covered ground.
I think you agree with me that trying to draw all that fine detail would take forever so we will simply suggest the detail.
The way we do this is to lay down random marks across the ground.
If you look carefully you will see that theses marks lie in almost horizontal patches.
So we will wiggle and squiggle these patches in too, lighter and smaller the back and darker and bigger towards the front.
Drawing the foreground trees
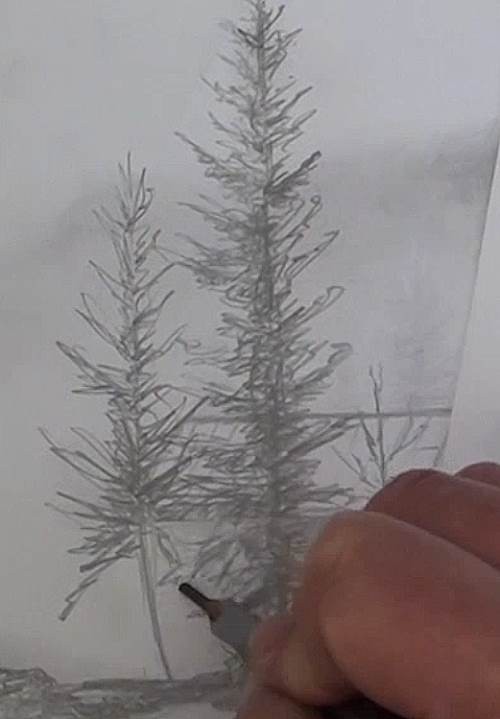
For these foreground trees we will need to add just a tiny bit more detail so I add a line for the trunk.
Then draw a heart beat out for the branch.
I then go back across the branch adding more heart beats to it to suggest the leaves.
Notice how the branches point more upwards towards the top of the tree and gradually become more horizontal towards the bottom.
Then at the very bottom you have one or two branches pointing down.
You will also notice that the left silhouette of the tree is not the same as the right hand silhouette.
You need to do the same to make your trees look natural. A nice trick for getting this right is to cover the one side with a piece of paper so you don’t mirror it on the second half.
Thickening up the tree trunks
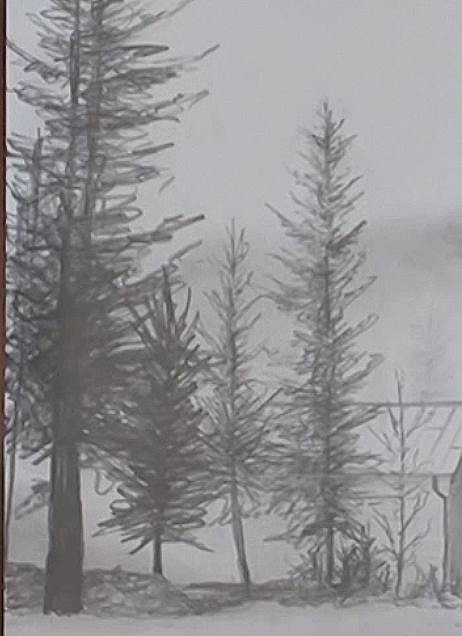
I then darken and thicken up the trunk to complete the tree.
I will go ahead and complete the other trees in exactly the same way.
Notice how I am filling up the center of the trees with more leaves than on the outsides. This adds body and depth to the trees.
I also want you to notice something else. As we have no direct sunlight none of the objects in the scene are casting a shadow.
I then finish off the drawing by adding a bit of contrast to the left of the house in order to show where the house ends in that side.
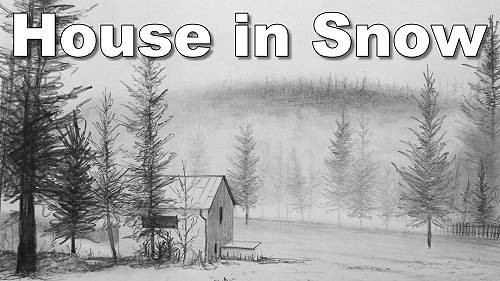
Final drawing
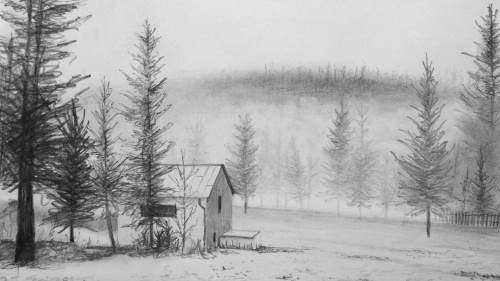
Click the button below to view the real time follow along version of this class:
Pin Me
