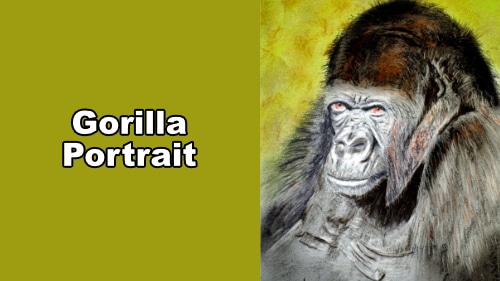
Short Class Video
Class Tutorial
Drawing the background and eyes
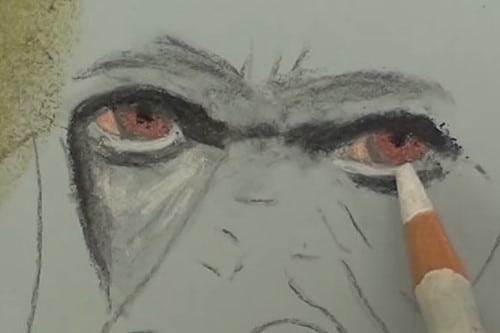
For this painting lay in a light Yellow/Green background and smooth in some Brown patches to tone down the bright green. Repeat this until you have a nice mottled out of focus background. Don’t forget to go lightly over the drawing outline.
Begin the eyes with an Orange pencil and the Iris with a Maroon pencil. Carefully blend these colors with a White pencil. Plot in the pupils with a black pencil and begin the shading around the eyes. Blend as shown and add any highlights where necessary.
Drawing the nose
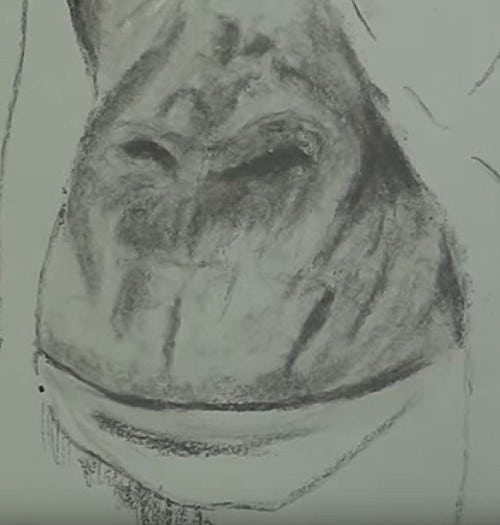
With a dark Grey pencil, begin to add the darker shadows first. Carefully note all the shadows in the facial wrinkles. Start the blending with a stump or a rubber shaper, all the while using the stump to also spread in the lighter values.
Drawing the chin area
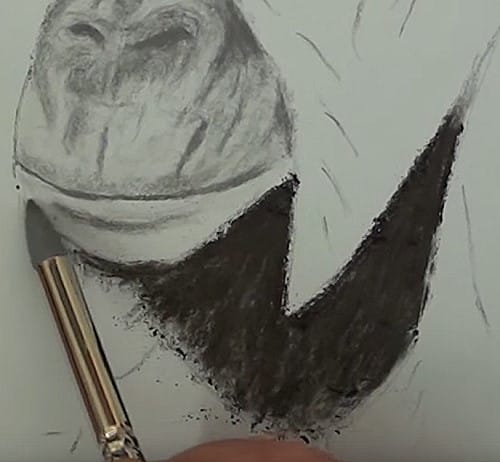
Add the shadow of the chin with a black pencil, keeping any line work in the direction of the hairs. When you have plotted it out, darken up the deepest areas of the shadow. Blend it and use the overflow dust to shade in the lighter areas.
There is a light Orange tint in the face and this is added by lightly stroking it on with the side of the Orange pencil.
Drawing the face
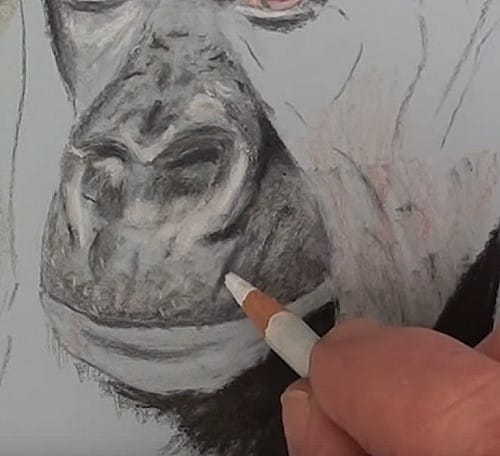
We can now begin to add more detail and shading to the nose and mouth area. As you blend, leave out the highlight areas which will be done with a White pencil. The light Grey pastel paper reflects this very nicely. Use a soft White pencil for this. There are lots of highlights around the top of the nose.
Drawing the cheeks and eye
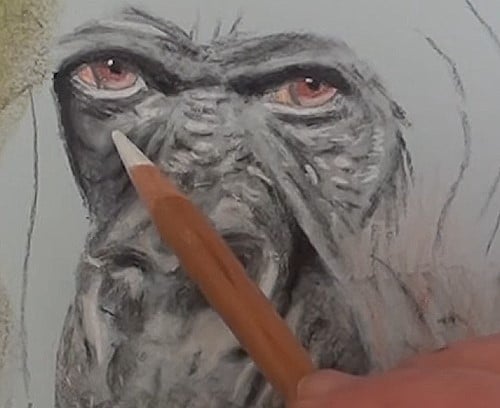
Work on the cheeks and around the eyes and do some blending. Don’t over-blend as we need to show the rough character of the gorilla. Again, the White pencil is used for the highlights. Do some more touching up.
Drawing the chin hairs and side whiskers
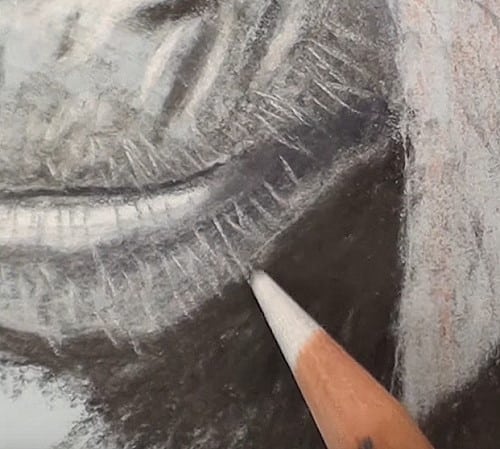
Add these chin and side-burn hairs with sharp point and in a random fashion. For the sideburns don’t try to add every single hair. Add just enough to give the impression of a mass of hairs. Add in the Orange tint as you progress.
Add the left sideburns and plot out the shoulder area. Some blending here will deepen the effect of depth as well as the out-of-focus effect. Add the highlights in with the White soft pencil. You can also stroke in few of the lighter colored hairs as well.
Drawing the chest
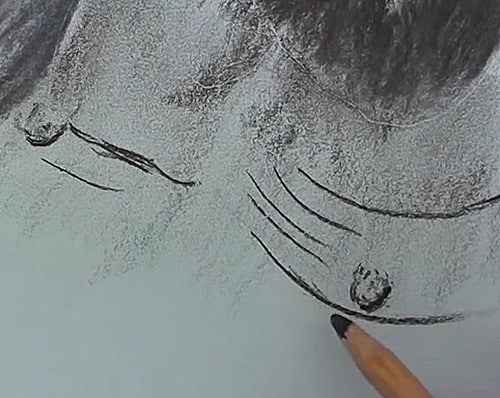
There is very little hair in the chest area so shading and blending only is used for the tonal ranges. Sketch in the nipples and the wrinkles. The dark lines for the deep shadows and the lighter lines for the rounding. Rough in the tonal ranges in between the wrinkles and blend slightly.
Drawing the head
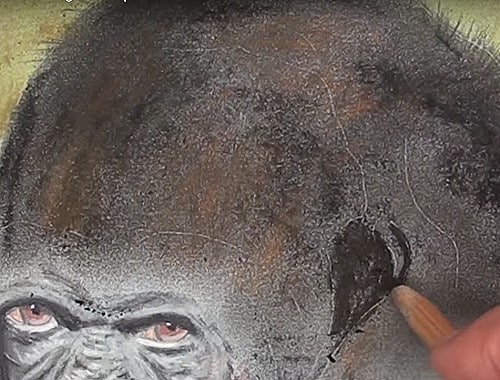
Smooth in a few of the orange-tinted areas and start, with a sharp-pointed black pencil, to add the hairs along the outer edge. Do this randomly. Now, with a very soft Black pastel stick, stroke in the cranium shadings and smooth out with a finger. Notice all the tracing lines where to much pressure was used with the pencil. This caused grooves in the paper. These need to be disguised as best as possible.
With a black pencil, begin all the dark areas and the wrinkle lines. Use a stump or a blender to smooth out all the lines, and with a White pencil, add all the highlights. Notice that the forehead has very short hair – too short to indicate.
Drawing the shoulder
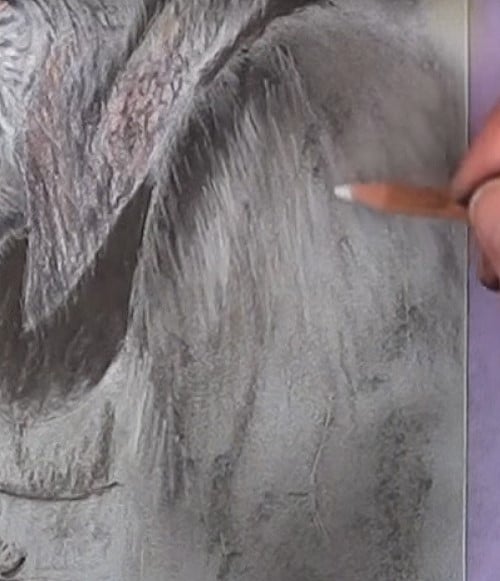
Plot in the main lines that follow the direction of the long shoulder hairs. Do this BEFORE detailing begins. Roughly block in the light tonal range and then the darker areas. Blend nicely to form a base for the final hair detailing; Smooth out some of the chest as well. With a sharp-pointed White pencil, begin to stroke in the lighter hairs and highlights. Work on left side as well.
Final drawing
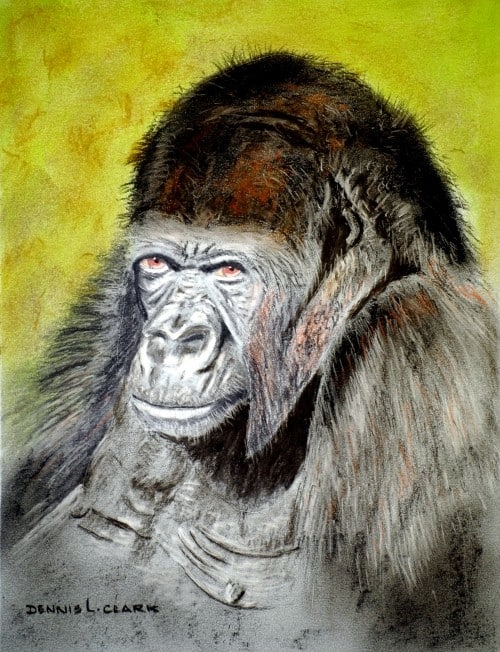
Click the button below to view the real time follow along version of this class:
Pin Me
