Short Class Video
Class Tutorial
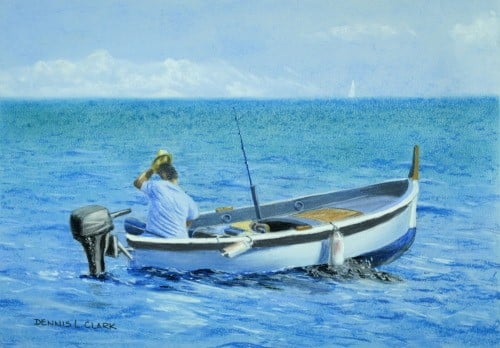
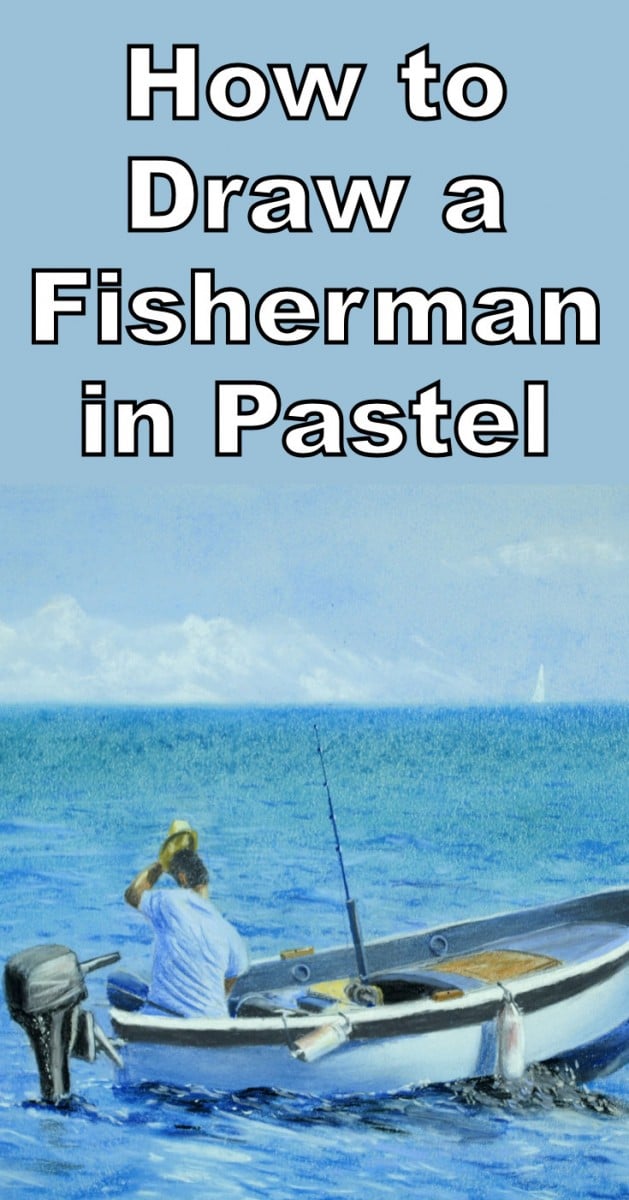
Drawing the sky
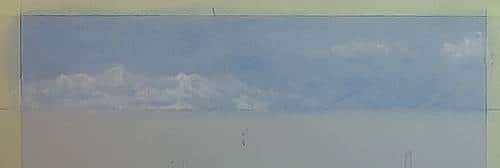
Block in the sky with soft Blue pastel and smooth with the finger. Add the clouds in with soft White. Don't overdo the clouds. Keep them in the distance.
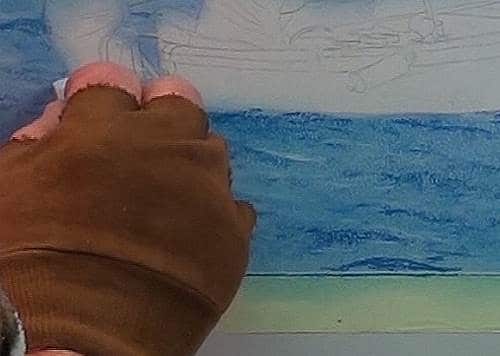
Drawing the distant sea
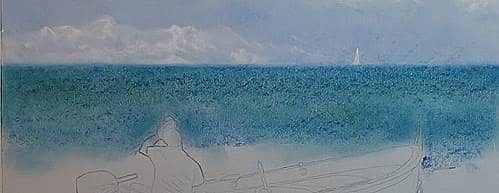
Block in the sea with a darkish Blue and add a touch of Green and blend. With a dark pencil, strengthen up the outlines of the figure and boat so as not to be lost in the blending action. Add the small white triangle for a yacht. This help to show depth in the painting.
Drawing the foreground sea
This section is with Ultramarine blue. Smooth out and once again add some dark outlines for reference, and finish the blending.
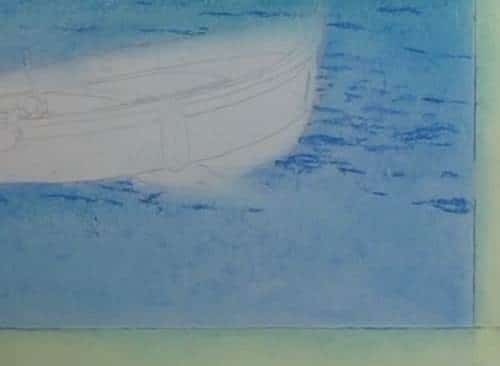
Drawing the water ripples
Begin indicating the shadows of the water ripples – it must get more detailed closer to the boat. Look at the reference photograph for help. Now, with a very light Blue pastel stick add the reflections to the top of the ripples.
Drawing the figure
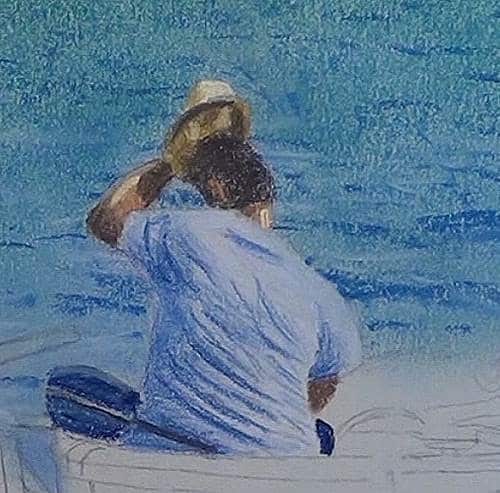
Paint the hat with White and Yellow ochre. Add the deep shadow with a Black pencil. Use Burnt Sienna for the flesh color and Black for the hair and arm shadows. Fill the shirt with soft White and blend in the folds with a Blue pencil. Deepen up the shadows with a darker blue. Use very dark Blue for his jeans.
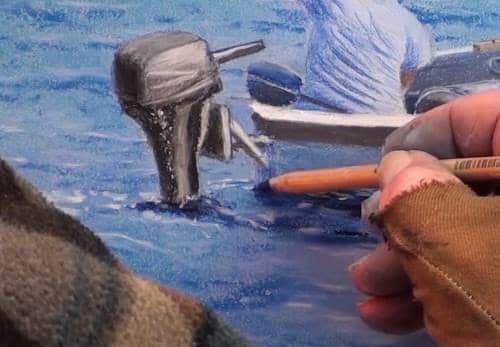
Drawing the outboard motor
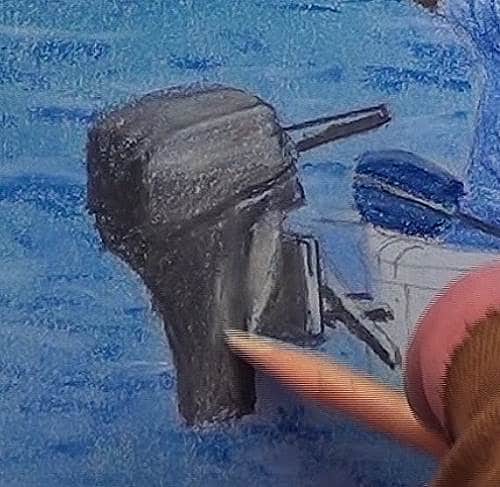
This is painted with a Black pencil and, using a White pencil, tone down the areas reflecting the light, which is coming from the righthand side. Use the photograph again as reference.
Drawing the boat
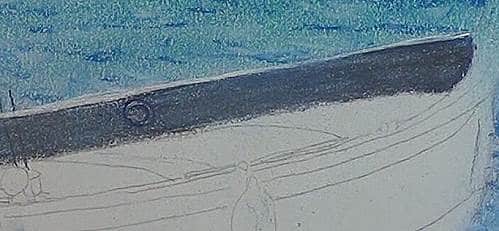
Use a dark blue or Pthalo blue for the deep shadow in the boat, getting much lighter towards the left side. I lightened the front up with too much White. Use Black to darken up even further. Add the top of the gunwale (gunnel) with a White pencil.
Drawing the decking
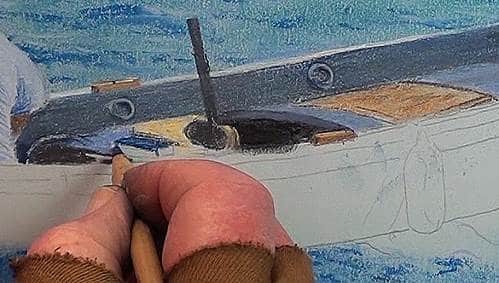
The decking is with a light blue and burnt Sienna blend and begin some of the outlining. Deepen up the dark shadows with Black and a touch of Blue and White. Add the rowlocks and the fishing reel.
Drawing the side of the boat
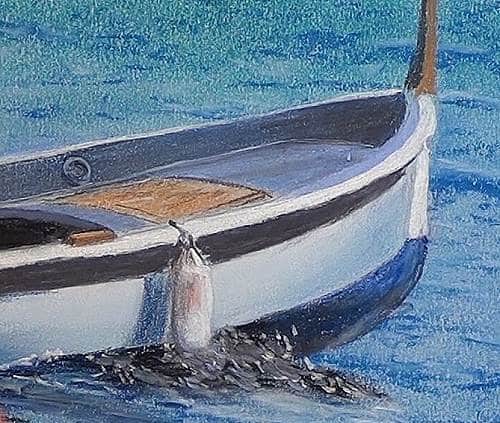
Start with the Prow and the highlight of the gunwhale (gunnel) Paint in the dark stripe with either Black or a dark Blue, and blend evenly. Fill in the side with soft White and smooth out. Gently add the shadows with light blue in the prow and slightly darker at the stern. Shade the darker shadows with Pthalo blue. Continue shading the side of the boat and the bags on the side.
With soft White pastel stick add the splashing of the water and water movement around the boat. Finish painting the fishing rod and touch up the reflections on the water.
Final Drawing
Click the button below to view the real time follow along version of this class:
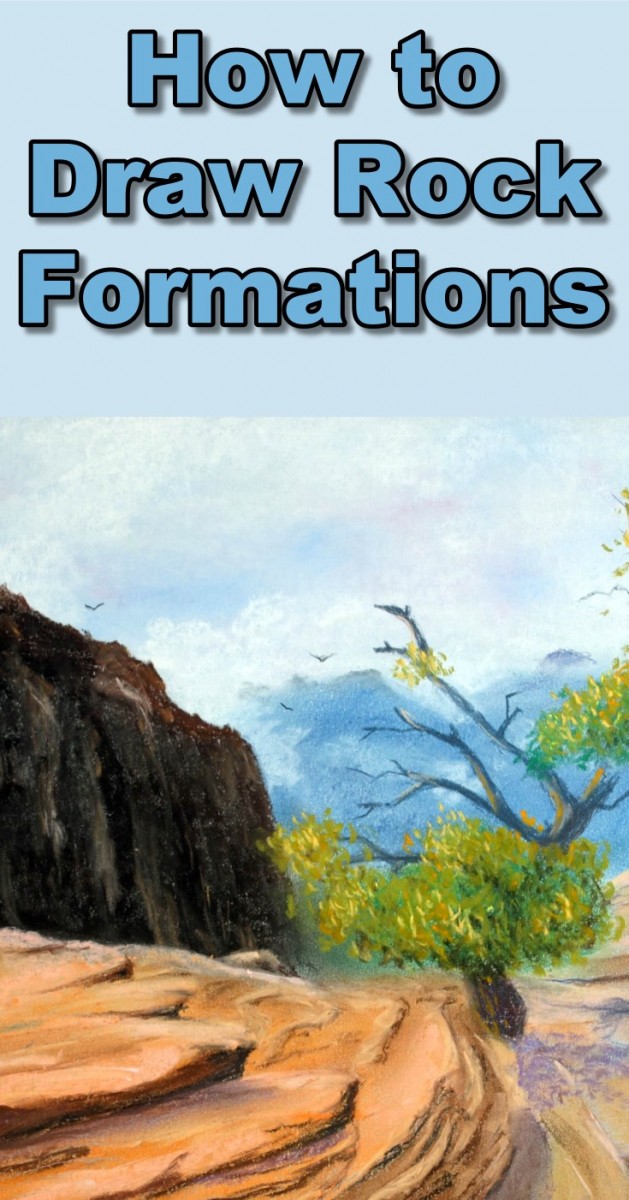
Pin Me