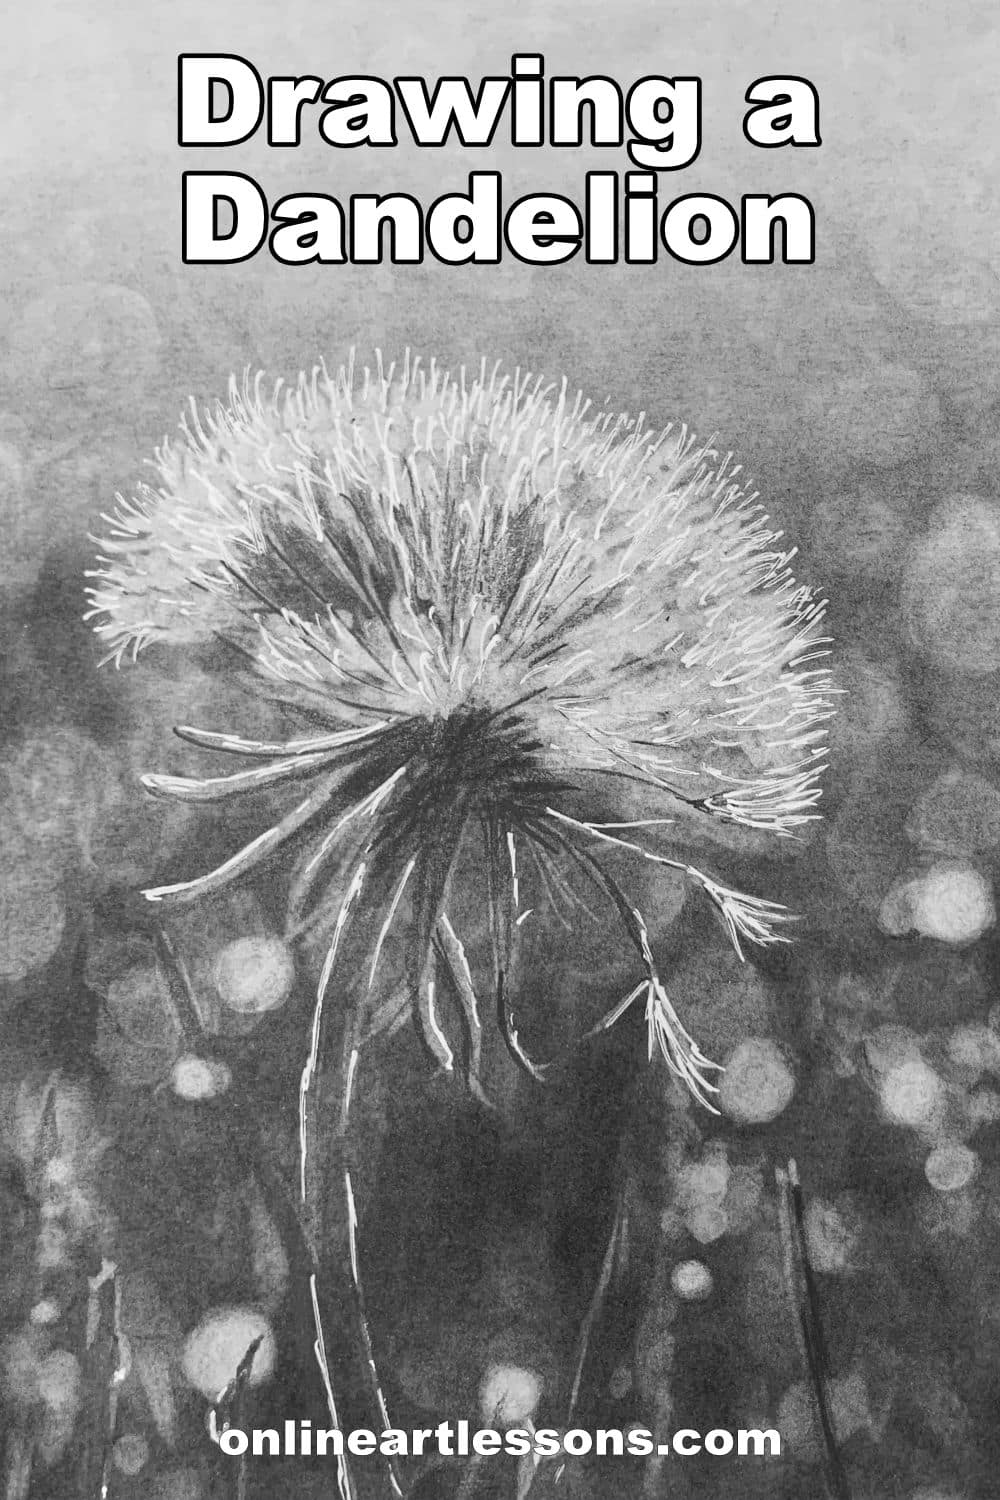
Class Tutorial
In this class, we will focus on drawing a dandelion using negative drawing techniques.

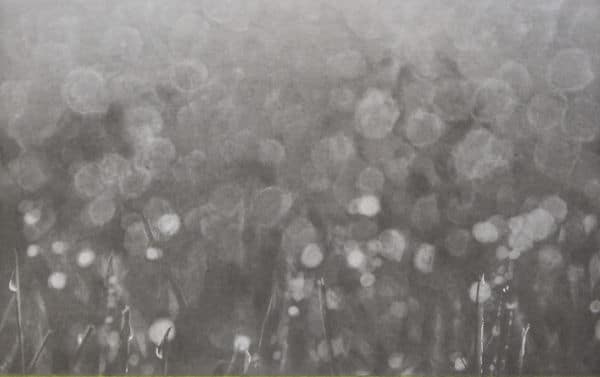
The reference photograph, sourced from Unsplash, features a dramatic and visually appealing image with sparkly lighting effects.
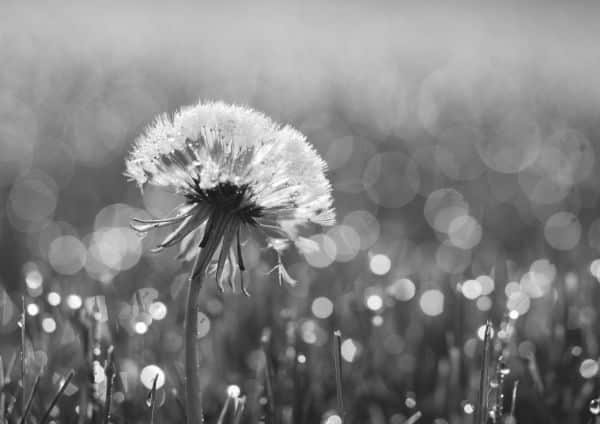
Converting the image to black and white retains its beauty, while also highlighting the bokeh effect in the background.
This exercise will also involve drawing grasses and water drops which stand out nicely against the backdrop.
Additionally, we will need to capture various contrasts and textures, even using an eraser for the finer details.
With the reference photo ready, let's move on to the drawing paper to begin our exercise.
Creating a Shaded Base Layer
In this exercise, we will start by drawing the background as if the dandelion does not exist. This approach allows us to capture the dark tonal values and the areas where the background is visible through the dandelion. After completing the background, we will erase the highlights to create the dandelion's shape.
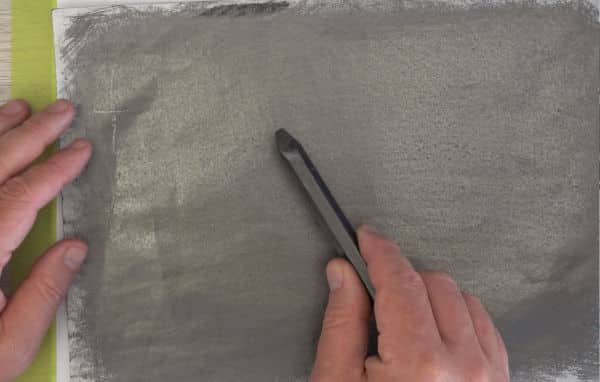
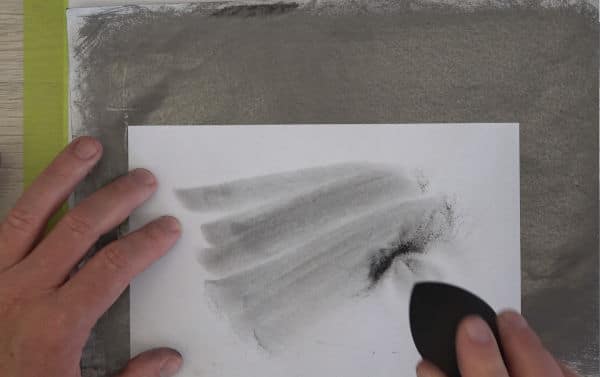
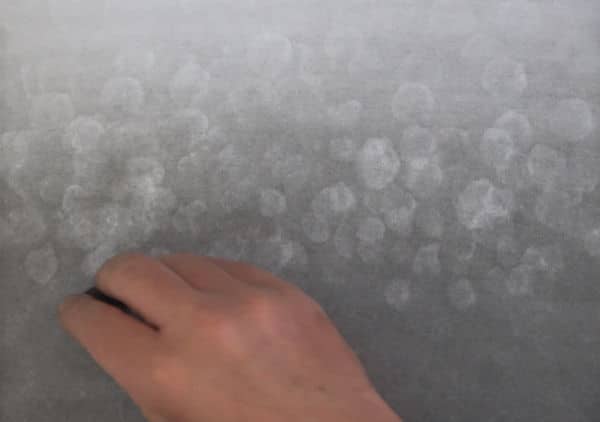
To draw the background, we will use a spare piece of paper that has been scratched over with a 9B graphite stick.
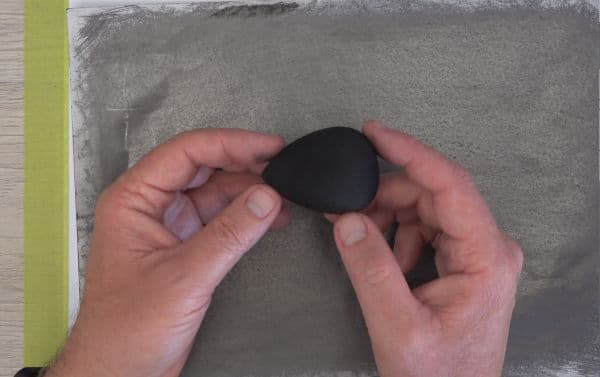
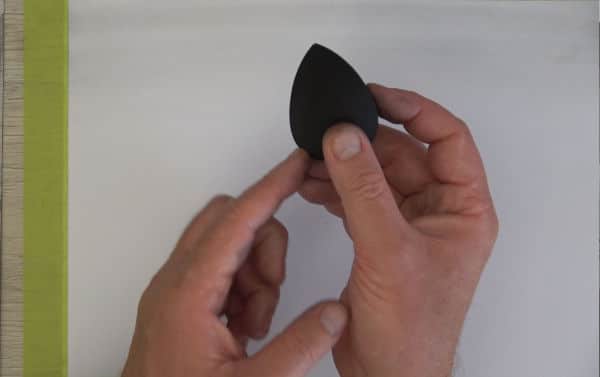
We will use a tear drop shaped makeup sponge to draw the background.
If you are using a make up sponge which has previously been used for drawing then before starting, it's important to test the makeup sponge on a separate, blank piece of paper to gauge the amount of graphite powder it has absorbed from previous drawings.
As seen in the photo above, the makeup sponge can sometimes instantly produce dark tonal values because of the residue graphite from the previous drawing. By testing the sponge first, we can ensure that we're applying the desired amount of graphite (tonal value) to our drawing.
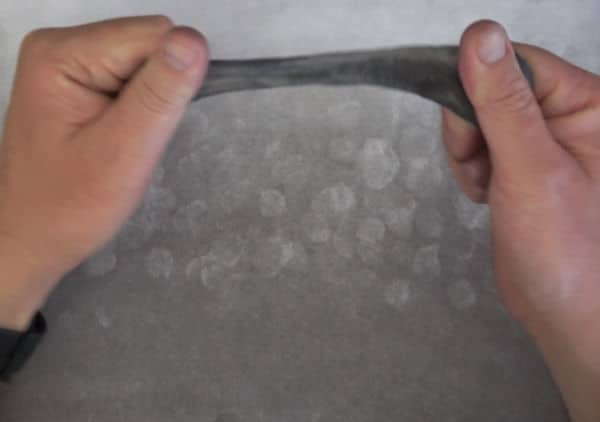
In this exercise, we'll start by removing any excess graphite from the makeup sponge to ensure a light tonal value for the background. To do this, simply tap the sponge against the graphite covered piece of paper to release the excess graphite dust. If you're using a new sponge, rub it over the graphite covered paper to pick up some loose graphite.
With the reference photo in view, we'll work from the lighter area at the top to the darker area at the bottom, using the rounded edge of the sponge to avoid creating any stripy lines. Make sure to work past the edge of the paper on both sides, ensuring a smoother and more even tonal value.
As you progress, you might notice that the graphite on the sponge is getting depleted. If that happens, simply pick up more graphite from the spare paper by rubbing the sponge over it. If the paper isn't providing enough graphite, you can apply another layer using the 9B graphite stick / pencil. The goal is to achieve a reasonably smooth background.

If you find that you are not able to get as dark a tonal value as you need then you can sprinkle some loose graphite powder onto the sheet of graphite covered paper. This will allow you to saturate the sponge with more graphite, allowing you to draw darker.
If using the graphite dust, gently tap your makeup sponge into some of the dust, being careful not to pick up too much. Tap off the excess graphite dust before applying it to the drawing. Since we don't know how dark the graphite will appear on the paper, start at the dark bottom area of the drawing and work your way up. This way, if it becomes too dark, it will blend naturally into the darker area at the bottom. This process may take some time, so be patient as you build up the tonal values.
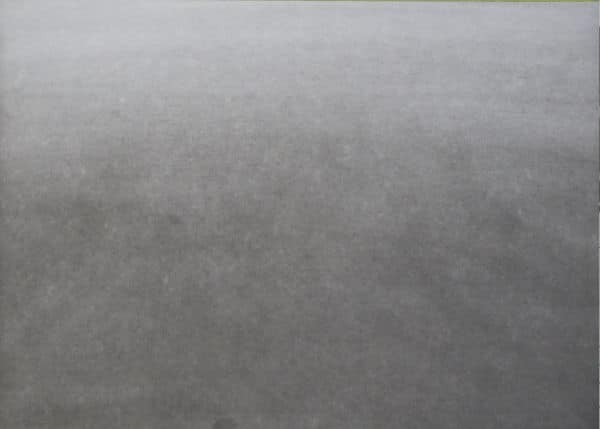
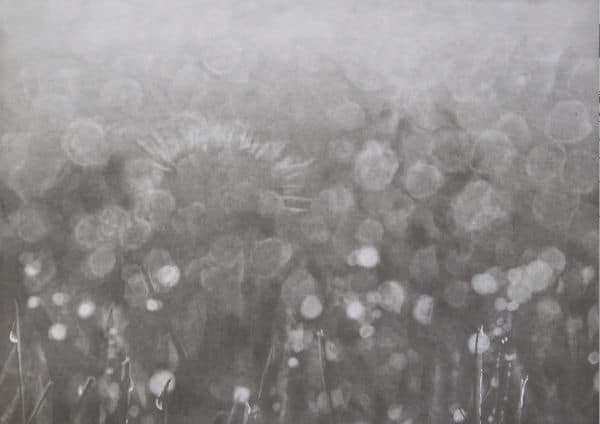
The goal is to create a basic shading across the entire background, with a smooth tonal value change. Continue working on the background until you are satisfied with the overall tonal value. It should look similar to mine as seen above.
Creating a Bokeh Background
To remove any excess graphite dust from your drawing paper, use a very soft brush and gently sweep over the paper. Be careful not to press too hard. Afterward, use a cloth to clean the table and surrounding areas. This will help prevent your hands and arms from getting dirty while working on the drawing.
With a clean surface, we can begin creating the bokeh effect in the background. Starting at the top and working our way down, we'll use a kneaded eraser to achieve this effect. Roll the kneaded eraser into a ball to create a rounded shape, which will help in capturing the different sizes of the bokeh circles present in the reference photo.
To create the various shapes and sizes of the bokeh effect, begin tapping the kneaded eraser onto the drawing. Initially, it will pick up only a small amount of graphite, but as you continue tapping, the eraser will flatten out, producing larger and larger bokeh circles. By doing this, you'll achieve the different sizes and shapes of the bokeh effect present in the reference photo.
With the kneaded eraser gradually flattening and accumulating graphite, its effectiveness in picking up graphite will decrease. This works to our advantage as we can use the dirty eraser to create the subtle bokeh effects near the top of the drawing.
Keep in mind that as we move towards the back of the scene (top of the paper), the perspective causes details to become increasingly out of focus. So, the bokeh effect will be less noticeable and detailed in the background, further enhancing the sense of depth in the image.
To continue with the bokeh effect, roll the kneaded eraser into a ball again, using the opposite side of the previously flattened area. This way, you'll have a fresh, flat surface to work with. As you apply the kneaded eraser to the drawing, give it a slight clockwise twist to erase more graphite and create a more dynamic effect. At this point, you should start to see a beautiful bokeh effect taking shape.
When the eraser gets too dirty, stretch and knead it until it is clean again before continuing.
While working on the area where the dandelion will eventually be, simply continue as if there is no dandelion present. This will help capture the areas where the background is visible through the dandelion.
As you move towards the bottom of the drawing, you might notice that the bokeh effect becomes more intense. This is because the perspective causes details to appear more in focus when we see them close up. As a result the closer bokeh effect must be brighter and sharper edged than the distant bokeh marks.

Next, we'll add in lighter and darker areas to create more depth and interest. Use the tip of the makeup sponge dipped in lots of graphite dust to tease in darker areas, especially towards the bottom of the drawing. For lighter areas, use the kneaded & Tombow erasers to create highlights.
Creating Blades of Grass & Waterdrops
While we are at the bottom of the page we may as well add blades of grass and water drops to this area.
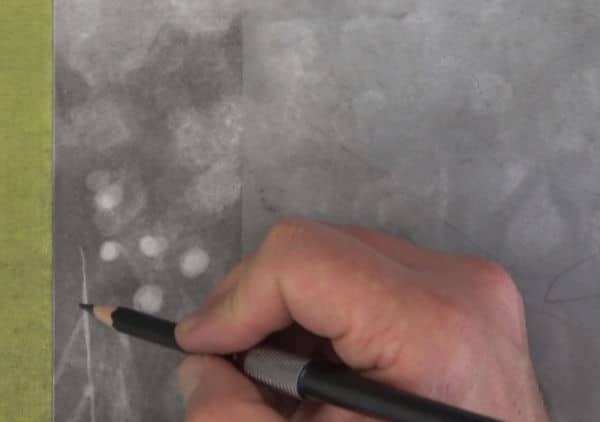
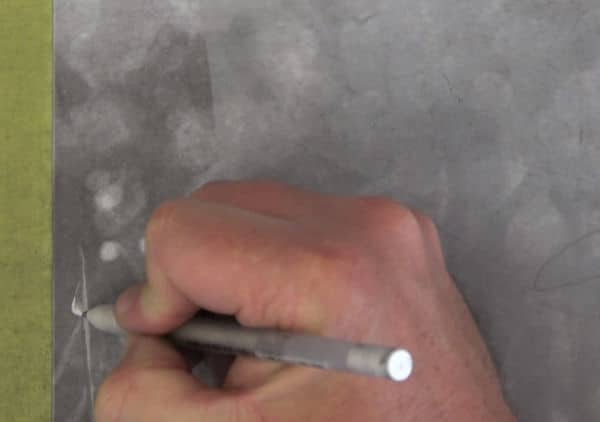
We will do that using a sharp 8B pencil and the Tombow eraser. With the sharp 8B pencil and light pressure, carefully work in the silhouette of a blade of grass. It's not crucial to position every element exactly as in the reference photo, so feel free to make adjustments.
As you draw each blade of grass, look for distinct areas of light and dark, as well as any odd shapes that might add interest to your drawing.
Use the Tombow eraser to create highlights and a Gelly Roll pen to brighten them up even more if necessary.
When drawing the drops of water use the Gelly Roll pen to indicate a thin outline, wait for the ink to dry, then erase a shading into the drop of water at the correct place. What, you can shade using an eraser?
You sure can! Start at the lightest area and a hard pressure then as you erase towards the darker area, lay off the pressure on the eraser. The same way as you do with a pencil, it is just the tonal value that is opposite.
Keep working on your drawing, adding blades of grass, water drops, and other random twig details until you are satisfied with the overall composition of the grass area. Remember, practice makes perfect, and as you become more comfortable with the technique, you'll find that your work progresses more quickly. Enjoy the process and watch your drawing come to life!
Drawing the Dandelion
Begin by erasing out the basic shape of the dandelion using the kneaded eraser. Be brave and estimate its position as best you can. Keep in mind that each dandelion is different, so it doesn't need to be exact.
Tip : Start off a bit too small, you can always adjust and make it larger if necessary.
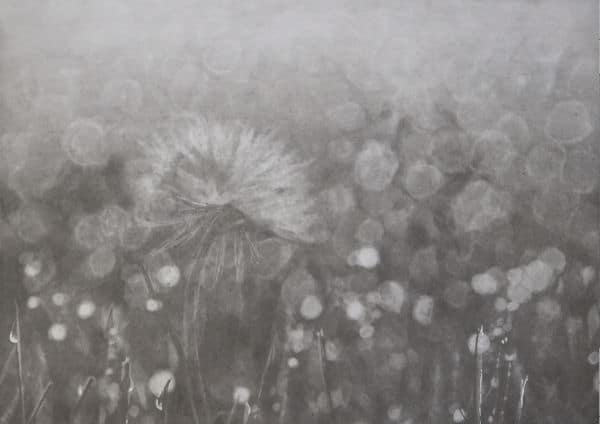
Once you've got a rough outer shape of the dandelion you can start adding structure to the blowball.
Roll the kneaded eraser to form a tip with a chisel edge. Start dragging the eraser from the outer edge inward. This will make the outer edge lighter fading darker inwards.
After a stroke or two re-establish a new, clean eraser edge before continuing. As you erase keep referencing the photo to get a rough match on the blowball shape and the position of the seeds - notice the darker area in the centre before it becomes lighter again by the stem. This darker area creates the illusion of being able to see through the blowball.
Continue refining the dandelion shape until you are happy.
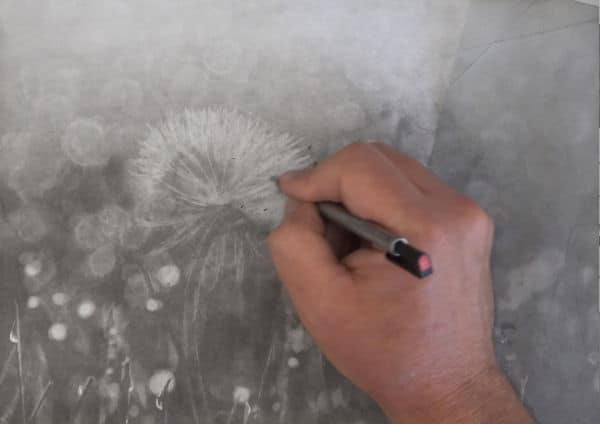
Now use the Tombow eraser to add light stems to the seeds and a sharp point 8B pencil to add a few dark stems for interest.
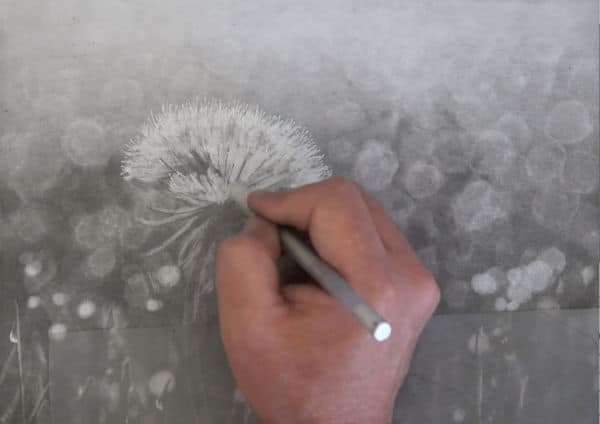
Next use your Gelly Roll pen to draw many short lines overlapping the outer edge of the blowball. This will indicate the fluffy part of the seeds. Look carefully at my final drawing to see how I have added the lines.
You can now begin sketching the dandelion's stem and leaves using the kneaded eraser or Tombow eraser. Estimate their position and shapes as best you can. Then add shadows and highlights to each using the 8B pencil and Gelly Roll pen.
Take your time as you add individual details, such as the leaves and stamen. You want these to have nice crisp sharp edges as they are in sharp focus.
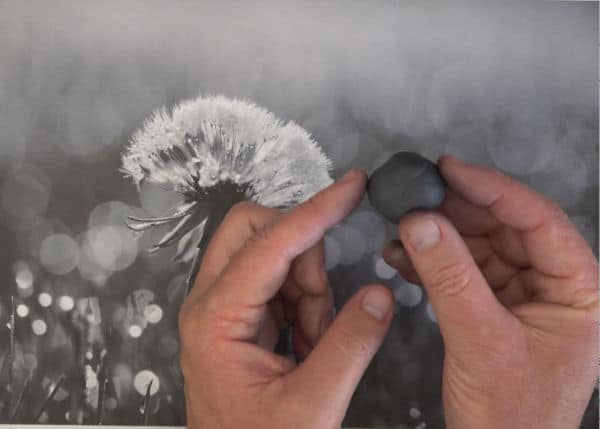
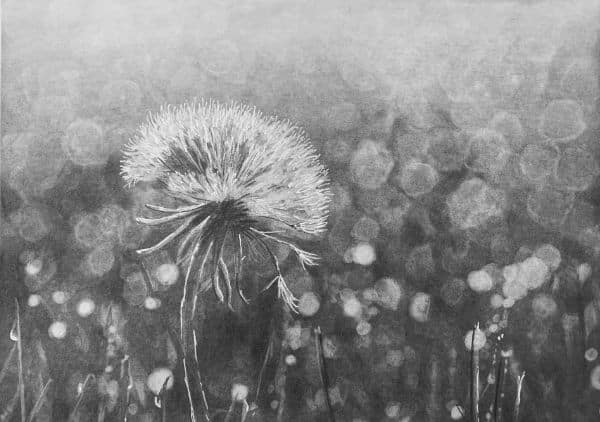
With that your drawing is complete and should look similar to this:
I hope you enjoyed the tutorial. If you did consider joining the website then you will be able to follow along to the real time video of this class where I show you exactly how to draw every last detail. Join Here.
Pin Me