Short Class Video
Class Tutorial
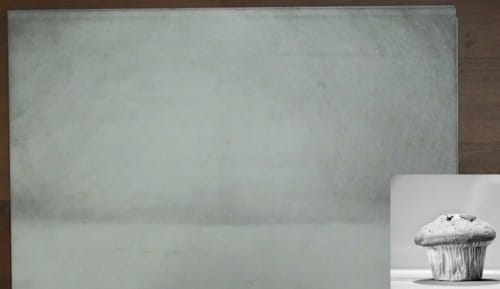
Tone the background
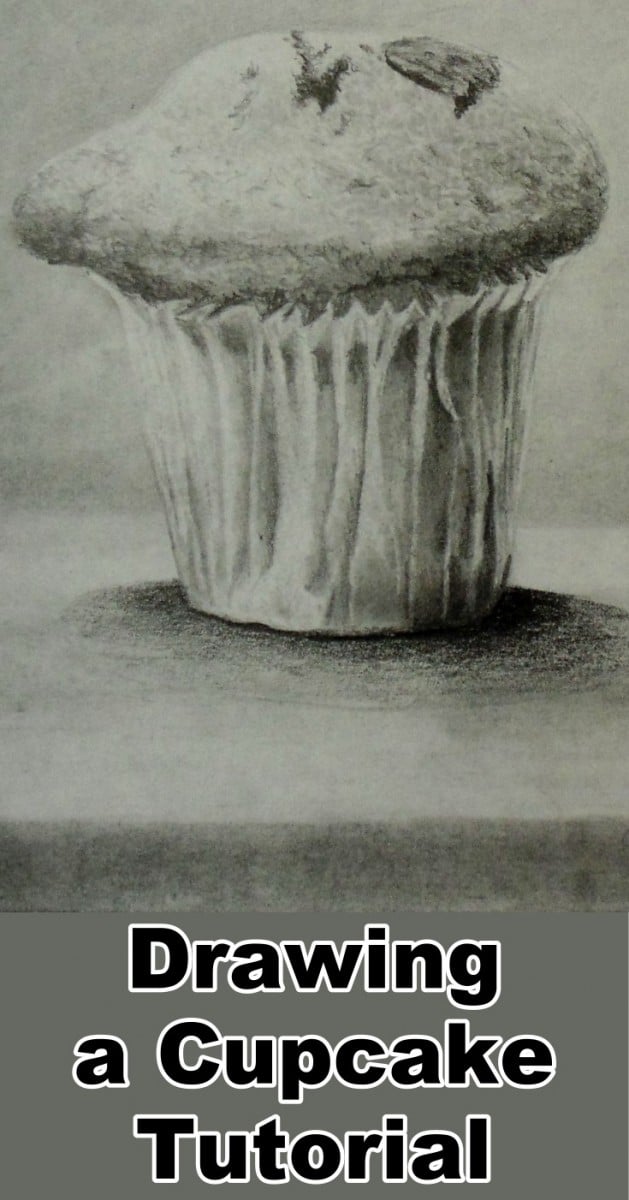
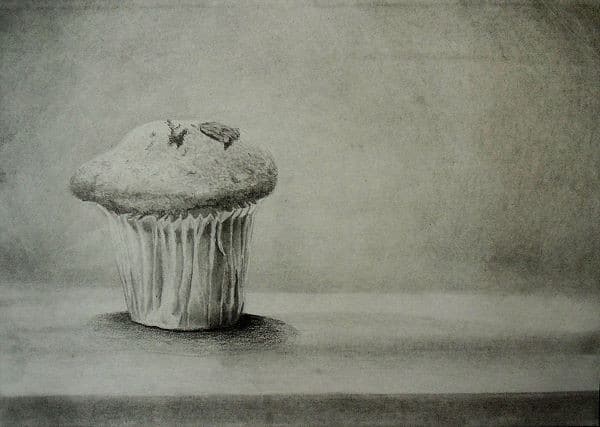
In this lessons we are going to draw a cupcake.
To do that we are going to be doing some negative and positive drawing so it should be fun. The wall behind the cupcake isn't white so we need to darken our paper. Start off by scribbling a 6B pencil over a scrap piece of paper until it is covered in graphite.
Now use a soft piece of cloth to first pick up some of this graphite. Then lay it down onto the drawing paper by rubbing gently. Do this a few times until the background is the correct tonal value. Don't worry about where the cupcake goes for now.
Create a spotlight effect
Notice that the corners of the background are darker so rub them a few times more to create a spotlight effect. We may as well do the wood table at the same time rub on a few darker stripes to show the wood grain. Use a ruler to get a nice sharp edge for the edge of the table.
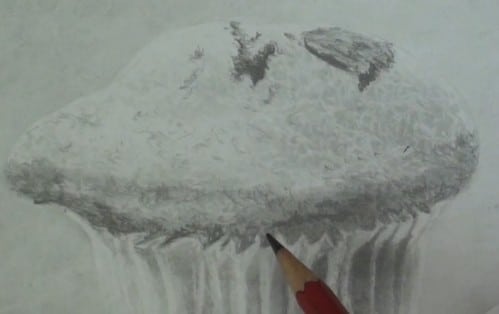
Define the cupcake shape
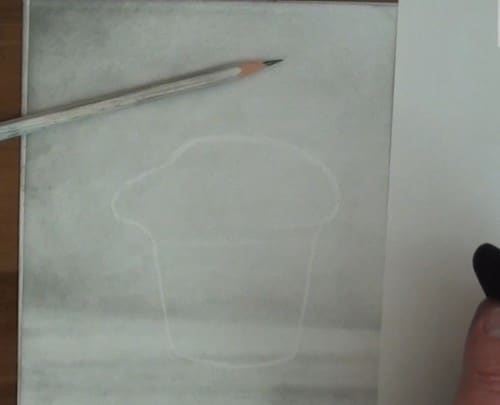
We can now use an eraser to negatively draw out the shape of the cupcake. Let's start getting some detail to the rounding and erase to show the texture. I create the texture by erasing in a scribbling motion.
Draw the cake
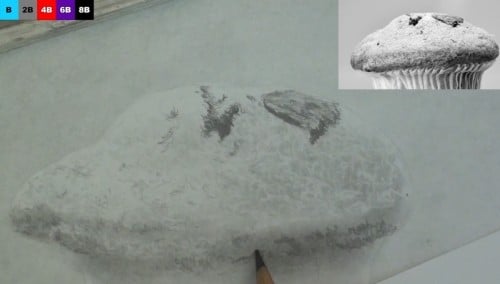
Use a 4B pencil to scribble in the cracks and fruit. Don't try draw anything specific, just roughly copy the tonal values. Your brain will fill in the detail for you. Continue to scribble in lighter and darker values until you are happy with the effect.
Tone the paper cup
Now we can move on to the cup. Start by rubbing on your shadows with your cloth to create darker tonal values. Now use your eraser to negatively shade in the folds.
Draw the folds
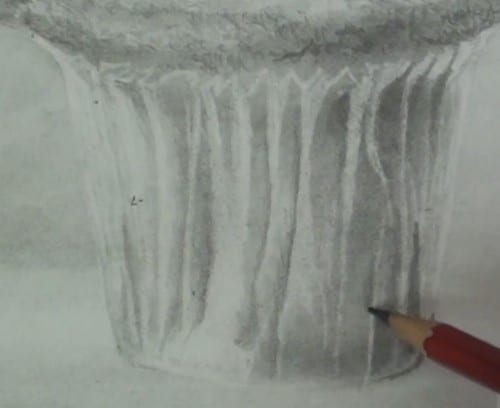
Use a 4B pencil to darken the deepest folds. The cupcake is looking pretty good already so lets start shading in the shadow on the table.
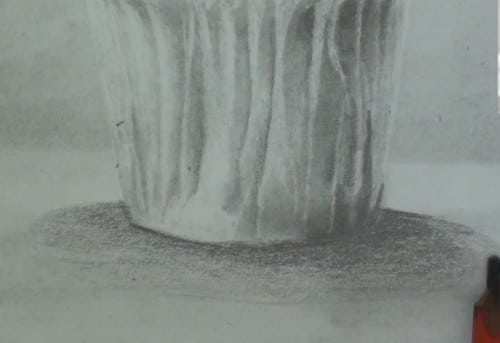
I make the shadow dark against the cupcake and lighter further away.
Refine the contrasts
To finish up this drawing make sure you have a good contrasts like by this fold in the cup and the curling under section of the cake. And where the cupcake and background meet.
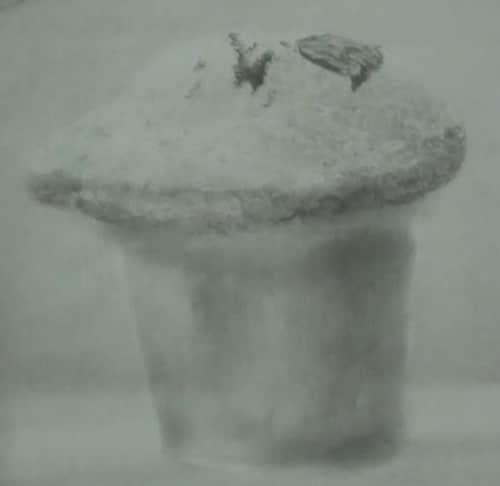
Final drawing
Click the button below to view the real time follow along version of this class:
Pin Me