Short Class Video
Class Tutorial
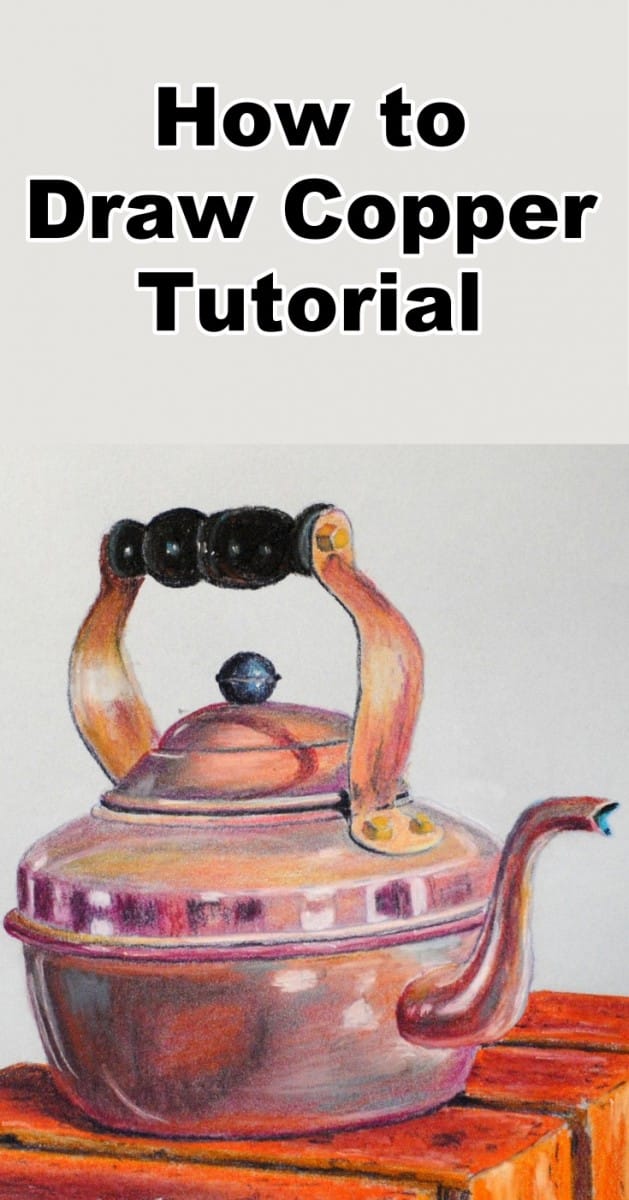
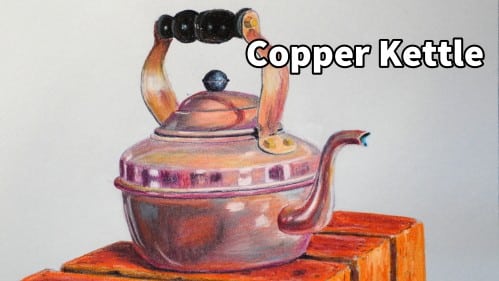
In this lesson we will learn how to paint copper in pastel by painting a copper kettle.
Paint the handle
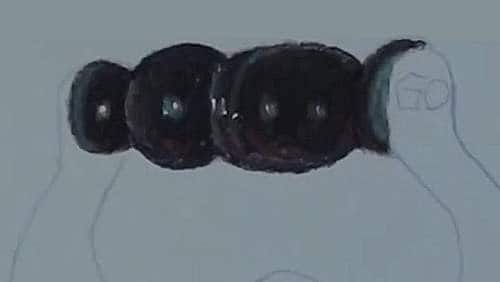
With a black pencil begin painting te handle of the copper kettle. Fill in the the handle of the copper kettle being careful not to obliterate the thin light lines at the indents.
With a light Blue or Blue/Gray pencil, shade in the lighter tonal values. Add the reflections and finish off the shape of the handle with clean edging.
Paint the handle bracket
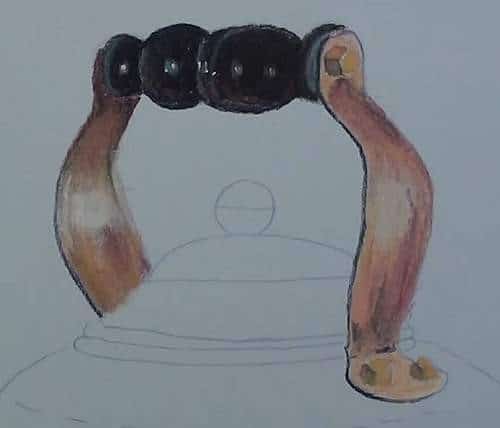
Colour the left handle bracket with Yellow and then add the shading in with Purple pencil. With a Purple/Brown add a darker shading.
With a small rubber shaper blend the colours together then add the edging with a Black pencil. To smooth the surface, softly blend the bracket with a cotton bud, adding touches of Red, Yellow or White as required.
Start the other bracket and shade in some dark Violet. The bracket is nearer so will be lighter than the other one because the main light is coming from a window on the right.
Use the same basic colour as the left hand bracket. Don’t forget to indicate the small nuts that hold it together.
Paint the lid
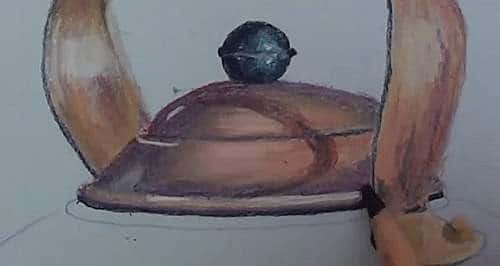
Paint the black knob on the lid and use a light Blue for the reflection of the sky in it. Add a smaller highlight with some White. Outline the lid lightly to make it stand out against the background.
Block the lid in with an underlying colour of Burnt Sienna, then add the shading with a Purple pencil and the lighter areas with Yellow. Gradually build up the correct tonal ranges, adding the brightest reflections with a White pencil at the end.
With a Mauve, and then with a dark Purple, add the bracket’s shadow on the lid.
Paint the upper body
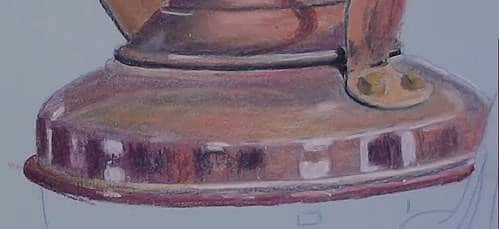
With Yellow and a dark Mauve, block in the dark tones first. This visually establishes the shape of the body. Add some Orange in between and with a cotton wool bud, blend them smoothly together. With the White pencil add in the highlights.
Paint the lower body
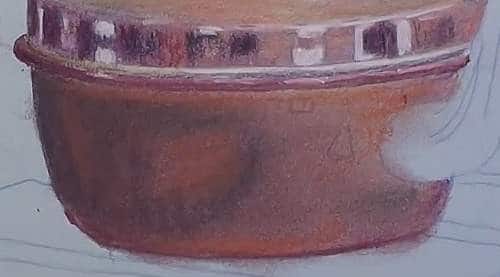
We can now begin to paint the lower half of the kettle.
Lay the Yellow and Mauve base colour down and smooth out with the fingers. Darken up the shadow side with more Mauve and some Black. Smooth out and blend some Yellow into it to bring out the copper colour. Continue to work on the shadow side. We are using the layering technique here. Now use a Burnt Sienna pencil to add in the dark Orange tone of the copper.
Add the reflections
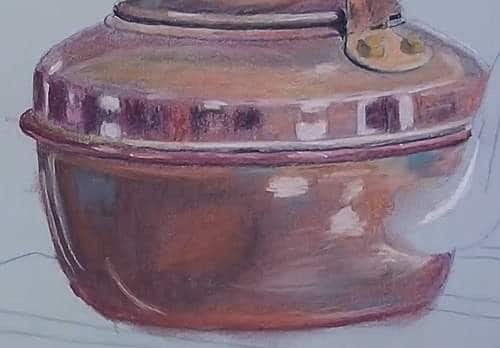
With a light Pink and a light Blue pencil add in the reflections. With White, emphasize the “Hot spots” on the right. Strengthen up some shadows on the ridges.
Paint the spout
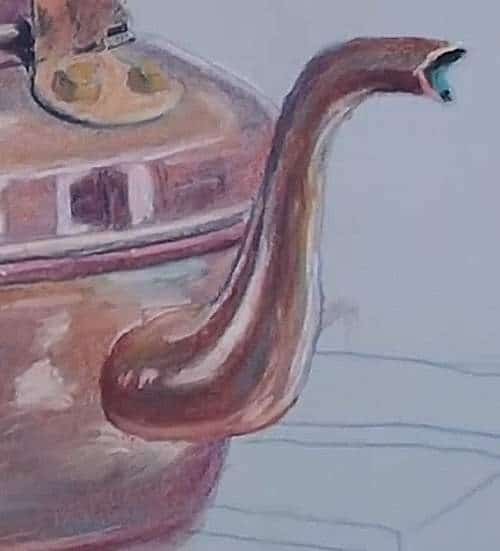
Using the previous colour begin painting in the spout. Slowly strengthen up the colours as you proceed. Smooth off with a cotton wool bud because the areas are too small for the fingers.
Use White and paint in the reflections and highlights. Now we can again use the Green pencil for the Oxidized areas and the light Blue for the sky reflections.
Darken up the hole at the tip of the spout and add the edge highlight.
Paint the bricks

With the Burnt Sienna pencil block in the top surfaces of the bricks and darken up lightly with a Mauve pencil.
Add the shadow from the teapot. Add some shadow between the bricks. Paint the vertical sides with some Orange and complete the shadows between the bricks.
With a dark Mauve add the imperfections on the surface of the bricks.
With the White pencil add the lighter markings on the bricks to complete the painting:
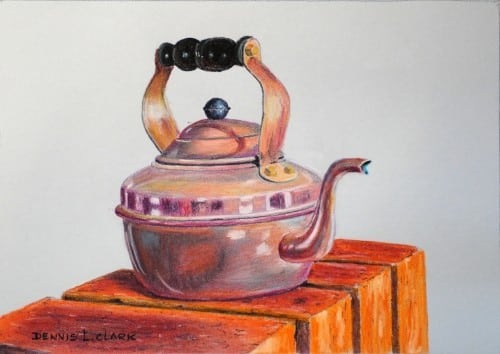
Click the button below to view the real time follow along version of this class:
Pin Me
