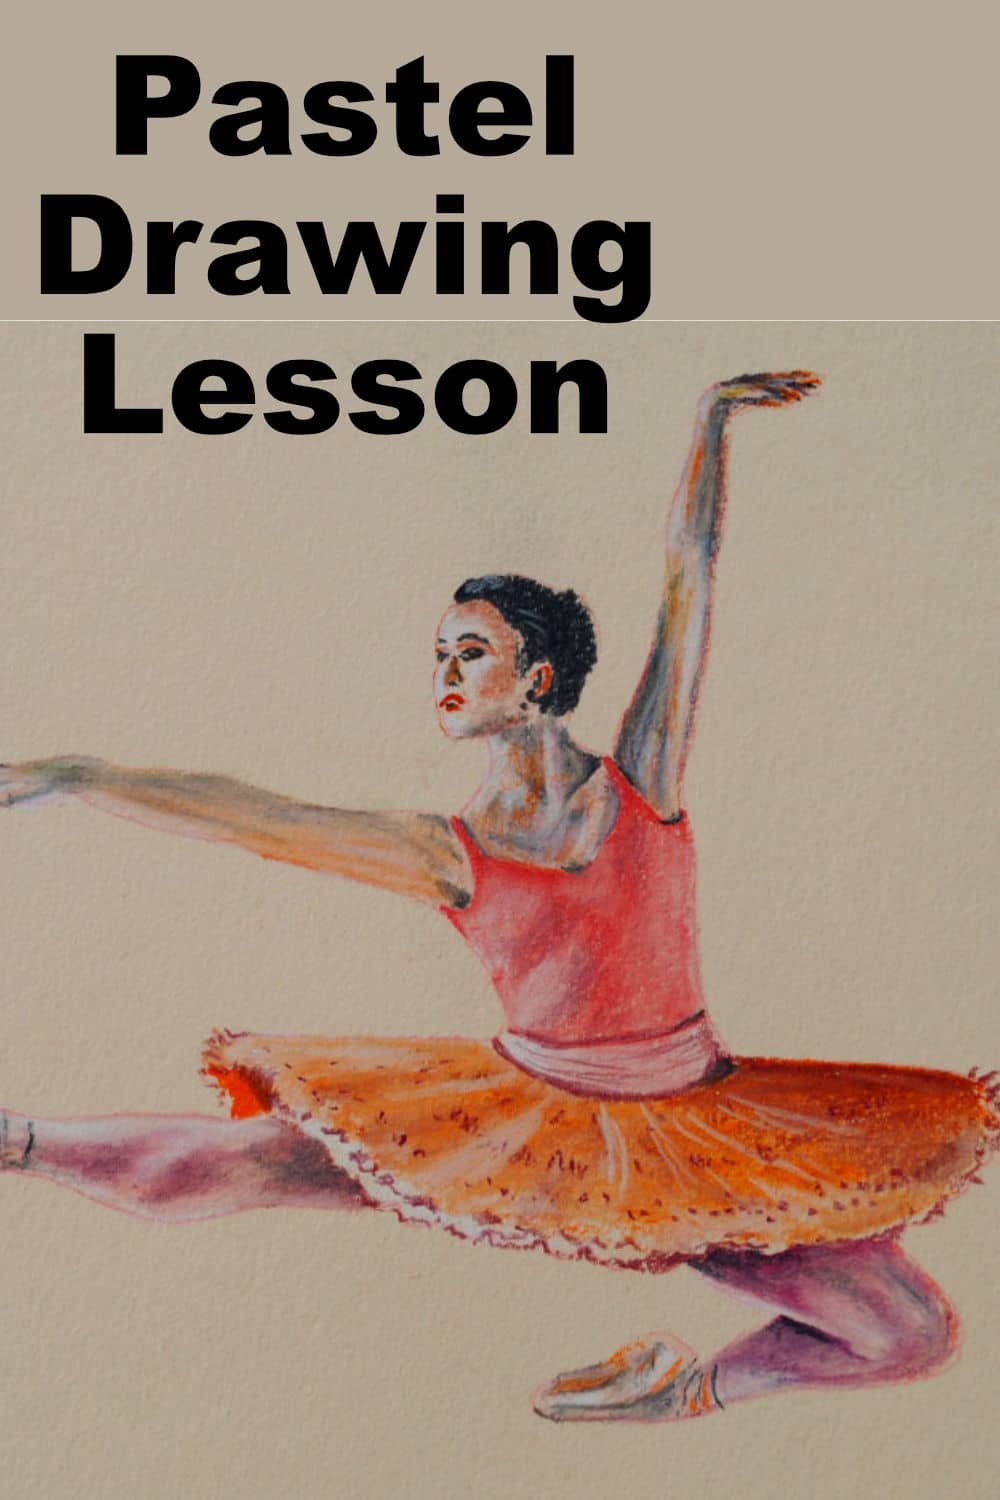
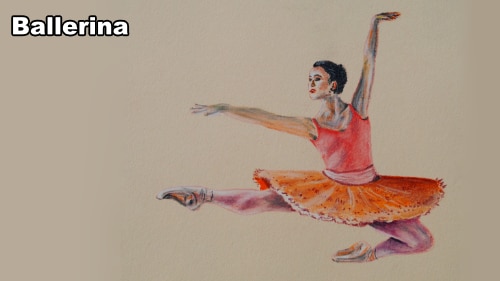
Class Tutorial
I have chosen a cream colored pastel paper for this class to complement the colors of the subject. To avoid smudging, start from the top and work downwards where possible. Choose a light color pencil as close to pink as you can.
Drawing the arm
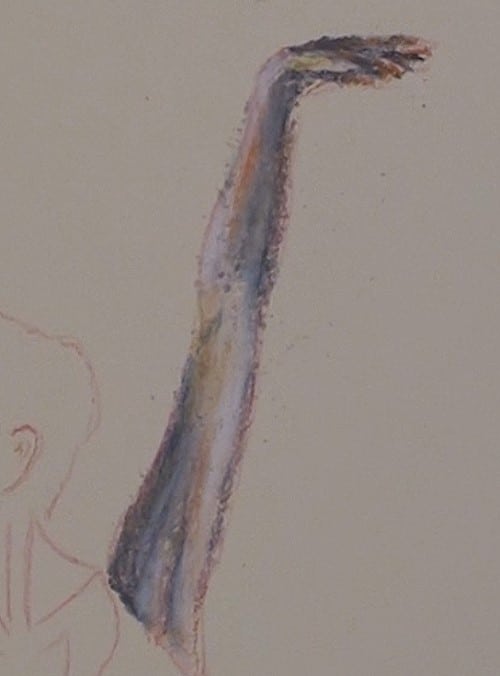
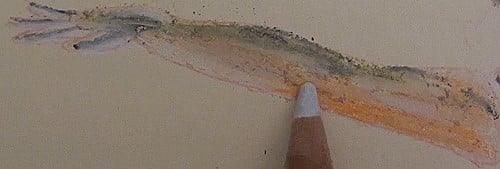
Shade in the arm and then very lightly top it with a light green. Don’t overdo it though. Then, with a mauve/purple pencil add the shaded areas. When you have done that, use a white pencil to smooth out the highlight areas. Lastly, add a slight orange tint to the arm.
Drawing the face
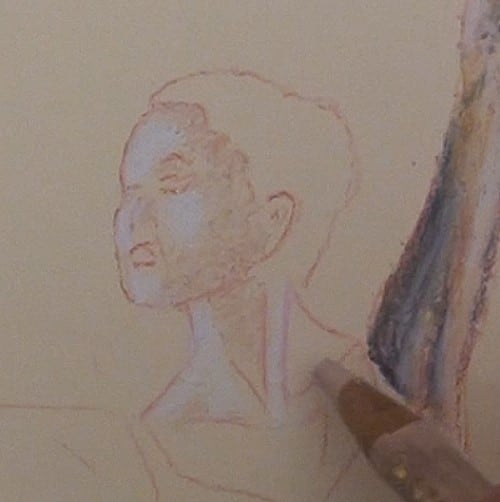
With a white or a very light gray pencil, paint in the areas of the face in the spotlight of the stage. A darker pink is added for the face under-painting.
Drawing the hair and the face
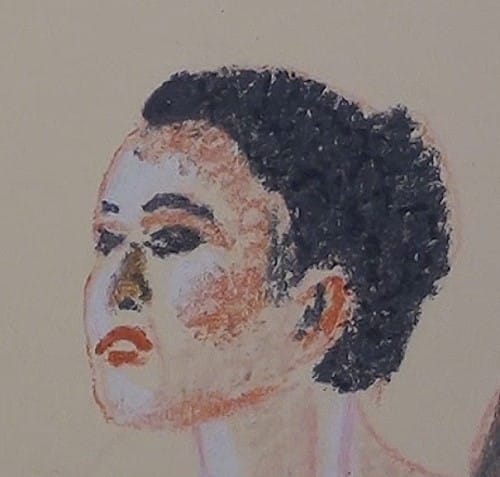
Use a black pencil to block in the hair, and then, with the sharp point of the pencil, block in the eye shadows, eyebrows, and nose. Now, with a dark orange color, block in the nose shadow, the lips, and a light covering on the side of the face. Here I’m using a rubber blender to blend the hair and with the residue on it, to add the softer shadows around the neck.
Drawing the neck
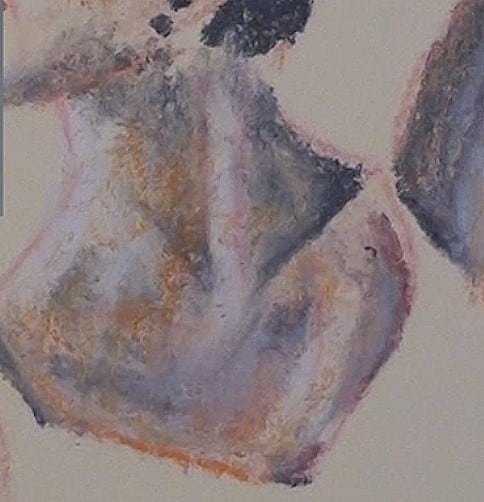
With the same color as the face, block in the rest of the lower neck area, taking careful note of the neck features, the highlights and shadows. This should match the same colors as the outstretched arm. Softly blend the colors together.
Drawing the other arm
Again, with the same color as the other arm, paint this arm and blend as you progress. Add the shadow on the top of the arm and fingers. With a light blue pencil add the highlights of the fingers. With the same pencil smooth out parts of the arm.
Block in the highlights on the sides with the light blue or white, and with a red pencil, paint in the bodice and finish off the light areas with white. With a dark mauve add the shadows and blend. Add the gap shadows for depth and perspective.
Drawing the waist band
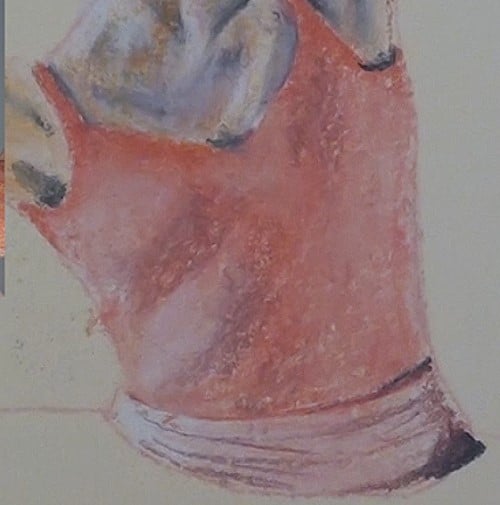
The waistband is lighter than the bodice. Note also the dark shadows.
Drawing the skirt
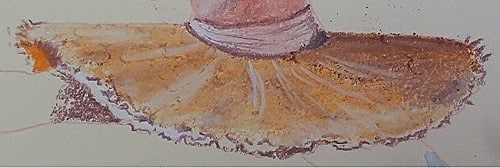
Block in the skirt lightly with an orange pencil and then add the shadow areas by pressing just a bit harder. Use the rubber blender, or a paper stump, to smooth out the skirt color. With a deep purple pencil add the body shadow as well as the creases in the skirt. Add the shadows caused by the skirt and then spot in the texture and patterns.
Drawing the horizontal leg
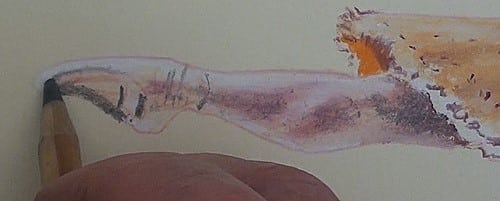
With a very light blue or white pencil paint in the highlight areas. Orange is very lightly painted in the non-white areas and shadowed with purple. Use a black pencil to draw in the deep shadows in the shoe.
Drawing the bent leg
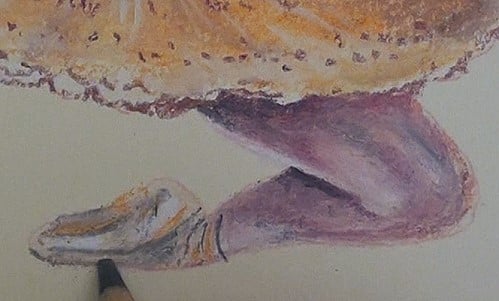
Paint the highlights of the shoe and on the leg. Remember to, during the whole lesson, to constantly check, what you are doing, against the reference photograph. Again the same colors as on the other leg are used. Here we have few deep shadows. Smooth off the leg colors with the blender and then deepen up some of the shadows. Don’t lose the reflected light on the lower part of the thigh. Finish off all the markings and shadows on the shoe.
Final drawing
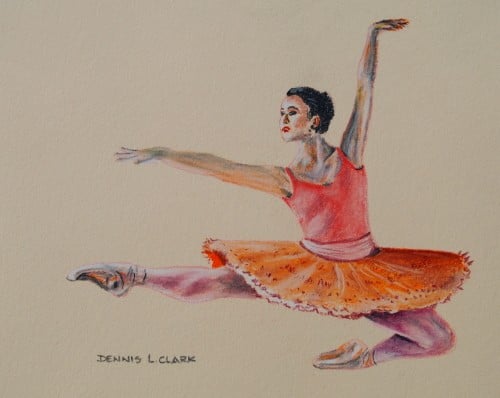
Click the button below to view the real time follow along version of this class:
Pin Me
