Short Class Video
Class Tutorial
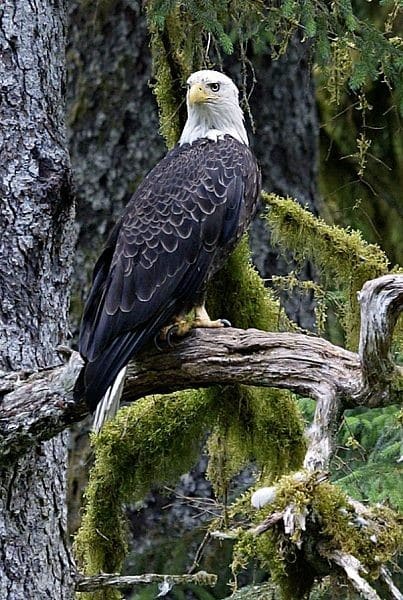
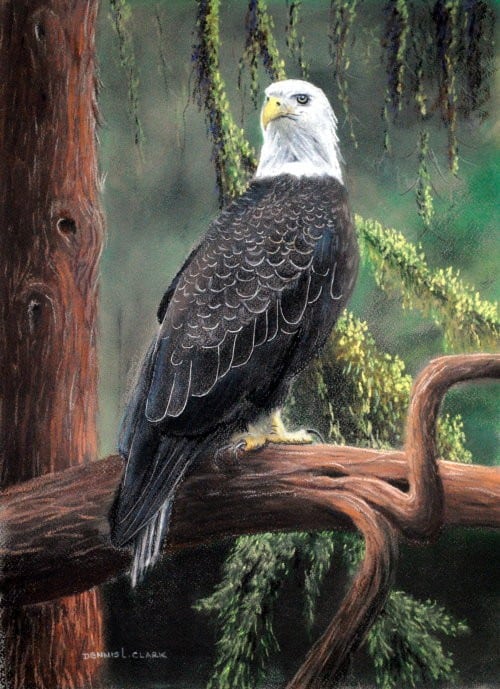
In this tutorial we will draw this magnificent bald eagle.
Initial Sketch
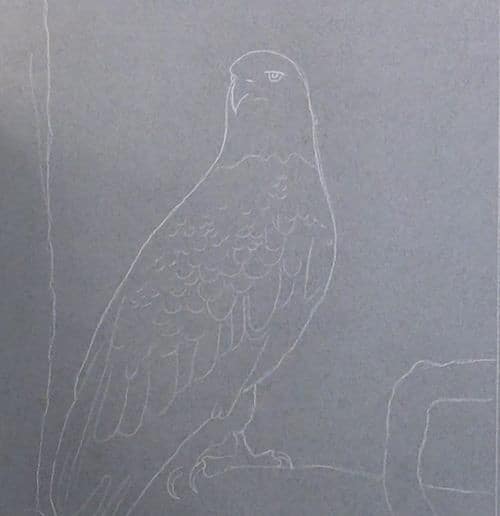
Sketch the eagle out onto the drawing paper. As you can see I have only added the outlines and most important features like the eye. All the rest can be judged in from what we have as we go along.
Background
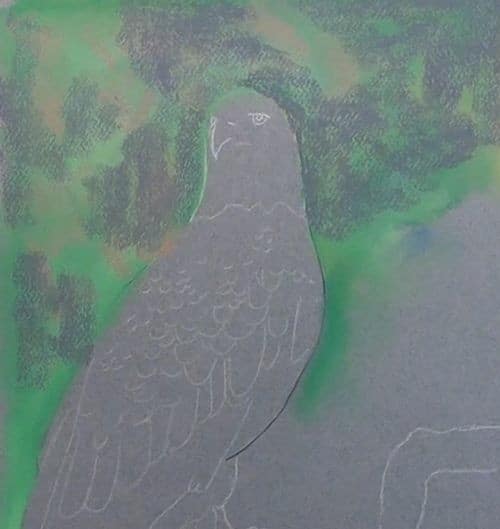
The background is left out of focus to make the eagle stand out. Lay the colours on very loosely. There is no need to do a lot of a smoothing out as we want the background to be blotchy as this gives the impression of lots of leaves in the distance.
Use a dark grey pastel for the deep shadow areas.
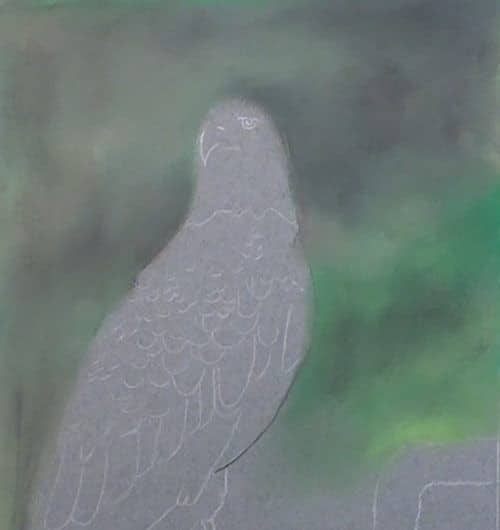
Here you can see how rough the blending is. There are lots of patches of colour left to suggest the leaves.
Don’t forget to work the pastel slightly over the edge of the eagle so that the background goes “behind” it.
Overhanging Branches
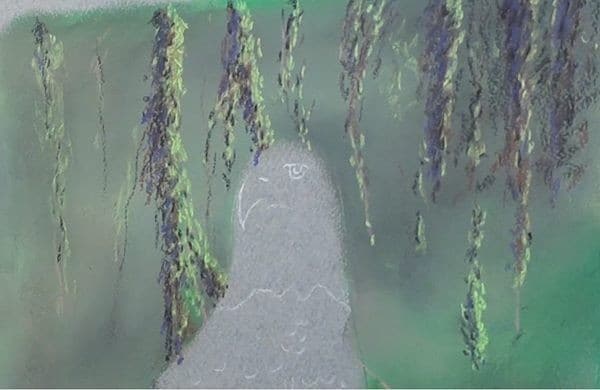
Plot all the overhanging branches and use a dark brown pastel for their underpainting.
Dab all the small leaves onto each branch with a dark green and then a light green soft pastel. For the leaves in shadow I have used black and violet.
The main lighting is from the right so make sure the highlight colours as adding on the right hand side of each branch.
Tree Trunk Underpainting
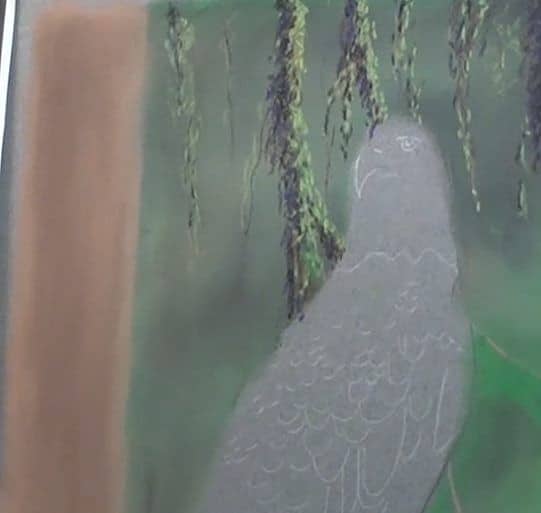
The colours for the tree trunk underpainting are light burnt Sienna and a brown.
Stroke them in, in a vertical direction and also smooth them into each other in a vertical direction. These direction lines will help create a bark effect later.
Eagle Head
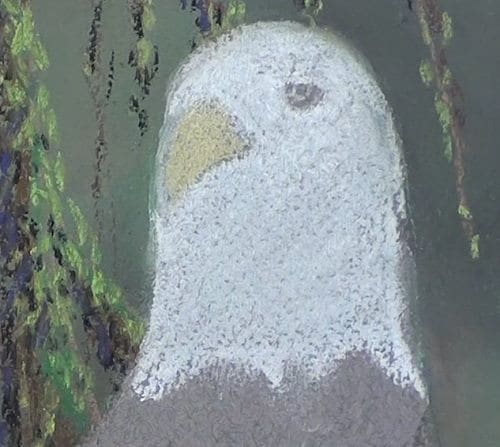
Begin with a yellow to block in the beak. Use a white pastel to block in the head area.
As you do this carefully work around the eye so as not to lose it’s position.
Once the paper has been blocked in you can go over to a black pencil to plot the eye and beak outlines.
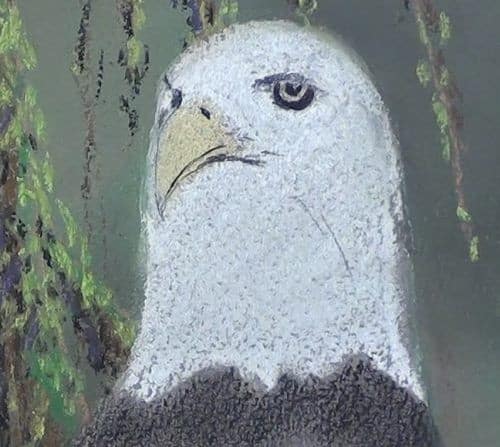
Once the paper has been blocked in you can go over to a black pencil to plot the eye and beak outlines.
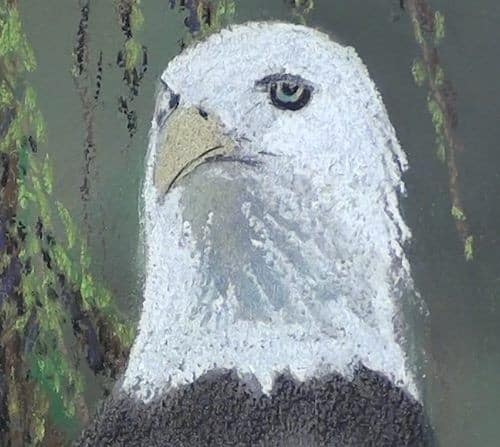
Lightly add the shadows of the lifted feathers. Use a green pencil to add some of the green surroundings that reflects off the white.
Take your time working on the head as this is the focal area of the picture. The technique here is to add some shadow colour to the feathers.
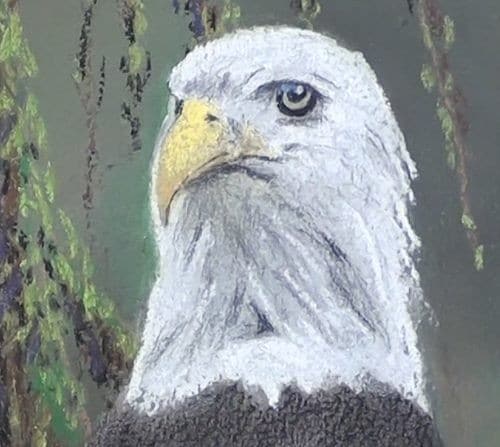
Lightly smudge these lines, do some more lines and lightly smudge again, to show the softness of the feathers.
Do this over again as many times as you need until you are satisfied with the amount of contrast and detail in the feathers.
Body Feathers
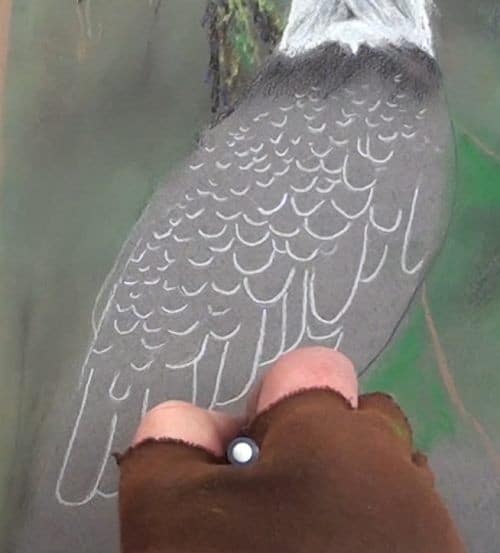
All the feather edges are drawn in with the white pastel pencil. Plot them in a reasonably accurate and the bigger the painting the more accurate you must work.
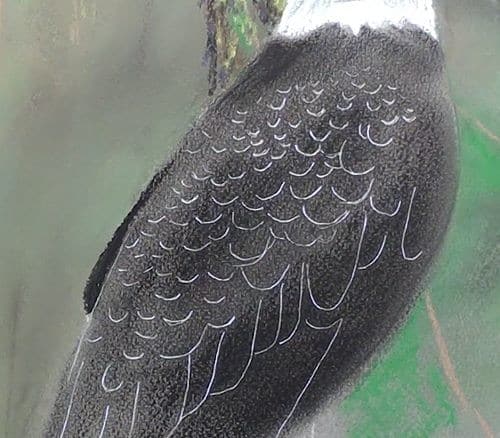
Stroke a light layer of black over the body. Lightly smooth the black so that some of the grey paper still shines through in places for the lighter areas. (Now you can see why I have used a grey paper instead of white.)
Add more black into the darker areas to show the shape of the body.
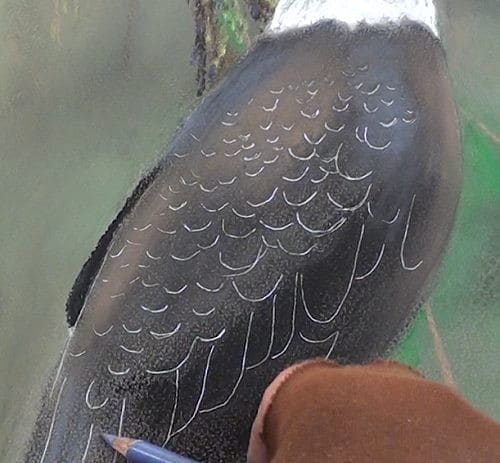
The body has a brown tinge to it in some areas, so I touch in some light Burnt Sienna to indicate it. This is then smoothed out to make it blend into the feather colour.
In the same way I use a blue pencil to add the sky reflections to the feathers.
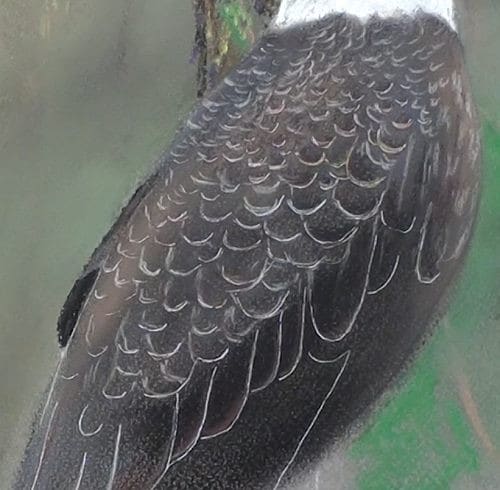
Now comes the tedious task of adding the feather detail.
Do this by adding a multitude of short lines along the tip of each feather. Start with small feathers near the nape of the neck then gradually enlarge them as you move down the back.
Background Above Branch
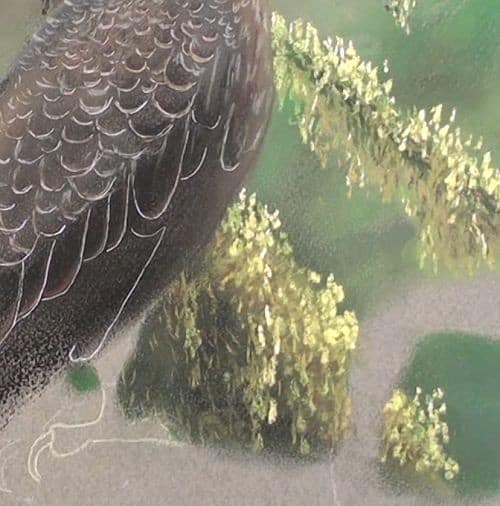
Continue with the background and it is much darker here to contrast against the light-coloured branch.
Add the moss covered twigs with a few white spots for the highlights. Do all this with a dabbing action.
Draw the Branch
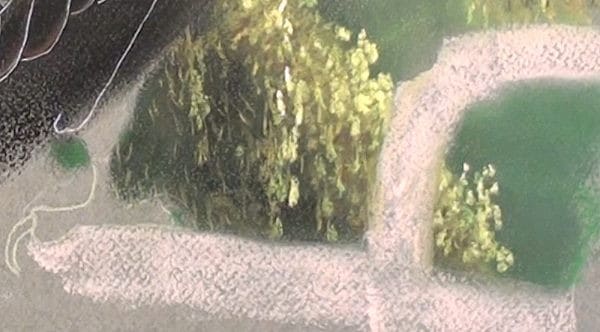
Block in the branch with a very light brown colour.
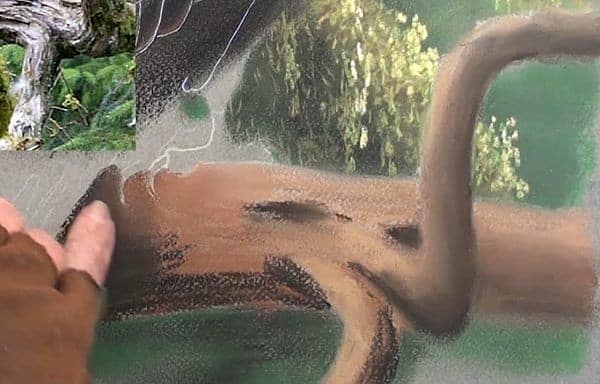
Build up the branch depth and dimension using gradually darker browns until a very dark brown is added for the deep shadow areas. Smooth with the finger as you progress.
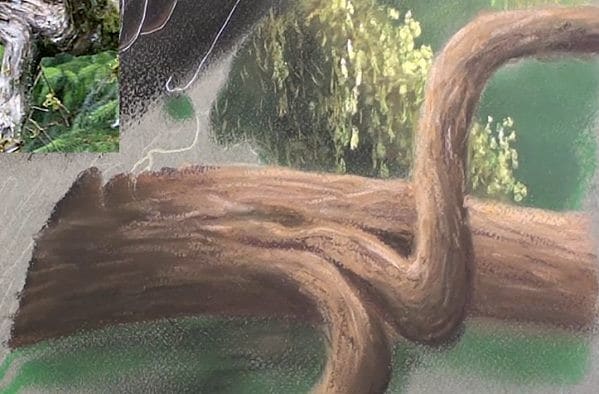
Once you are happy that the branch looks 3 dimensional, you can start on the detailing of the branch.
Keep referring to the reference photograph as you work on the branch. What you are looking for are the main defining details of the branch and the general texture of the branch. There is however no need to copy all the details exactly as per the photograph.
Add the details using squiggly lines and a variety of contrasting browns.
Draw the Claws
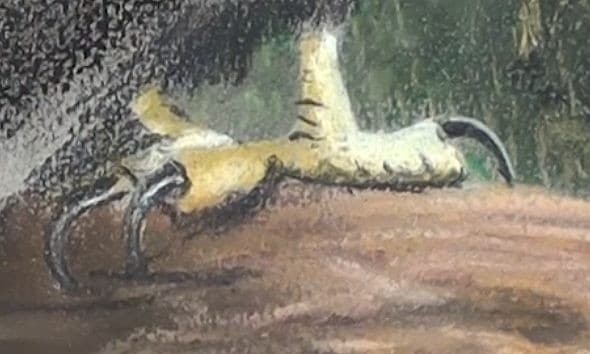
Draw the foot and claws of the eagle using yellow and white pencils.
Then add detail to them using a black pastel pencil.
Tree Trunk
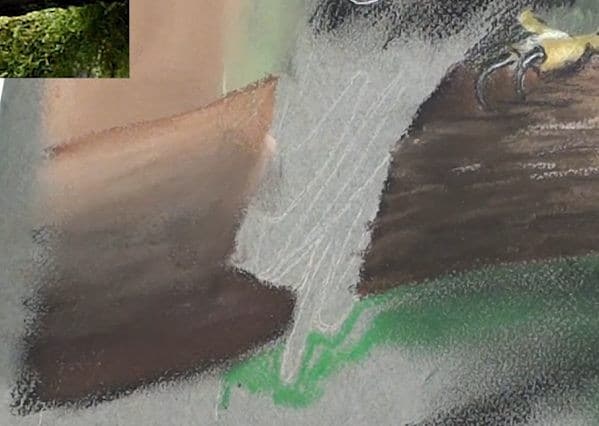
Add dimension to the branch to the left of the eagle
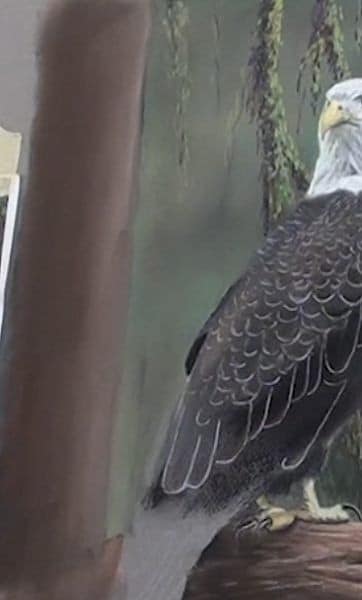
As well as to the tree trunk.
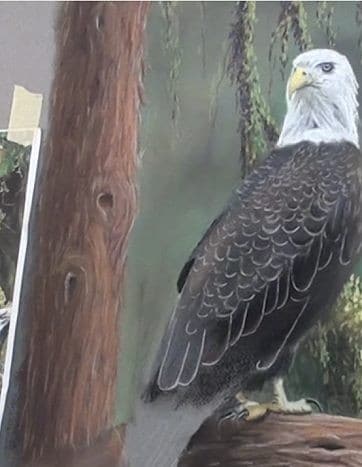
Use black to add a knot or three to the tree trunk. Then add detail to the trunk in the same way as we did for the branch.
Remember to make the detail squiggles curve around the knots as this makes the knots appear as though they are raised.
Background Below the Branch
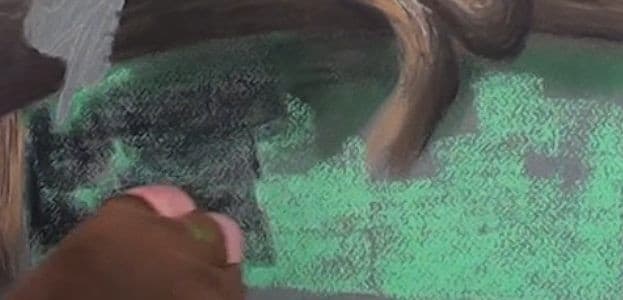
Layer some Viridian and black for the very dark green vegetation below the eagle.
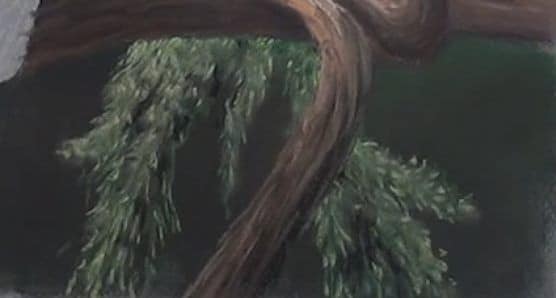
Blend these colours into each other to form a dark background.
Add the ends of the hanging strips branches in the same manner as those above the branch. Don’t add too many highlights this time though as this area is in the shade.
To make this area even less obvious, tap over the leaf detail to blur it. This blurring will stop the viewer’s eye from going to this area. They will then instead look at the eagle, which is the focal point in this artwork.
Wing Tips and Tail Feathers
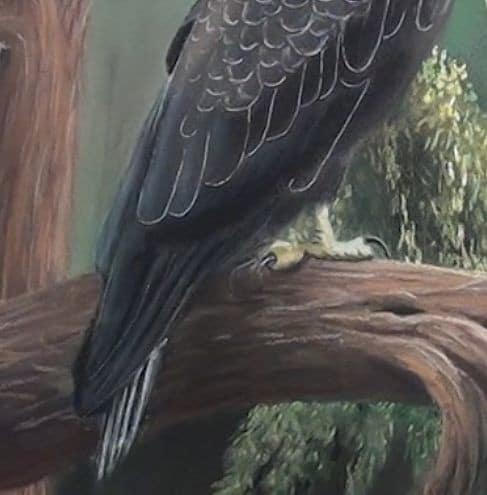
Block in the wing tips and tail feathers using black.
To create a contrast between each feather add a blue sunlit reflection to the left hand side of each feather. This contrast separates the feathers from each other and makes them look like they overlap.
Complete the drawing by adding the white tail feathers at the tip of the tail using black and white pastel pencils.
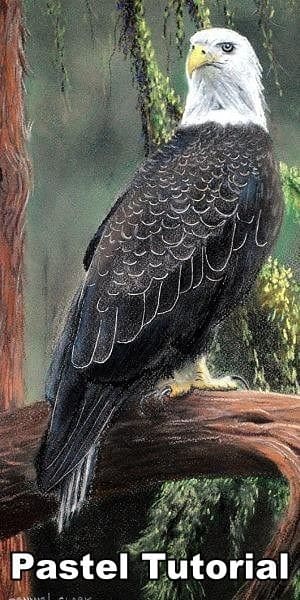
I hope you have enjoyed this tutorial, here is what the final eagle drawing looks like:
Click the button below to view the real time follow along version of this class:
Pin Me
