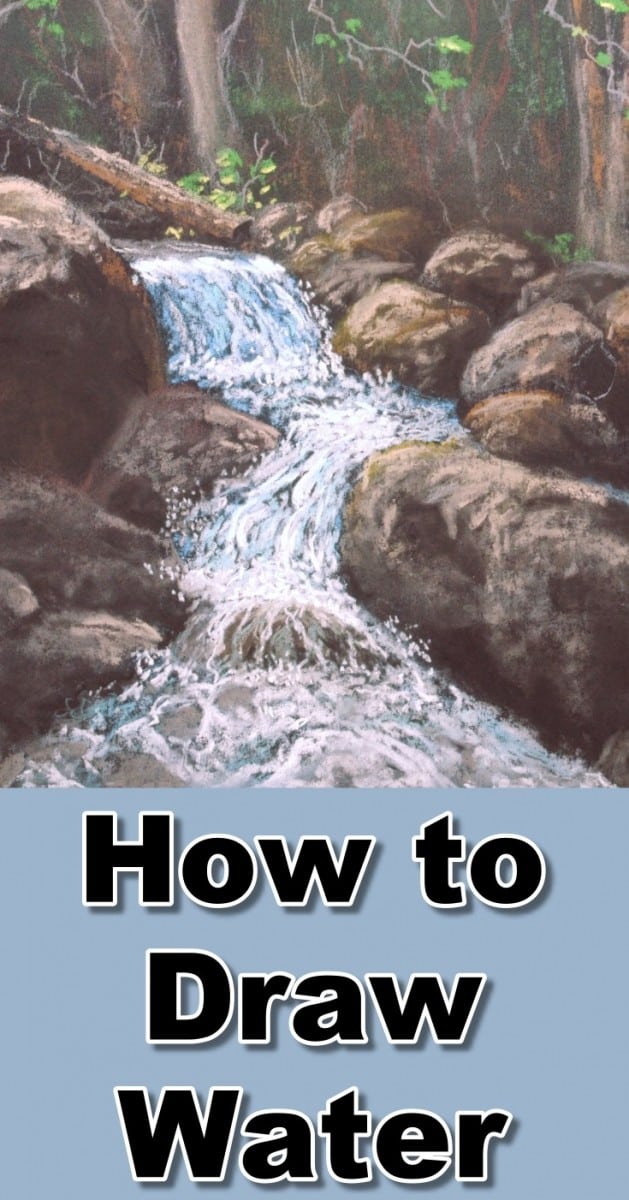
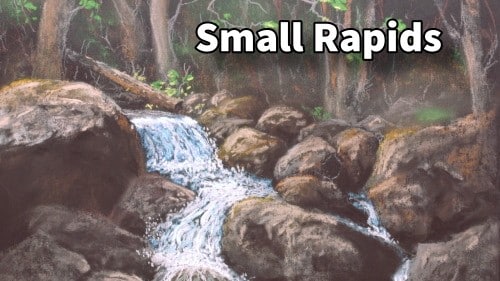
Short Class Video
Class Tutorial
Sketching the basic drawing
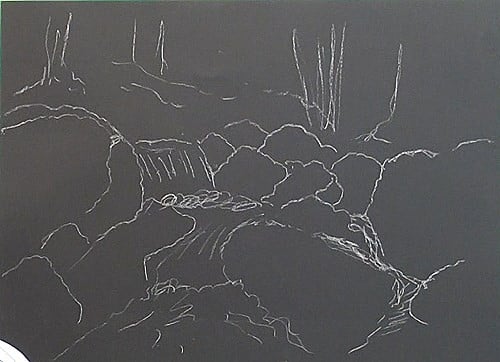
When using black or a very dark pastel paper use a light colored pencil to roughly sketch out the rocks and the proposed flow of water. Our reference photograph is simply a dry stream with rocks only. We want to add some life to it. Roughly sketch in the tree trunks in the background.
Drawing the water
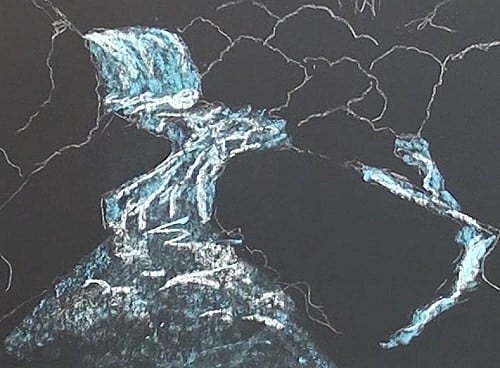
Block in where you propose the stream to be. This is a suggestion only. Because water reflects the sky, we need to place this reflection in the right places so as to show the direction of the water, as well as the direction of flow.
Block in the rocks
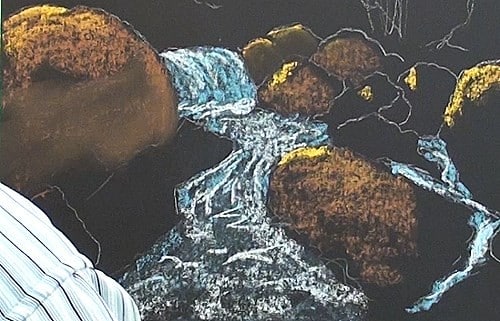
Begin with some light brown and then some yellow where the sun reflects off of them. Some rocks are in shadow and some also differ in their color. Some light smudging helps to bring this out. Some of the rocks are a grey color
Drawing the dark shadows
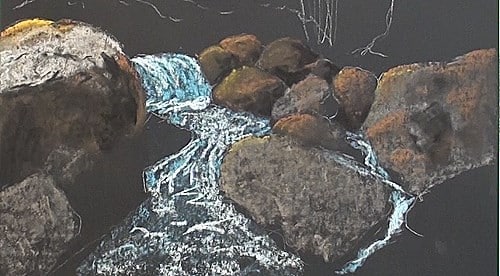
Take a soft black pastel stick and begin to position the very dark shadows. By adding the differing tonal ranges and colors it helps define the volume, or 3-dimensional effect to the scene. See how more intense this black is in relation to the black paper.
Rock highlights

Lightly stroke some soft white over the top of the rock and some black to bring out the roughness of the surface. We can now start adding warmth to the boulders with some Burnt Sienna. All the different colors react beautifully against each other.
Drawing the background
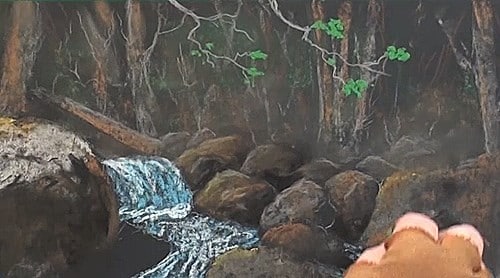
Randomly place some green in the areas where the leaves are and lightly smudge it to push it further into the background shade. Sketch in the tree trunks as well as the lighter out of focus objects. Most of the background must stay reasonably indistinct as we don’t want to take the focus away from the stream itself. With a grey pencil sketch in all the small trunks and branches. In general, only a few of the closer branches and twigs will be distinct.
With the same grey pencil we can now start defining the smaller rocks. Add some overhanging branches to give the impression of depth. A few green leaves will round it off very nicely, especially when the reflections on the leaves are added.
Tree trunks
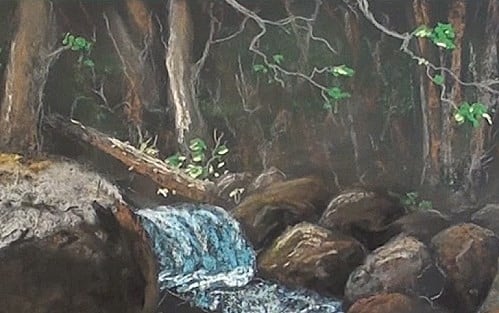
Add the sunshine areas on the closer tree trunks as well as the fallen log. Just touch some highlights on the rocks and leave some untouched for those that are more in the shade.
Main rocks
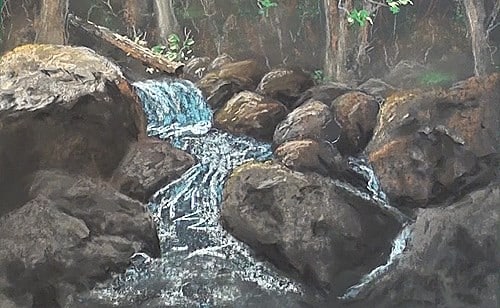
Now we can proceed to define the large rocks a bit more. Notice how all the darker sections are placed, in order to bring out the hollows on the surfaces. Don’t make the rocks too smooth. We need to see character in them.
As we progress, we will see places that need to be attended to, to bring out the balance between all the objects. After we have done that we can return to working on the rocks. Work randomly, as this way we are able to slowly bring out all the objects so that they are related to one another and for visual impact.
Rocks in the shade :
The rocks in the shade will normally have different shades of grey. Lightly smudge them as your work over them. Some well-placed black marks will add to the cracks and deeper shadows. Notice how some subtle shading give to the impression of chipped out sections of the rocks. Continue adding all the roughness of the rocks.
Stream
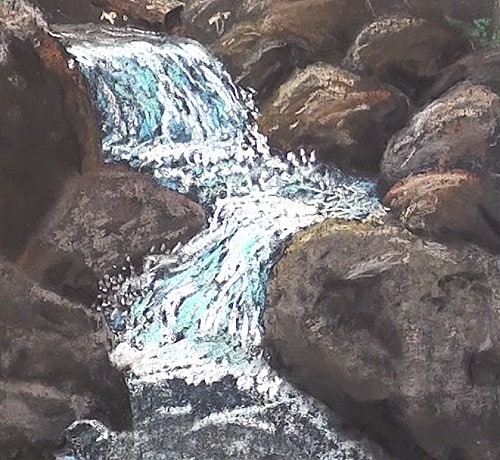
At this stage we need to place all the brighter highlights in the water. We also need to show the different twists and turns the water makes. In some areas splashes will occur. Use the reference photograph to help in painting the water as realistically as possible. There is a lot of energy expended in this area. It is, after all, our focal point!
Adding detail to the water
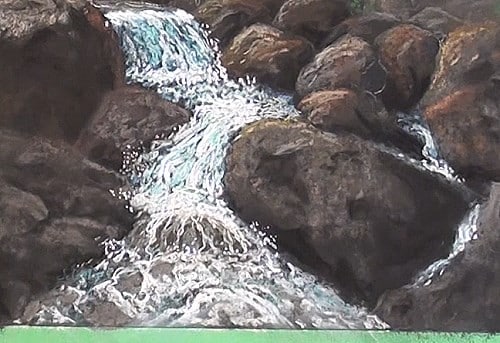
Some smudged Burnt Sienna gives the undertone of these underwater rocks. A lot of splashing occurs in this area so we need to carefully dot in those splashes. Do this very randomly. We don’t want them to look like solders in a row, and very regimented.
With a light blue pencil add in the blue of the water. Add in the darker shadows in the water as well as the surrounding areas.
Final drawing
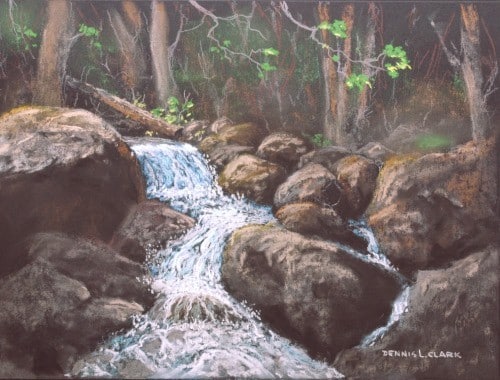
Click the button below to view the real time follow along version of this class:
Pin Me
