Have you ever found yourself sitting in front of a blank canvas / page wondering what to paint or draw next? Why not try your hand at composing a still life?
What is a Still Life?
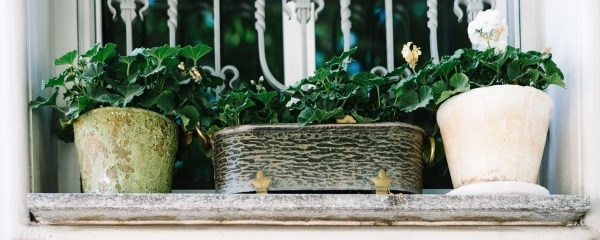
A still life is a scene consisting of inanimate objects. It is traditionally a posed scene, but it can also be an inanimate scene you have discovered like a row of pots in the garden.
Today we are going to look at how to compose or stage our own still life. To do this all we need to do is follow a simple 5 step process :
Step 1
Choose Your Composition Style
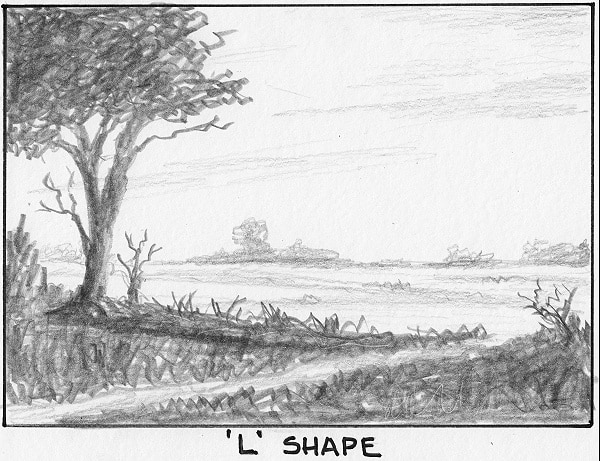
The first step in the process is to choose what composition style you are going to use. There are 17 different styles you can use, eg., U-shape, L-shape and Symmetrical.
Knowing which composition style you are going to use in advance makes it easier to choose the objects you are going to use in the still life.
For today’s lesson I have chosen the L-shape composition. You can see how this looks below :
Step 2
Choose the Objects for Your Still Life
Next we can choose the objects we want to use in the still life. I prefer to use objects that compliment or are related to each other, eg., groups of kitchen utensils, or groups of toys, or a variety of gardening tools, even your lunch can make a great still life composition.
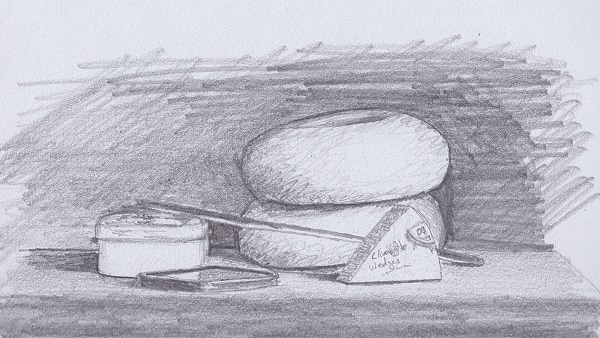
There is however no rule that says you have to group similar or complimentary objects together to form your still life. If the objects look good together to you, then that is all that matters. Here is an example of random object placed together to form a pleasing composition:

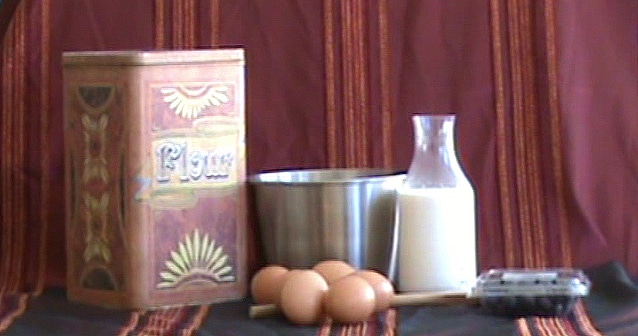
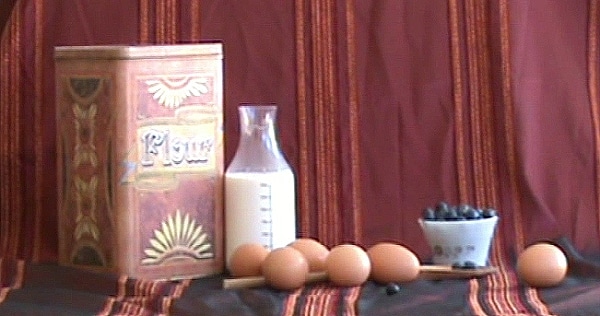
My favourite place to find objects for a still life is the kitchen as all the objects already compliment each other. For this tutorial a flour tin caught my eye and I discovered a tub of blueberries in the fridge, so the subject for my still life became “Making blueberry muffins”. (You can see I did this tutorial just before lunch.)
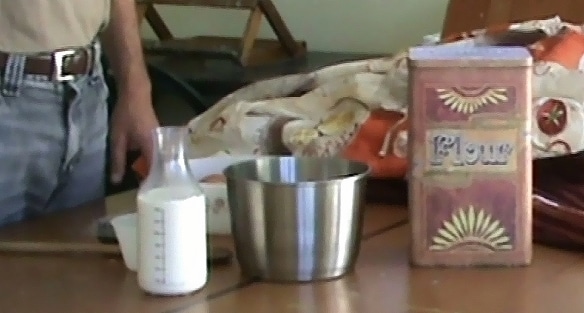
After I had found a subject or theme for my still life, it was easy for me to choose the rest of the objects for the still life. All I needed to do was find object that fit the “Making blueberry muffins” theme and that would be able to make up the L type composition that I wanted. For example the flour tin would give me the height and the wooden spoon would give me the length.
Here are the initial objects I chose for my still life:
Step 3
Arranging the Still Life Objects
When arranging the objects you have chosen for your still life, it is important to always keep your chosen composition style in mind. Doing this is key to creating a still life that is pleasing to the eye. Add and remove items to the still life to form the composition style you have chosen.
Don’t be scared to scratch around for extra items, or leave items out that you originally selected in order to create your composition style.
Here is what my initial arrangement looked like :
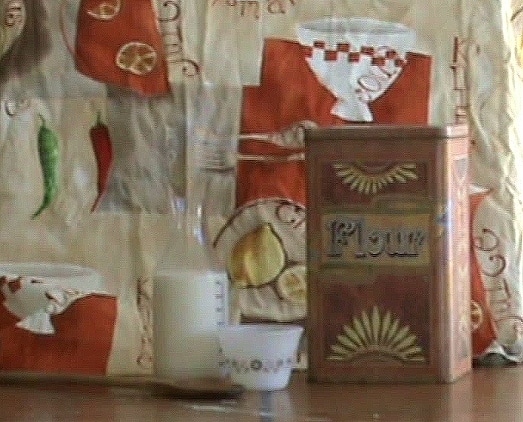
As you can see it wasn’t very inspiring. The biggest problem was the background. I initially thought the background would give a farmhouse effect, but it was too busy and made all the still life object blend into the background.
Choose a background that will show your objects to best effect. I like to use old curtains or pieces of material. When drawing or painting the scene I may change the background completely. The idea here is to get the contrasts in the scene right. In other words do I need to use a light or dark background, plain or mottled background, etc. for my objects to stand out best against the background.
I then tried a few different backgrounds to see what would work best. I finally changed the background to a darker, more plain background as the flour tin and the objects already had lots of detail in them. Here you can see how I was testing to ensure the objects would stand out against the background:
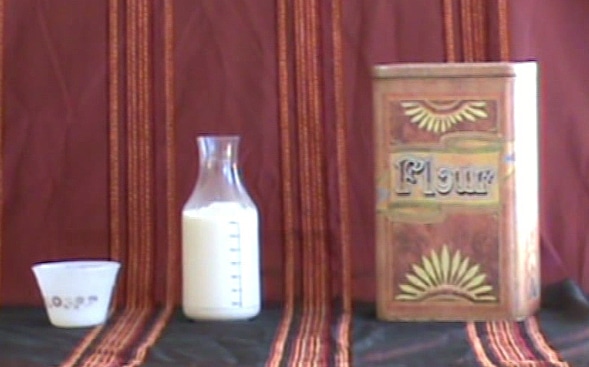
I then places the objects for the still life down again according to the L type layout I had chosen:
Step 4
Grouping the Objects in Your Still Life
Now that we have our still life mapped out to the composition style, we can improve the grouping of the objects.
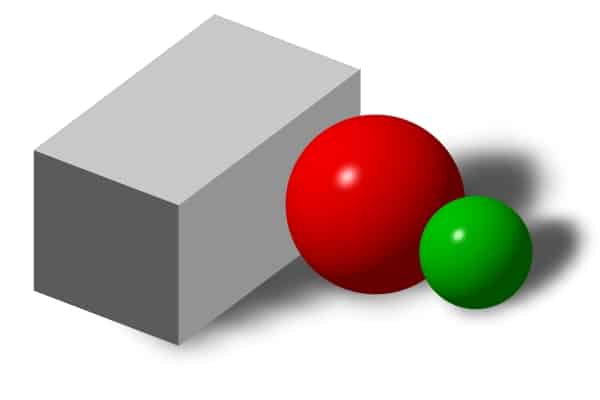
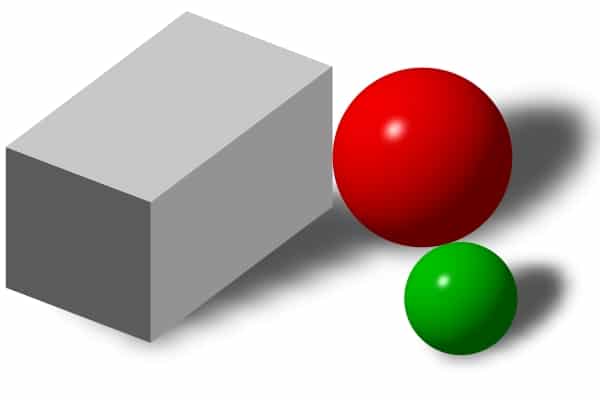
There are 3 types of groupings we can use : Overlapping :
touching:
and separated:
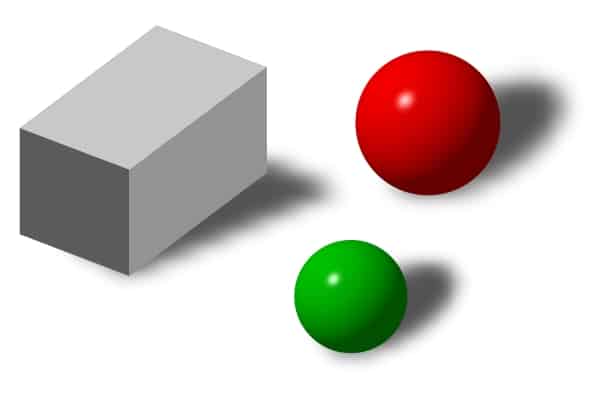
You want to use at least two of the three types of groupings in your still life to keep it interesting.
Your task at this point is to play around. More objects, remove objects, add objects, place one object in front of another, then swap them around to see if that looks better, move them further apart, closer together, and so on.
Once you have a composition you are happy with, take photos of it from various angles. That way you can quickly re-assemble the still life in that layout again if needed. You will then also have a variety of images for artworks at a later date.
Do this as many times as needed until you find one layout which is your favourite. Recreate that scene from the photos if required.
This is what my grouped arrangement looked like :
Step 5
Maximize the Lighting
In a still life you want a strong light coming from one direction. Face on or blanket lighting will mean you either can’t see the shadows in the scene or there will be little to no shadows in the scene. This doesn’t make a good still life artwork.
Without shadows and contrasts your still life will be lifeless and flat.
Here is an example of blanket lighting that is not making the objects stand out to best effect:
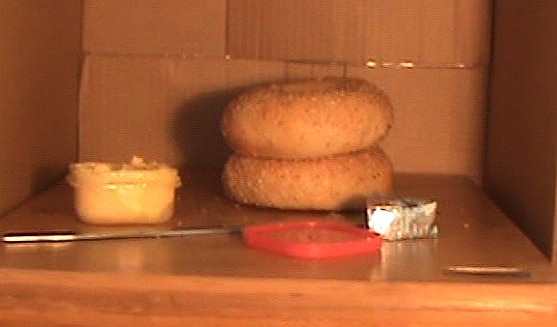
In this scene the shadows compete with the objects themselves. The lighting is from the front making the objects look flat and lifeless.
Now compare it to this scene where the lighting is good:
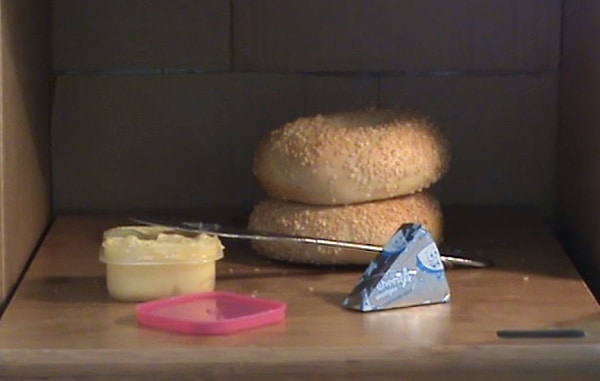
Notice how the shadows add depth instead of compete with the objects for attention. Look at the lovely change in contrast from left to right across the bagels. The cheese has been lifted to make to stand out better and so that it casts a better shadow.
All I did to get this change was move the light from the front of the still life to the side, pointing towards the scene at a 45 degree angle.
Now that you are happy with the lighting, take plenty of photos of the scene from different angles so you can make multiple artworks from the same scene later.
Complete the Artwork
Now you can transfer the still life to your drawing paper or canvas. The easiest way to do that is to take a photo of the still life, print it out and then use one of the transfer methods (like the grid method) to redraw it.
You could of course draw it freehand too. Doing this is great fun, great practice and when you are done, you feel a great sense of accomplishment. (You can follow my sketching tutorial to learn how)
If you do decide to redraw the scene freehand, don’t stress if the proportions and dimensions aren’t 100% accurate in the beginning. As the drawing progresses and you start to fill in details, you will be able to see which dimensions, etc., are wrong. You can then tweak as you go. By the time you are finished, your drawing will be pretty accurate.
The more you draw freehand, the more accurately you will be able to redraw a scene – and besides most people will only see your final artwork and not the actual still life, so unless your angles and proportions are way out, nobody will ever know the objects didn’t look exactly like you have drawn them.
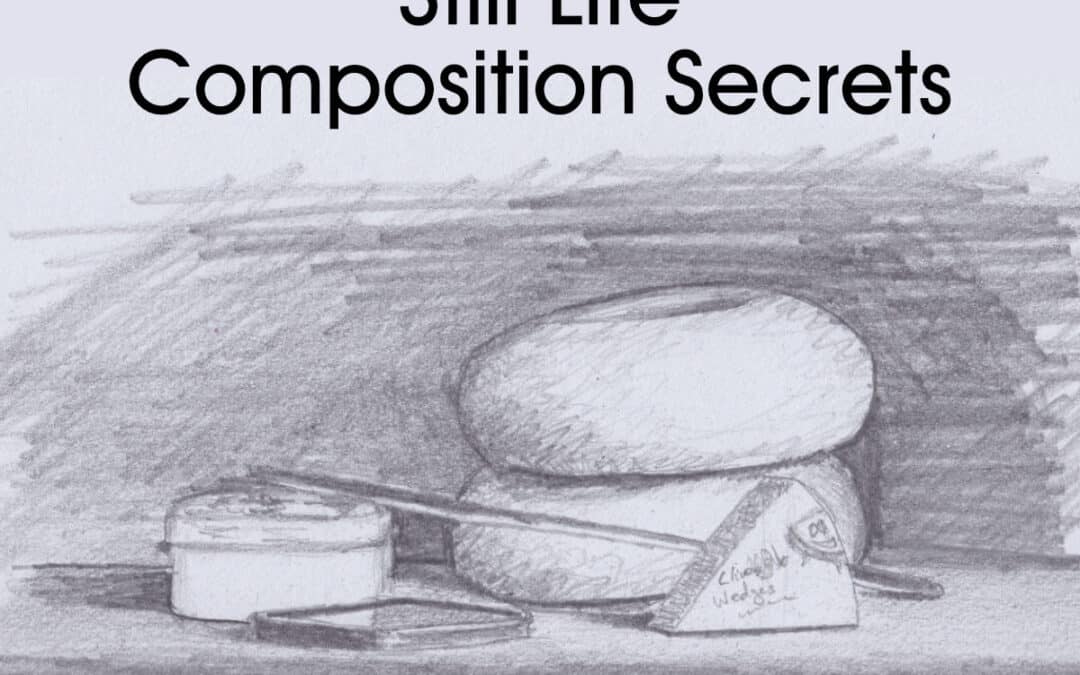
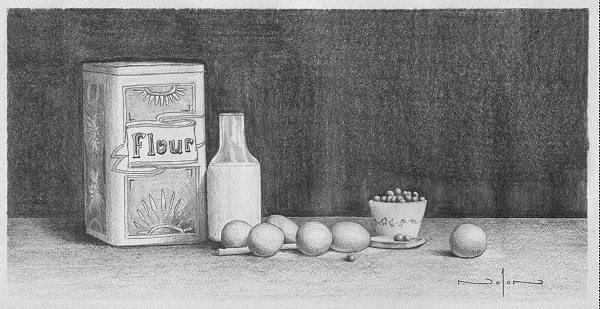
Have fun composing and drawing / painting your still life. Here is what my still life drawing looks like :
Pin Me
