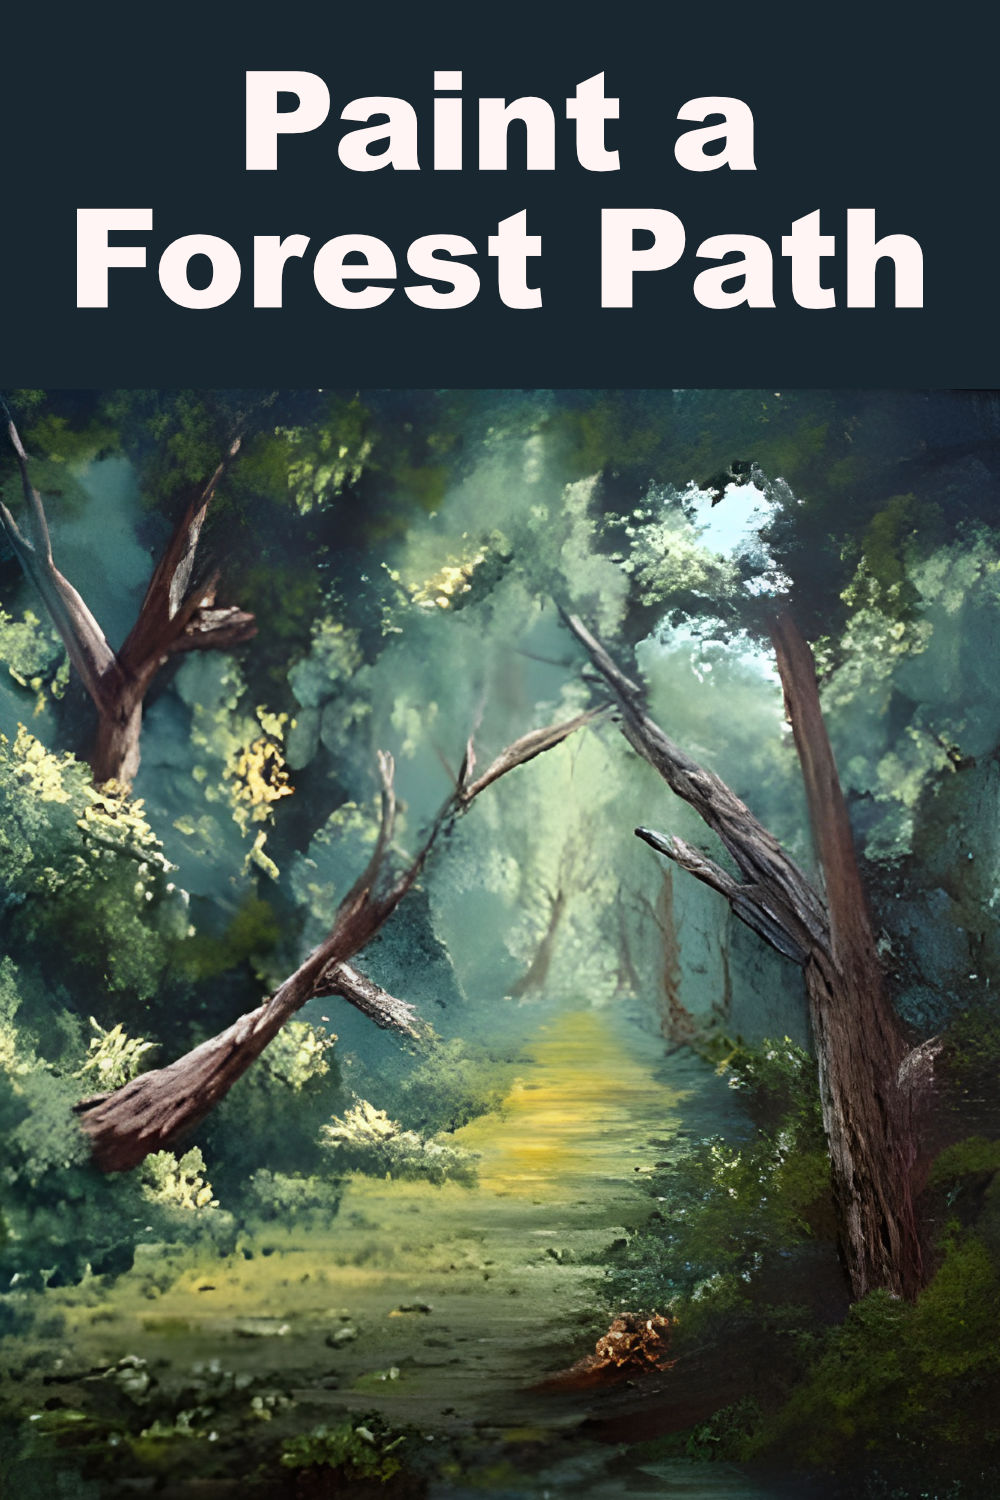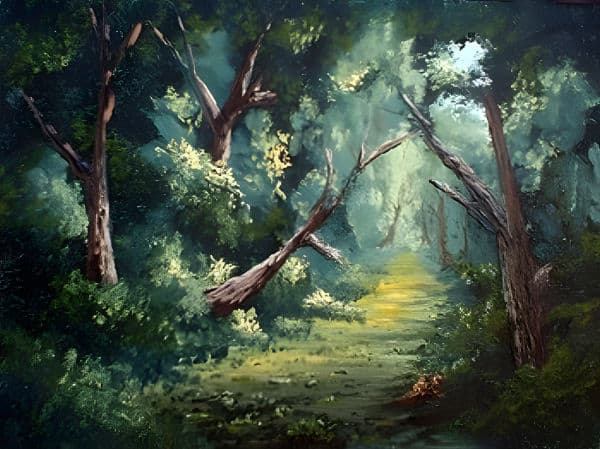
What colours are used in this painting?
Ultramarine Blue
Raw Umber
Brilliant Orange
Cadmium Yellow
Viridian
White
Medium Used: Oil on Canvas
General
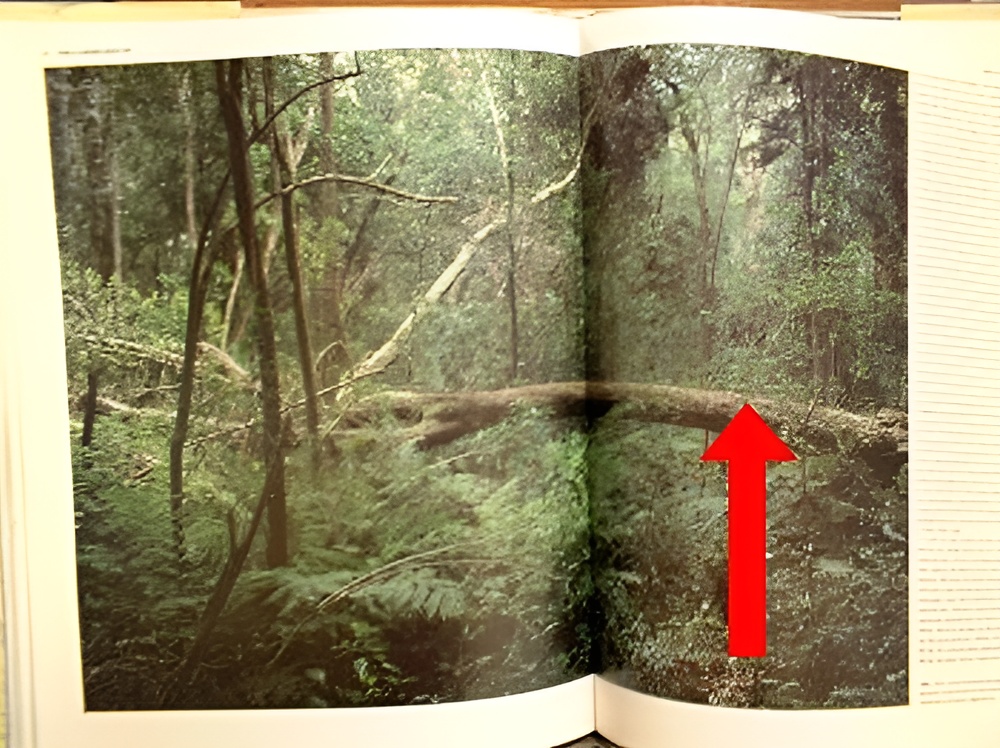
When looking for inspiration for this painting I had no idea what I even wanted to paint.
I then started flipping through some of my reference books and came across this stunning photo of some woods in the Knysna district in South Africa. It seemed as if there could be a forgotten path running through the trees (I have shown this with the red arrow). I decided that I would capitalize on my ‘discovery’ and change the picture to have a prominent path leading the viewers eye through the scene.
The tutorial painting was painted on a 9″ x 12″ canvas so if you are going to use a different canvas, you will have to adjust the brush sizes to suit the canvas.
Blocking In
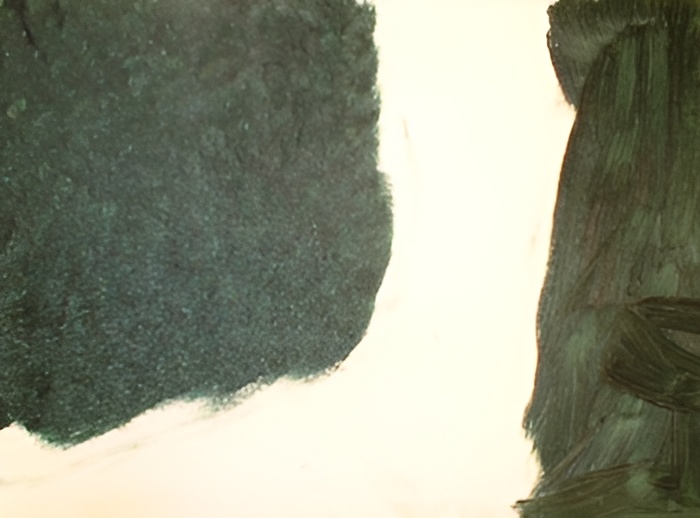
No drawing work is needed for this painting. We do however need to do some planning ahead to ensure that we retain the light areas in the painting. Mix up a dark green using equal amounts of French Ultramarine, Raw Umber and Viridian. Mix enough as this will form the basis of most of the colours to follow.
Block in the dark areas of the painting as shown above with this colour. You will see that the paint has a different texture on the left to that on the right hand side. We want to get the texture on the left as this gives us a leafy effect from the outset. To obtain this effect, simply stab the areas you blocked in with the brush, (I used a no. 6 flat bristle throughout this painting), holding the brush at right angles to the canvas. This takes out all the brush stroke marks and ‘leaves’ a leafy appearance.
Distant Trees
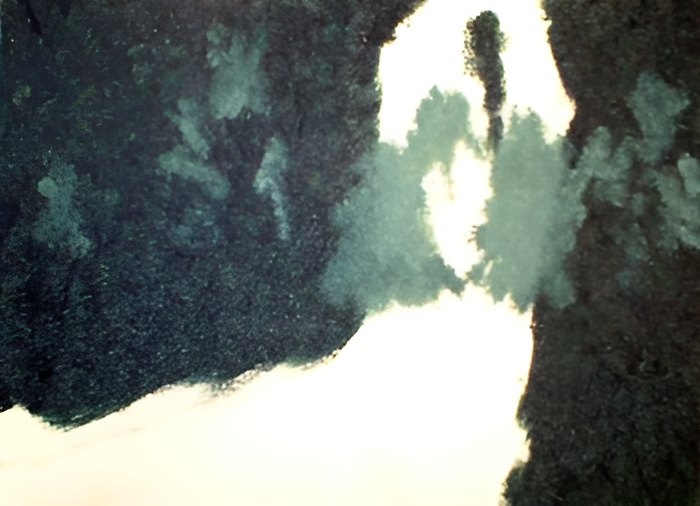
We can now start to add some light into the painting. Take Titanium White and a little of the dark green mixture into it. This will give you a distant green. Roughly scrub in the area where the path goes over the horizon, leaving some of the middle section (in between) open for even lighter colours.
Scrub in a few odd shapes to the left and right of the path as shown. It doesn’t really matter where and what shape, we are going to use those odd shapes to build up a bushy texture. Bushes and trees grow in all sorts of odd shapes so whatever shape you end up with will always be correct. Don’t think about the shapes and positions beforehand, just quickly scrub them in.
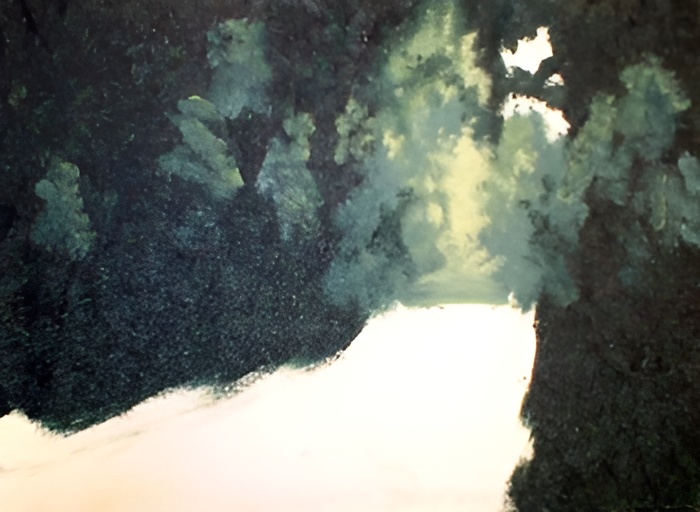
Now we can add in some light shining through the break in the trees caused by the path. Take Titanium White, add a little Cadmium Yellow and a very tiny amount of the dark green mix. Not too much yellow or green into the white, we want to ensure that the colour appears ‘washed out’ to create the impression of distance. Scrub in this colour in the gap in the path, adding a few small dabs here and there around the area you just scrubbed in. These few dabs give the impression of light shining through the trees surrounding the path.
Note the two small areas to the right of the path where I have left the canvas showing. I have done this on purpose as we want to have a small break in the trees where some intense sunlight can shine through, eventually lighting the middle ground.
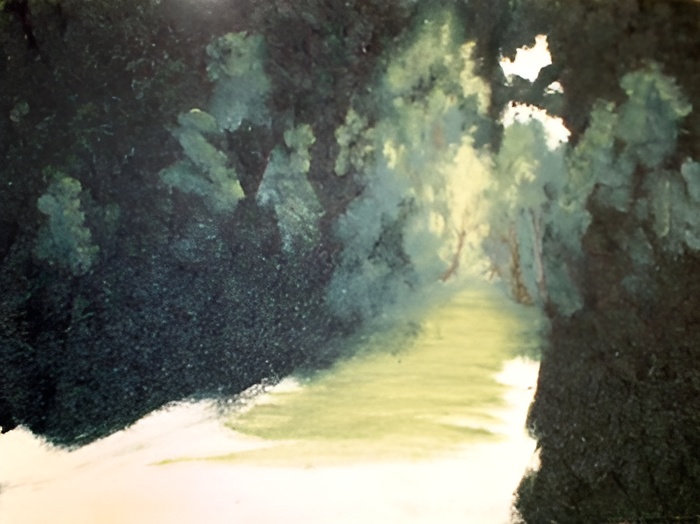
We can now roughly scrub in the distant path using the yellow mixture we used last. Scrub this in fast and furiously, don’t try and be too careful here. We want to purposely overrun into the dark green on either side of the path. This causes a streaky effect and makes the path look uneven. Start at the top and work your way down to about two thirds of the path, leaving the bottom third.
To complete the trees in the background, add a small amount of Brilliant Orange into a Titanium White to give a low intense orange. Now add the tiniest amount of French Ultramarine to this mix at a time until you get a very light brown. Thin this brown mix down to the consistency of ink. Using your painting knife, ‘draw’ in the distant trees. Be careful not to make them too big otherwise they will appear closer than we want them, loosing the distance.
Path
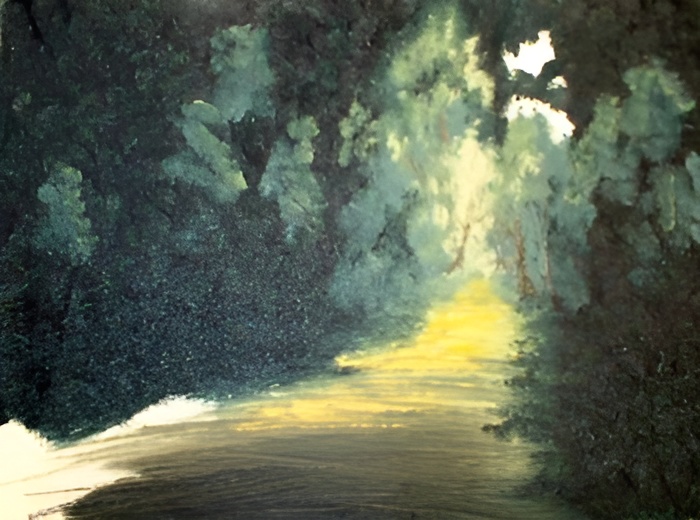
Scrub in some Raw Umber into the foreground path in the same manner as you did the distant path. Start at the bottom of the canvas and work your way up rapidly. When the Raw Umber meets the light colour of the path, press lighter and leave increasing gaps between your brush strokes. This creates an optical blending effect while at the same time still giving the path a rough look. With a little practice, this is easier to do than it seems.
We can now add some more sun onto the path. Use a dry clean brush and Cadmium Yellow straight out of the tube. Gently run the brush that has been loaded with the yellow over the path. Don’t apply any pressure and use the full length of the bristles instead of the tips. The paint is the only part of the brush to touch the canvas. You will see that the paint comes off in irregular patches and streaks creating the effect of individual leaves on the ground. Only highlight the left hand side of the path as the sun is shining from the right in this painting. Also don’t highlight into the Raw Umber as you will loose your distance.
Foreground Foliage
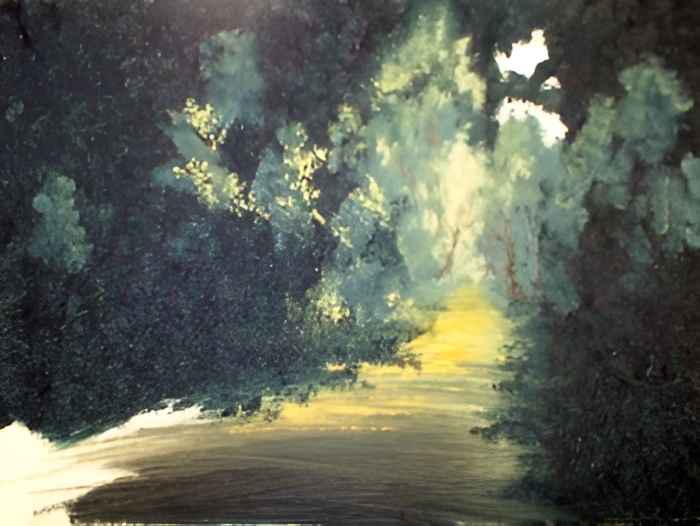
Using Titanium White, Cadmium Yellow and a little of the dark green mix, mix a yellow green that is darker than that used for the distant break in the trees. Add some highlights around the irregular patches you scrubbed in during the second step. Remember that the sun is shining from the middle right of the painting so the highlights on the left hand side of the path must be to the right of the patches scrubbed in earlier. Don’t highlight the patches on the right hand side of the path as they don’t get much sun. Add these highlights using only the corner of the bristles. Pick up lots of paint and use a light dabbing motion. Build the highlights up into many irregular patches instead of trying to paint each individual leaf. Trying to paint each individual leaf will result in a spotted look. Leaves are very lonely creatures and like to live together in groups of different sizes, with only a few loners here and there.
To bring the ground foliage over the path we use some of the dark green mix. Dab from inside the foliage toward the centre of the path. Dab this growth in, in irregular horizontal strips. Broader, dark strips near the bottom of the canvas and shorter, thinner and lighter farther back.
Foreground Trees
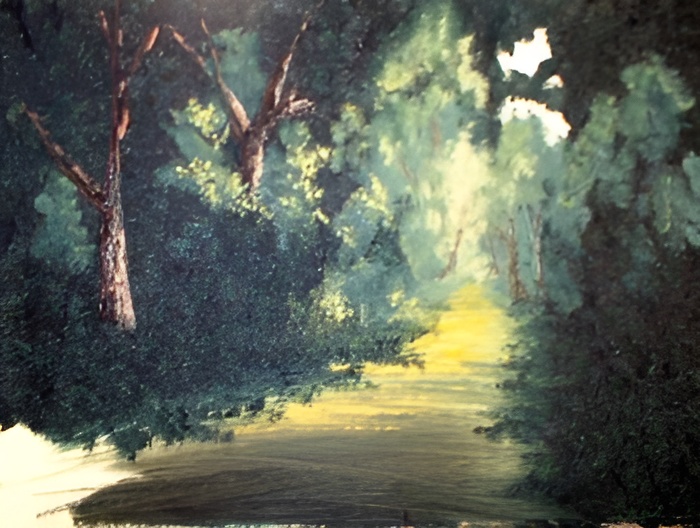
All the foliage we have been painting would make no sense if we didn’t have trees or branches to anchor them to. We are going to paint in the tree trunks and branches using the painting knife as this will give us a nice rough effect.
Mix up a very dark brown by adding French Ultramarine to Raw Umber. Thin this colour down to the consistency of ink. Scrape some paint onto the knife as though you were smearing butter. Draw in the trees using a dabbing motion with the side of the knife to create a bark look. Note how I have let the trees ‘disappear’ into the foliage at the top and the bottom. You may hardly even see this paint when you stand back as it is so dark against the dark foliage, but it gives you the shape so that you can add the highlights.
Add a little white to this dark tree mix, then a little orange to brighten it. Thin as before. In the middle of each trunk and branch dab in this colour. Make sure to get a rough effect otherwise it will look as though someone ironed your trees to get all the wrinkles out.
You can now highlight the trunks and branches. Add more white and orange to the tree’s middle colour, thin and dab in the highlights. Remember where the sun is coming from otherwise your highlights will be on the wrong side of the branch. The brightest point on an object is ALWAYS the point closest to the light.
The tree on the right hand side of the path is not highlighted with this colour. I have mixed another, in between the middle and highlight colour to ensure that the light always shines brighter on the left hand side of the path.
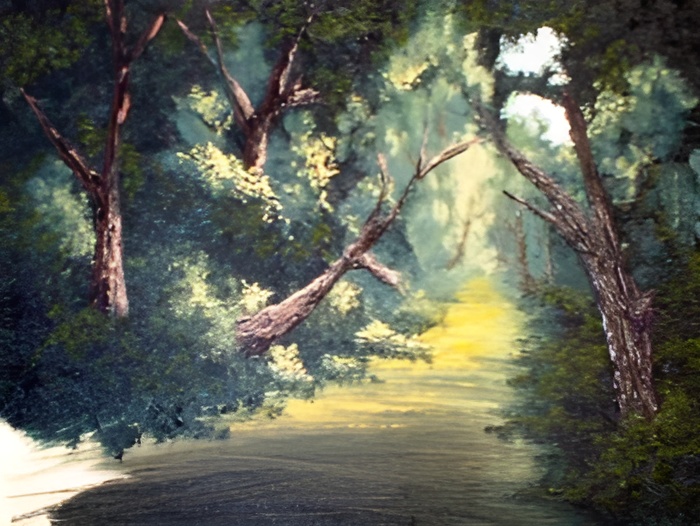
Let’s complete the foliage now. We could have done it earlier, but we rather do it now so that we can ‘sink’ the tree trunks and branches ‘into’ the foliage. Mix a Sap Green using equal amounts of Viridian and Raw Umber, if you have Sap Green in a tube, use that. Add some of the Sap Green into Cadmium Yellow until you get a medium dark Olive Green. This colour is the middle colour for the foliage.
For the foliage on the left hand side of the path, build up the areas on the dark side of the highlights using this colour and the brush in exactly the same way you did the highlights.
On the right hand side of the path, build up some foliage using the same colour. This side doesn’t get any bright highlights though as it is in shadow. To complete these leaves and bushes, sparingly highlight them with the colour used for the gap in the path as shown below.
We can now add the sky shining through the trees. Add a little French Ultramarine to Titanium White. Carefully block in the open canvas where the sky should be. Dab a few patches of light around these areas for smaller holes. The light will now be shining through the trees, but will still look as though it is in front of the trees. To push it back we use some of the dark green mix and dab some leaves in front of the light. Highlight these leaves as shown below.
Foreground

To make the path look rough we need to add some leaves lying on the ground. Use your dark green mix to dab in patches of leaves. Remember that leaves are lonely and don’t like to live alone. Bigger patches at the bottom of the canvas and smaller patches as you move into the picture. Only add these leaves onto the Raw Umber sections of the path. Highlight here and there using the yellow we used for the gap in the path.
Complete this painting by adding an extra bush overlapping the path on the bottom left of the canvas. This bush ‘sinks’ the leaves in the path into the picture.
Pin Me
