How to Sell More Art
In this tutorial you will learn how to sell your original paintings online through Fine Art America. You will also learn how to make prints of your artworks onto posters, bags and cell phone covers and sell them online.
Step 1 - Create Your Account
Head over to Fine Art America
If you don’t have an account on the site yet them go ahead and create one by clicking the Join menu item as shown below:

Fine Art America (let’s call them FAA for short) have three different membership types. One for artists like us, another for gallery owners and yet another for buyers. The difference between the three is the amount of features available to you. For example if you choose the Buyers account, then you will not have the selling features available to you.
The type of account we want is the Artist / Photographer account, so click that button :

Go ahead and complete the registration form and click Submit.
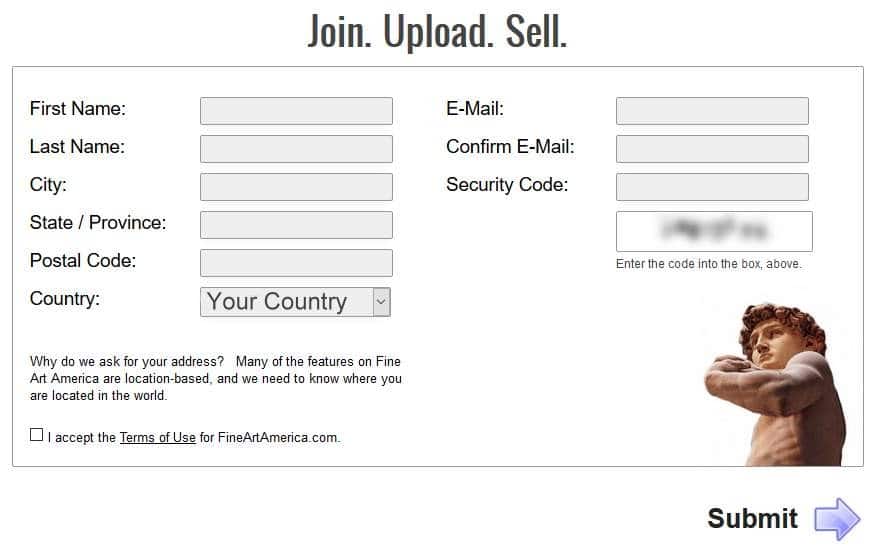
Although you have now created your account, it is not active yet. An activation email has been sent to your email address which contains your initial password.
Use that to log in for the first time.
Step 2 - Complete Your Profile
Log in to FAA.
Once logged in click your Name in the top right hand corner of the screen in order to get to your Profile:

Your Profile area has two sides to it:
a) Your personal info area show in green below and
b) Your artwork area shown in purple below
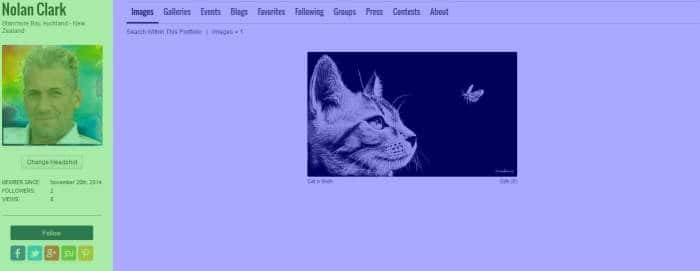
Your artwork area will be empty at this point.
To complete your profile you need to add a profile photo as well as a short biography of yourself.
Click the Change Headshot button to add your profile photo:
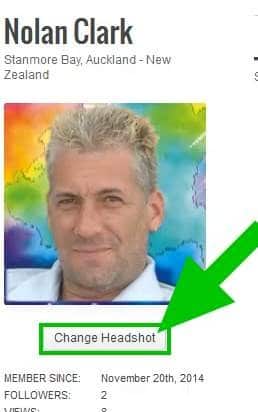
Ensure the profile photo you upload is square and at least 600 pixels by 600 pixels wide.
Next add your biography by scrolling down on your Profile page and clicking the Edit Biography button:
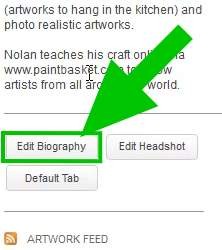
It is very important that you add both your profile photo as well as your artist bio because people will often click through to your biography to see what other artworks you have available for sale.
Being able to then also see your face and read a bit more about the artist make your artworks feel more personal.
In other words this is your opportunity to form a connection with the person thinking of buying your artworks. Let’s face it you would prefer to buy from someone you know than someone you don’t know.
If you have an interesting bio, the buyer will feel like they know you and be more inclined to buy from you.
Step 3 - Upload Your Artwork
Now you can start to add your artworks to the site. FAA does give you the ability to upload groups of photos at a time, but I strongly suggest that you only upload one image at a time in the beginning.
As everything is new, it is easy to make mistakes or become overwhelmed by everything that needs to be done. By adding your initial artworks one at a time minimises the chance of you making a mistake.
To upload your artwork you need a good photograph of the artwork. Fine Art America recommend that you look out for the following common problems:
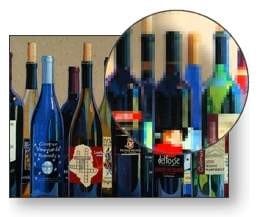
Don’t Enlarge Your Images
A photo is made up of coloured dots. Do not enlarge your images in Photoshop or any other photo-editing program. When you enlarge an image, Photoshop simply makes there dots larger which causes your photo to become blurry, blocky, and unprintable. If you see your image is a bit small, then you need to take a new photo using a camera with a higher resolution.
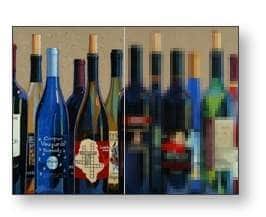
Don’t Compress Your Images
When you save your photos in a program like Photoshop, you are given the option to compress the photo. What this basically means is that you are reducing the quality of the photo by reducing the amount of dots that your image is made up of. So in effect you are making the dots left over bigger in order to fill the size of the photo. This again makes the photo blurry and blocky when printed
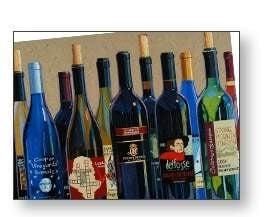
Crop Your Image Correctly
Whatever is in the photo will be printed so if you don’t want something on the print then you need to crop it out using an image editing program like Photoshop or Gimp.
While you are at it also ensure the photo is straight, so rotate and crop to get everything perfect.
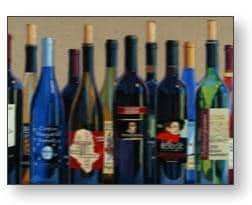
Check the Focus of the Image
When you take a photo on your camera, it may look perfect on the little screen, but when you open the photo on your computer and look at it in full size you may notice that it is out of focus. If you upload an out of focus image to FAA, all your prints will also look out of focus.
I usually take a few photos and then select the best one.

Ensure Even Lighting
You don’t want to use a photo where the image is brightly lit on one side and in shadow on the other side. A good example of this is when you use a flash to take a photo of the artwork, you then end up with a bright spot on the photo. Rather take the photos of your artwork outside where you know the light is even, or use a scanner instead of a camera to capture the image
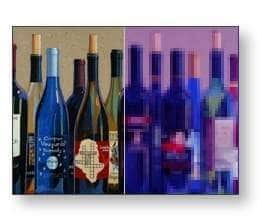
Ensure Correct Colours
Although there will always be some difference between what you see on the original artwork, on the screen of your computer and the final print, you should do everything you can to minimise the difference. Bring the photo into an image editor, place the original artwork next to the screen and play around with the various image settings to get the best possible match.
With your photo looking good, click the “Upload Image” button:
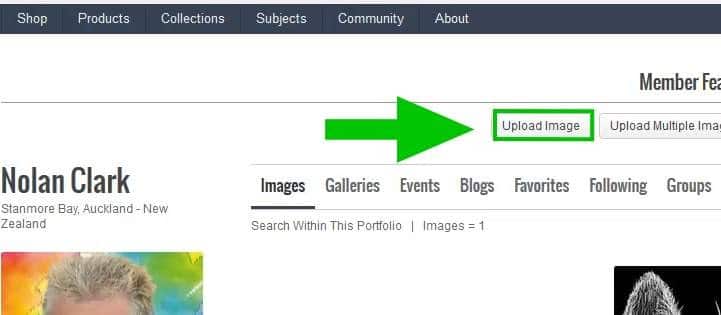
Click the Browse button and select the correct photo.
With the correct photo selected click the Upload Image button:

Your photo will now upload. Depending on how large the file is and the speed of your Internet connection, this may take quite a while, so just be patient, it will upload.
If you do however find that the upload fails, then check the size of the file. If it is larger than 25Mb, then you will unfortunately need to reduce it’s file size. The best way to do this is to reduce the dimensions of the image.
Open the image in your photo editor and reduce it in 10% increments until the file size is below 25Mb, then upload to FAA.
With the image uploaded you can now start to add the artwork information.
Step 4 - Add the Artwork Details
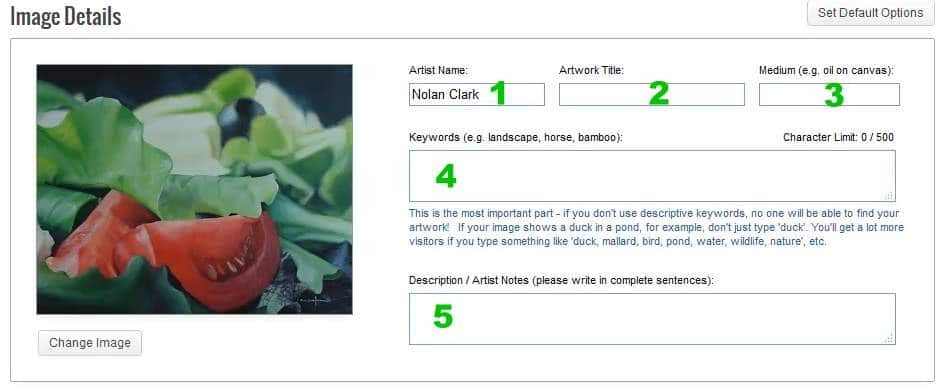
1) Artist Name
This should already be completed, but in case you want to change the name you can do it here.
2) Artwork Title
Add in the name of the artwork here. You can choose any name you want. There are no rules about how you must name your artworks.
3) Medium
Here you fill in what medium(s) you have used to create the original artwork. Typical examples could be “Oil on Canvas” or “Watercolour on Paper”, etc.
4) Keywords
When deciding what keywords to add, you want to think about what a buyer might type into the search box on Fine Art America in order to find your painting. For example with my bowl of salad painting a buyer might type in words like still life, salad, tomato, lettuce, olive or even words like summer and holiday.
Type these keywords into the box separated by commas. Use as many variations on words as what you can. You are allowed 500 characters in this box so use them all – it increases your chance of being shown in the search results.
Tip – add the medium of the artwork as a keyword as well, eg. oil, painting
5) Description
Add a description of the artwork. Here you can explain things like if the original artwork in framed, what inspired you to create the artwork, what size the artwork is and so on. Make this interesting as it is your sales letter for this artwork so the more enticing and appealing you make it, the better.
Step 5 - Choose the Display Options

Choose how you want your image displayed in the search results and on the info page. (The info page is the page where your artwork is shown to the buyer after clicking on it in the search results)
a) Enable Watermark – FAA will add a watermark over the image displayed on the website, but not onto the final print. Artists often add this watermark to discourage copying of their artworks.
The problem however is that customers could mistakenly think that this watermark will also appear on their artwork or print so may be put off from buying it as a result.
I recommend you don’t use a watermark as there are more buyers than image thieves out there.
b) Full Resolution Preview – A full resolution preview allows the buyer to zoom in on little sections of your artwork. The upside of enabling this feature is that the buyer can get a better view of the texture and detail in the artwork which may convince them to purchase. On the negative side however, it does make your full size image available on the page for a tech savvy thief to steal.
As with the watermark choice, I recommend you allow the Full Resolution Preview because the chance of this feature convincing the buyer to purchase is much higher than somebody stealing the artwork.
Rest assured that allowing the preview does not make it easy for just anybody to steal your image – it takes somebody quite tech savvy who understands website programming, etc. to steal the full size image.
If you are going to follow my recommendations, then in future you can simply skip this section as the Watermark is disabled by default and the Full Resolution Preview is enabled by default.
c) Work Safe Viewing – Read through this section if required, but it should be pretty obvious whether to choose yes or no here.
Step 6 - Select the Artwork Category

For now scroll past the “Galleries” and “Groups” boxes – you can play with those features on your own later when you have a few artworks for sale – for now they are not relevant.
When you get to the “Artwork Categories” box, look through the various disciplines there and select which are relevant to your artwork.
Note – you can select more than one category if relevant.
Step 7 - Add the Artwork Dimensions

Note – you DO NOT have to sell your original artwork. You can decided to sell prints of your artwork only if you prefer.
Select from the “For Sale?” drop down whether you are going to sell the original or not.
If not, select no. If you are select Yes.
Note – If you select yes here and the original artwork eventually sells, you will need to come back to this settings and select the sold option to indicate the artwork is no longer available.
If you are selling the original artwork, then enter it’s dimensions and price into the relevant boxes.
Step 8 - Select the Print Options
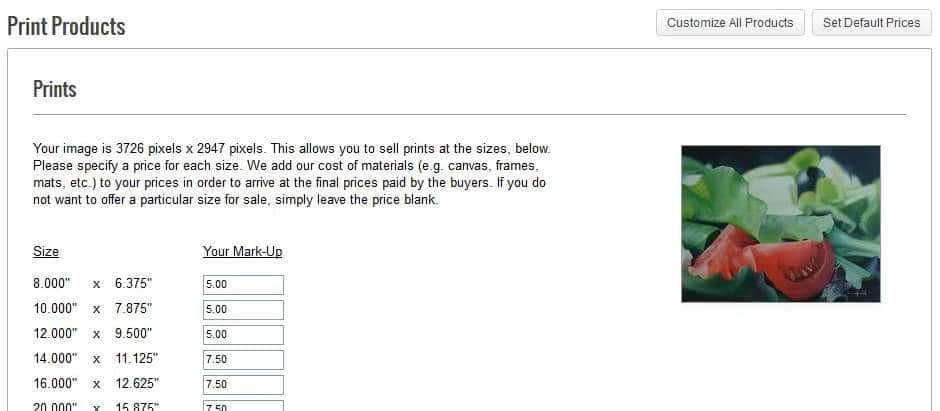
Note – you DO NOT have to sell prints of your artwork. You can decided to sell only the original if you prefer.
FAA offers various types of prints, these are:
a) Paper (poster)
b) Canvas
c) Metal
d) Greeting Cards
e)Throw Pillows
f) Duvet Covers
g) Shower Curtains
h) Tote (carry) Bags and
i) Cell Phone Covers
You can decide which of these, if any, and what sizes you want to make available.
By default all the options may be selected as available. The only exception being when your original uploaded photo is not big enough to produce a good quality print at a specific size.
If that is the case, then all items requiring a larger image size will automatically be deselected for you.
All the items that can be printed will already have a default profit added to the “Your Mark Up” columns. You can leave these amount as is, or you can choose your own profit.
It is important to realise that this is the amount you will be paid every time an item is sold and not the price the customer will pay for the print. The actual cost of the printing will be added to the profit you indicate here when a customer browses the FAA store.
For example – if you say you want to make $2 profit on a specific print and it costs FAA $5 to make that print then the price the customer will see inside the FAA store is $2 + $5 = $7. The customer will then buy the print for $7 and you will be $2 for the sale.
If you do not want to sell a specific print or size then you simply delete the value inside the “Your Mark Up” box. That item will then not be available for purchase in the FAA store.
Step 9 - Customise the Print Layout
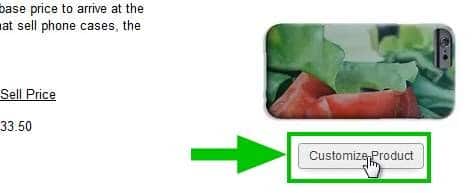
Once you have chosen the mark ups for each size, you want take a look at the “sample” they show you for each print type. As each product is not always to the exact dimensions of your original artwork, you may need to adjust the positioning of the artwork on the print.
As an example you can see that the tomatoes in my painting do not look good with the default positioning on the cell phone cover print, so I will need to adjust it’s position.
To edit the positioning, click the “Customize Product” button.
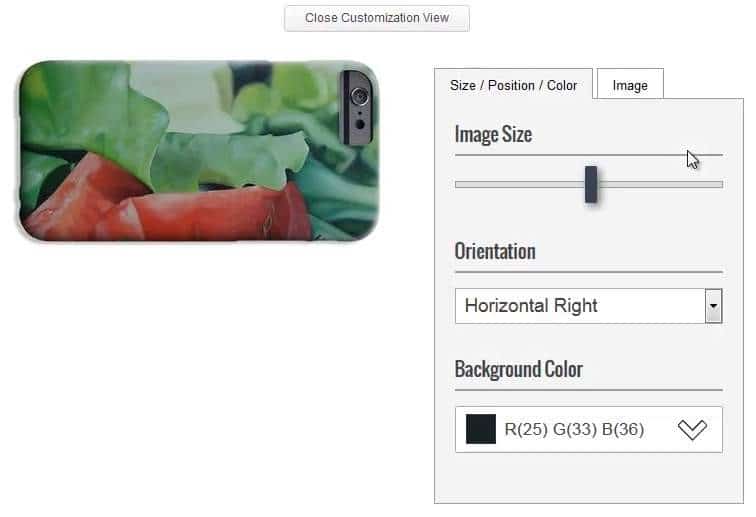
All the customisation controls will open.
You can now drag the Image Size slider to the left or right to change the size of the image.
You can select a different orientation from the Orientation drop down.
If your image does not fit the entire product you can then select a colour to use in the areas not covered by your artwork. You do this by selecting from the Background Color drop down.
As an example, in the photo below you can see how the size of the artwork has been reduced to fit the height of the cell phone cover. To fill the empty space to the sides of the artwork, a green colour was selected:
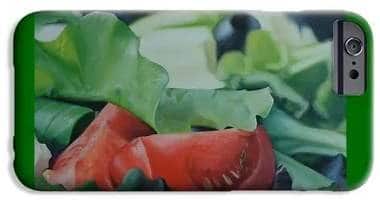
You can also drag the artwork to reposition it on the product by clicking on the product sample and dragging the artwork to where you want it. Below you can how I am dragging the artwork upwards to show more of the tomatoes in the final print:
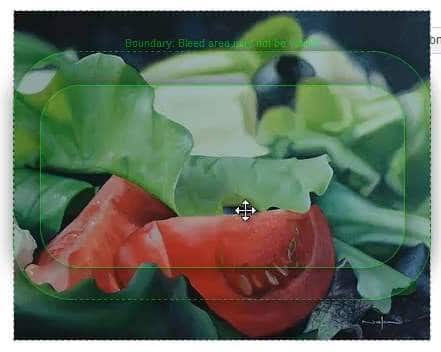
(Notice how the product is still shown in dotted lines, this makes it easy to see what the product will look like even while you are dragging the photo around)
Step 10 - Select Your Sharing Options

FAA allows you to connect your Facebook and your Twitter accounts to their website. This allows FAA to share your new artwork / prints with your Facebook friends / Twitter followers automatically. This is great as it saves you the time and effort of doing it manually.
You do however first need to give FAA permission to post to your Twitter or Facebook account. You only have to do this once. After that you will simply be able to select whether to share or not.
To authorise FAA, click the “Click Here to Enable the FaceBook / Twitter Application button” and go through the short approval process. Do this for Twitter and Facebook (only if you have these Social Media accounts of course).
Finally Click the Submit arrow / button:

Pin Me
