Short Class Video
Class Tutorial
Painting the background
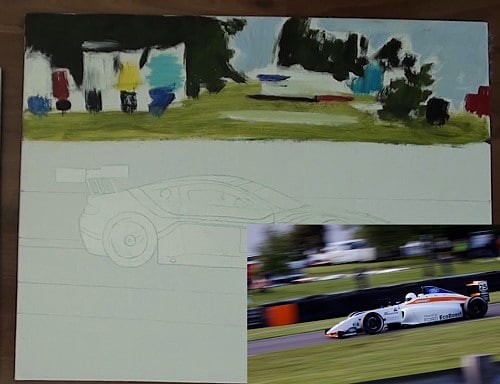
The big attraction with this painting is showing the speed of the car so painting that should be fun.
We will start by painting the background, so I have used clear cover to mask off the racing car
The background in the original photo was not interesting enough so we will use another photo for our background.
As you can see from the reference photo everything in the background is out of focus and blurry because the camera is moving to track the car.
We will need to recreate this effect on our canvas if we want to create the illusion of speed in the artwork.
As I can’t tell exactly what I am looking at in the background I treat it like a bunch of abstract shapes.
I then block in the correct colours at the correct places on the canvas.
Once I have most of the canvas covered I use a dry hardware brush to smudge adjacent colours into each other. I do this using a light horizontal motion. This makes the objects look like they are zooming past.
As you do this keep the brush clean by wiping it on a roll of paper kitchen towel every few strokes.
If a colour disappears during the smudging process you can add it back in at the correct area, then smudge again. Repeating the process until you are happy with the effect.
By the time you are done there should be no sharp vertical lines visible in the background.
Painting the foreground
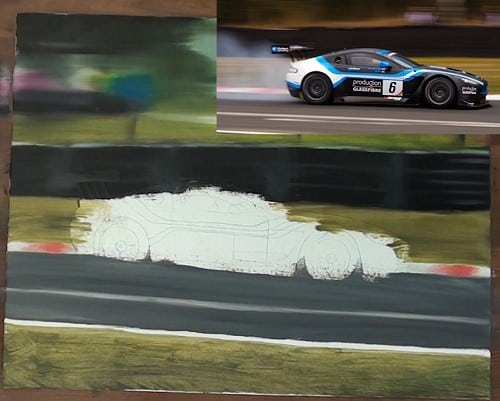
You can use the exact same technique to make the road and grass looks like it is zooming past.
Adding detail features to the car
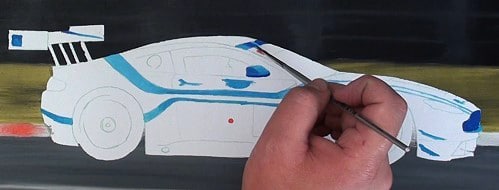
We can now move on to painting the car.
The car has been precision-engineered with perfectly smooth lines and sharp edges.
That means we will have to be patient and work accurately when painting the car if we want it to look good.
What makes painting this car even more time consuming are the various markings on the car. What you want to do when painting something like this is brew yourself a nice big pot of coffee, put on some good music and get yourself into a painting zone.
That way you will enjoy yourself so much that you will not notice how much time you have spent painting the fiddly details.
If you find yourself starting to rush, rather take a break and come back when you are refreshed. That way you will put in the effort that this painting deserves.
There are many parts to this car so I break it down into smaller sections. That way the car becomes manageable to paint.
I have also decided to paint one colour at a time as that will cut down on a lot of time wasted washing and cleaning brushes.
For example, if I pick up red paint I will complete all the red areas on the car.
I will then move on to all the blue areas and so on.
As I work I first block in the basic colours where I see them, then come back to see what variations in the colour are visible.
The colors I’ve used to paint the car are cadmium red, cerulean blue, french ultramarine, lamp black and titanium white.
Adding black areas to the car
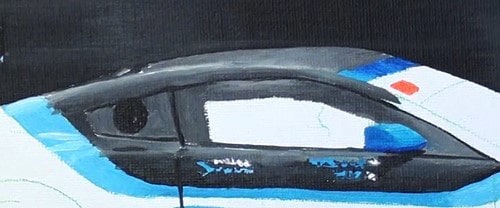
When you get to the black areas of the car you will need to look very carefully. The sun is reflecting off the paint so you will be using surprisingly little neat black. You will more often than not be using variations of grey.
An easy way to check how much white paint you need to add to the black is by placing some of your grey mixture on your knife and then holding the knife up to the area on your reference photo that you want to paint. You can then judge if the color on your knife needs to go lighter or darker.
Painting the windows
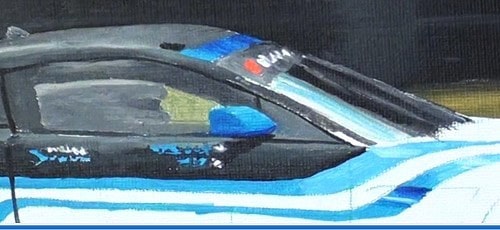
When painting the windows, look to see what is visible inside the vehicle and what is reflecting in the window and then paint those details.
For example in the side window we can make out the silhouette of the driver’s helmet, whereas on the front windscreen we can only see reflections in the window.
You also noticed that I am not adding the small wording on the car correctly. This wording is simply too fine so even if you did painstakingly paint the wording using your one hair brush you would still not be able to read it.
As a result I am simply adding a few random marks and squiggles in the corresponding places to make it look like wording.
It is only the very large text on the door which I will paint accurately as that is clearly readable and easy to paint.
If you can’t make out a feature as your paint then just treat that area as an abstract shape like we did in the background. Replicate the shape, colours and shadings in that area. When you stand back from the canvas this area will then look correct.
As far as the viewer is concerned, the car is static and the background is zooming past, so we do not have to add any speed or motion effects to the car itself.
Painting the wheels and the shadows of the car
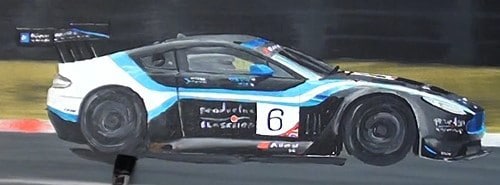
An exception to this are the wheels. They are still rotating at high speed in relation to the car.
To paint this rotating effect, lay in the colours you see in the wheel area then smudge them in a circular motion – something that is not as easy to do as it sounds, so don’t be shy to do it a few times until you are happy it looks correct and round.
We can now add the car’s shadow to the ground using black paint. Add solid black directly underneath the car and then quickly blend it away from the car.
Painting the illusion of smoke
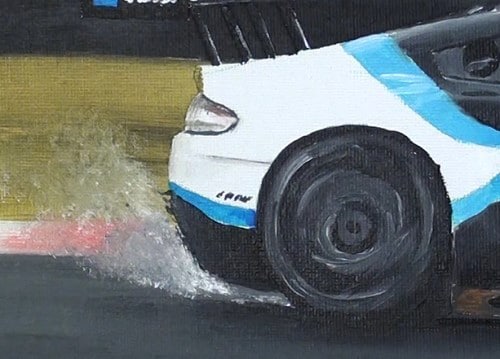
To create the illusion of smoke coming off the tyres it is best to wait until the background is dry and then glaze some white in that area.
I have painted wet on wet so used a gentle circular motion using a tip of a very soft brush to add the smoke.
Add more smoke against the car and less and less as you move away from the car.
Final painting
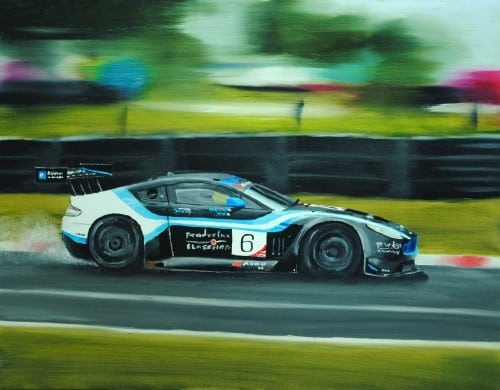
Click the button below to view the real time follow along version of this class:
Pin Me
