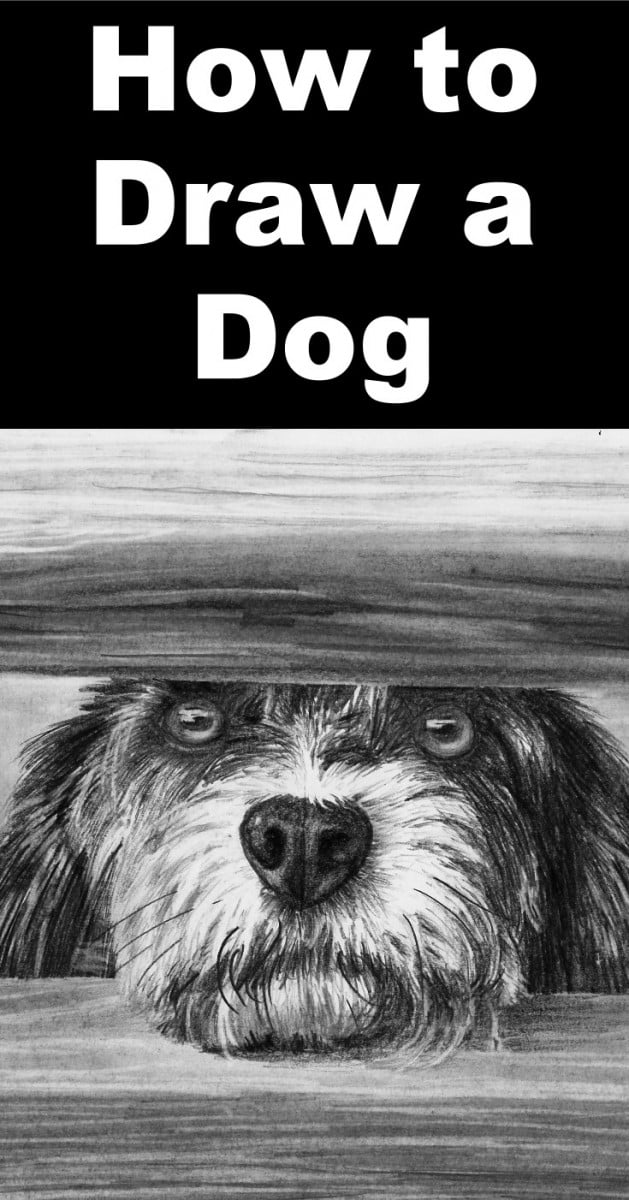
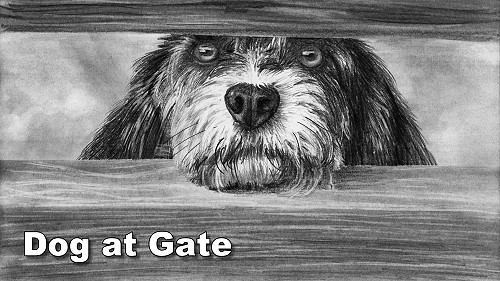
Short Class Video
Class Tutorial
Drawing the background
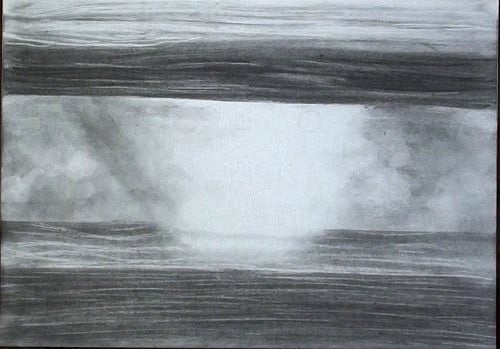
Let’s start at the top and work our way down. We will draw the wood and the background first then the dog.
I use the cloth to lay down the basic tonal value of the top wooden pole.
I then use an eraser to lift out the grain of the wood.
You can repeat this process several times to get lighter and darker wood grain. To round off the effect boost the darkest values using a 6B pencil.
Doing this gives you a wood effect with amazing depth and detail.
The background is out of focus so just use the cloth to work in a few random shapes without any hard edges.
I create the wood effect on the bottom log using the same technique as for the top log.
Notice how I am avoiding the area where the dog is leaning on the log. We will finalize this area once the dog is complete.
Here you can see how I am using a pen shaped eraser to get finer wood grain detail than the top log.
Start drawing the dog
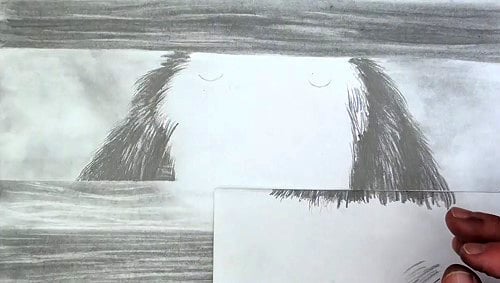
I use my pen shaped eraser to re-establish the outside edges of the dog.
I then use a chisel shaped pencil to flick in the hairs.
What is important when you flick is to follow the general direction of the hairs.
Each hair though, is at a slightly different angle and a slightly different length. It is these variations that make the hair look natural.
I look out for the different tonal values as I work. I will add more flicks in the dark areas and less in the lighter areas.
I will also use harder or softer pencils at the various places as this also helps establish the correct tonal values at the correct places.
For extra detail I use my pen shape eraser to erase individual, light overlapping hairs.
To ensure the hair goes behind the wood I use a scrap piece of paper as a temporary mask.
Drawing the eyes
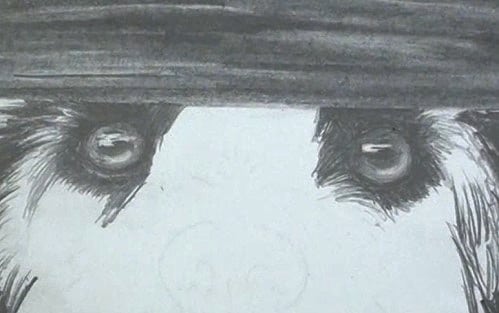
For the eyes I block in the lightest tonal value, erase the highlight and then by careful observation work in the darker tonal values.
The area around the eyes is very important. It needs to be very dark to make the eyes stand out nicely, but you still need to work in the subtle details as well as stick to the correct hair directions, so pay careful attention when drawing this area.
Drawing the nose
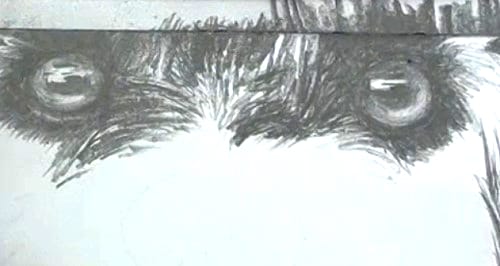
The nose area is a lot more tricky as we have very light hairs overlapping very dark hairs.
As the paper is white, we cannot draw the white hairs. We can only suggest them by drawing the negative space and darker hairs visible behind them.
As a result I will even use pieces of lines to show a darker hair is growing behind lighter hairs in order to complete this illusion.
On other occasions I will use the eraser to lift out lighter hairs over darker hairs.
Drawing the mouth
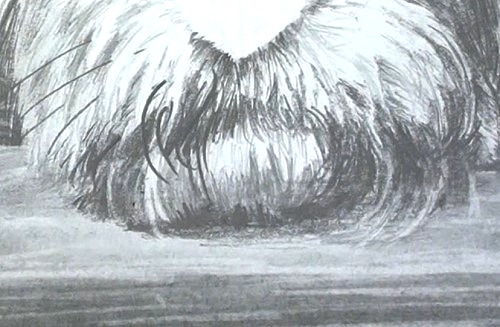
In the mouth area we have light and dark hairs intermingled so I use a combination of all the previous techniques to draw the hairs correctly.
As I draw I also gradually shade in the shadow cast by the dog on the pole below in order to complete this area.
Adding more detail to the nose
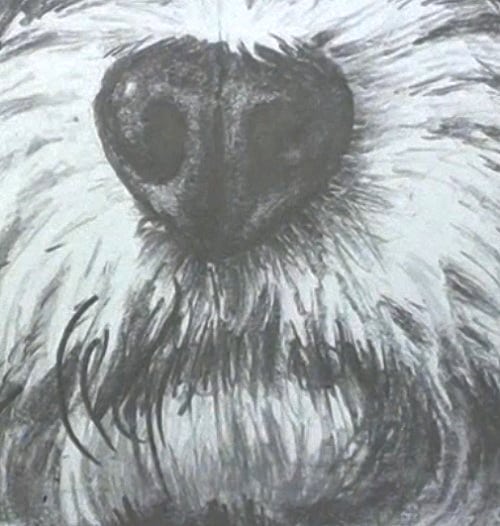
The nose is simply a series of shadings. I start by establishing the darkest contrasts. From there I gradually fade the dark areas into the lighter areas until the shadings and tonal values are correct.
And with that our dog is complete.
Final drawing
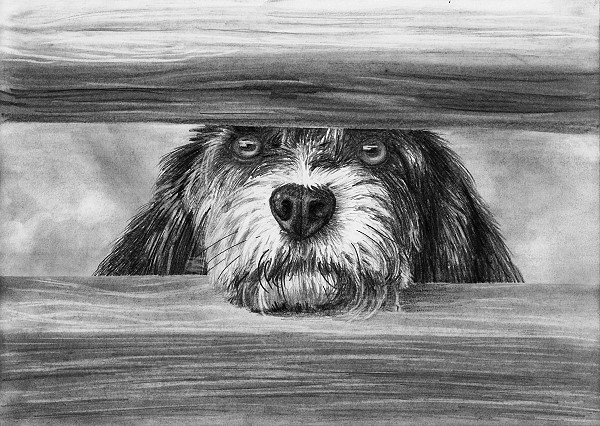
Click the button below to view the real time follow along version of this class:
Pin Me
