Short Class Video
Class Tutorial
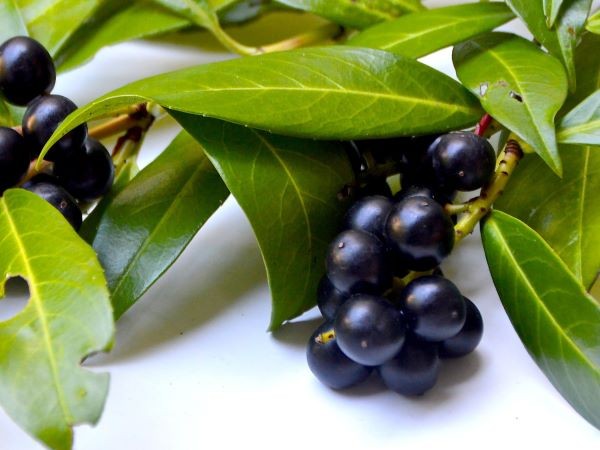
I quite like this photo of berries so we will paint them in acrylic.
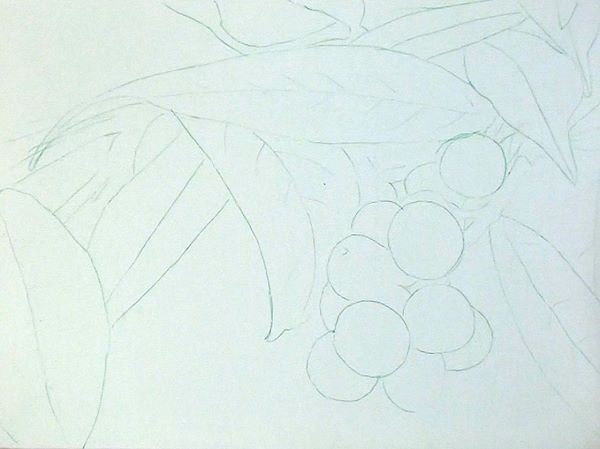
Start by transferring the outlines of the objects onto the canvas.
Painting the Shadows
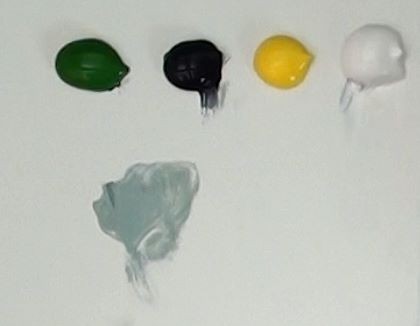
The table is white so we only need to paint the shadows onto the table.
For the shadow colour I add Paynes grey into white. This gives me a neutral Grey.
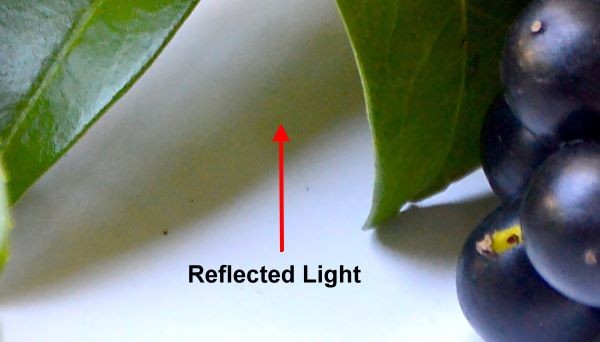
From there we will adjust this colour to match the colours of the reference photo in each area.
Shadows are not uniform they are darker close to the object and then fade lighter further away from the object. We will add more white to lighten the shadow and more Paynes grey when we need to darken.
Even though the table is white and it’s natural shadow is grey, if you look carefully at these shadow you will however noticed that they have hints of colour in them.
Some of the light is bouncing off the leaves and berries and discolouring our grey shadows.
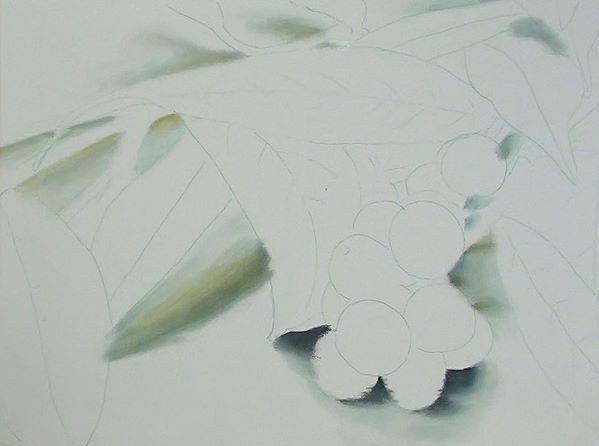
As we paint we will need to add these colours into the shadows in order for them to look realistic.
I paint the shadow against the object and then fade it away.
When I am happy with the shading, I add some of the reflected colour into the shadow.
If a shadow extends too far, I clean my brush then push it back using neat white.
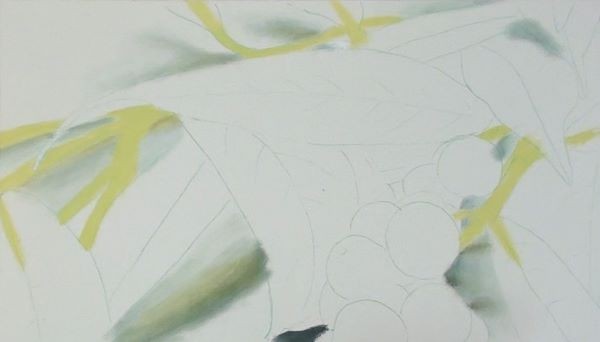
The scene is quite complex so I block in a light yellow onto the stems. This allows me to better picture and find the corresponding leaves.
Painting the Leaves

I then start at the top of the canvas as these leaves are furthest away from us.
To get the correct leaf and stem colours I use Cadmium yellow, Sap green, Crimson and Raw umber.
I paint one leaf at a time. Each leaf has a left and a right hand side which are at different angles so the light will affect each half differently.

Then the leaf is not straight, it has a curl in it which makes the colour across each half differ as well.
For this reason I treat each leaf half separately.
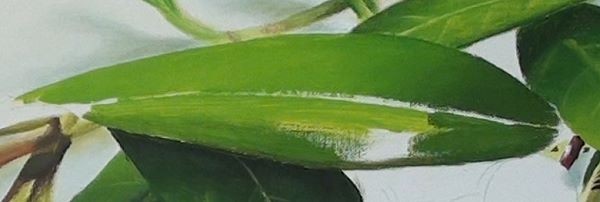
As I paint I look for the different colours and tonal values in the leaf half.
I block these colours in at the correct places.
I then look to see how those colours blend into each other and replicate that shading on the canvas.
To do this I alternate between a bristle brush and a soft filbert brush. The bristle brush does the blocking in and the filbert brush gives a nice smooth shading.
The leaves are smooth so many of them are reflecting the light. At this stage I am ignoring these reflections. It is easier to add them in later.
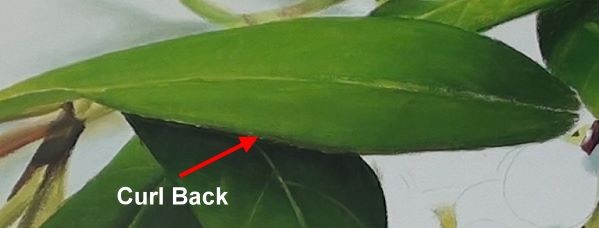
The outer edge of these leaves also curl back so I am careful to add that short sharp shading in as well.

Once I am happy with the shape of the leaf I use some white or yellow to add the centre and side veins to the leaf.
A soft filbert is used to add them. If you struggle to get them fine enough, you can also use a rigger brush.
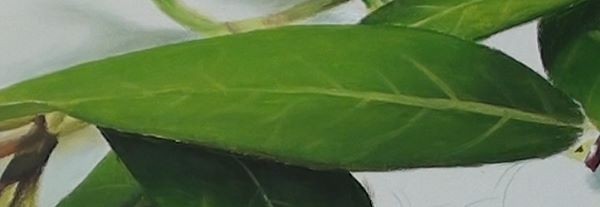
To embed these veins into the leaf, gently brush over them with a clean dry brush.
Once the one leaf is complete, move on to the next leaf.
As you do pay attention to the colours in the next leaf. Depending on the age of the leaf, it’s colours will vary so working these colour differences help to separate overlapping leaves.
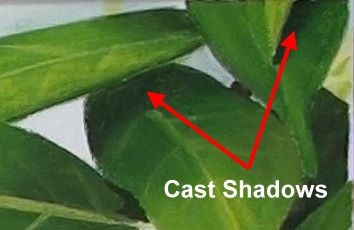
Overlapping leaves also cast shadows on the ones below them. Look for and paint in these shadows as they show the height between each leaf.
Painting the Stems
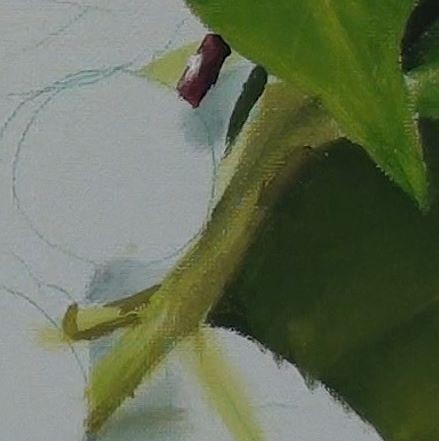
For the stems I use Cadmium yellow, White and Crimson to mix the correct colours.
Each stem is round so I paint the edges darker along their length.
As with the leaves I also look for and paint in any shadows cast on them by the surrounding leaves and berries.
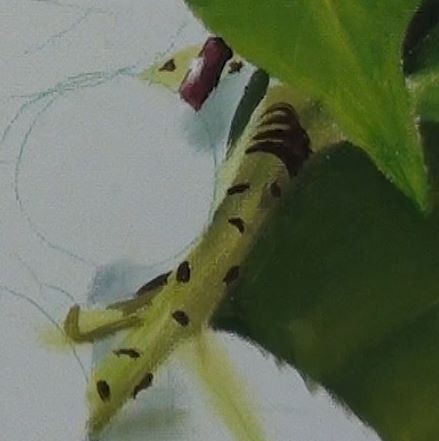
The rings and markings on the stems are painted using Raw umber.
Painting the Berries
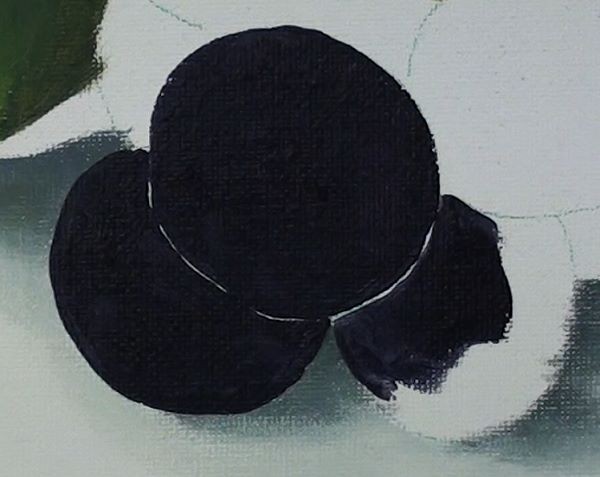
To paint the berries I add a little Crimson into Paynes Grey.
I then block them in using this mixture. As I do note how I leave the thinnest sliver of canvas showing where two berries meet.
This ensures I don’t lose the shape of each berry before I have painted it.
The berries are smooth and shiny so we will show their shape by adding their reflections in.
Before doing this dry the painting with a hair dryer.
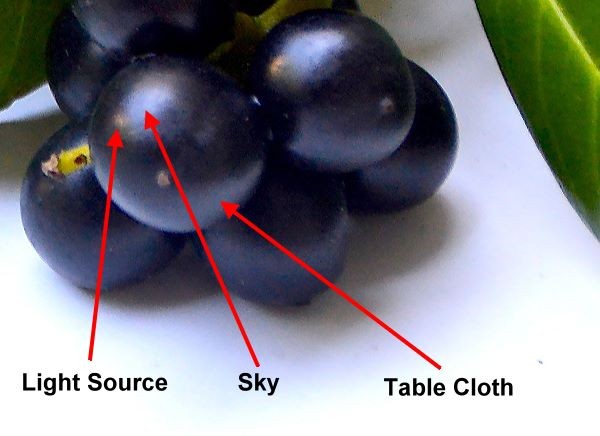
Looking carefully at the reflections you can see that some are from the light source, others from the sky colour and others from the tablecloth.
Mix up a sky colour using White and Cerulean blue.
Mix a light source colour using Cadmium yellow and Crimson into white.

Using a fine around brush I gradually start adding the reflections on to each berry.
You will notice that these reflections all have soft faded edges so I load as little paint onto the brush as possible and then build up these reflections in layers.
For the very lightest reflections I use neat White.
Only once I am happy with the shape of the berry do I paint the thin canvas edge closed.
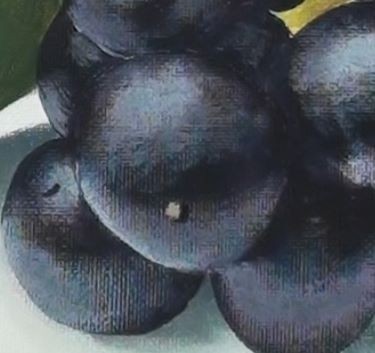
I suggest the dimples on the berries using the berry colour for the shadow and a light yellow for the highlight.
Painting the Leaf Reflections

Dry the entire painting again then using the sky colour add the reflections onto the leaves.
As with the berries I build these reflections up in layers using very little paint on the brush at a time.
It is easy to overdo these reflections so only add the major ones to each leaf.
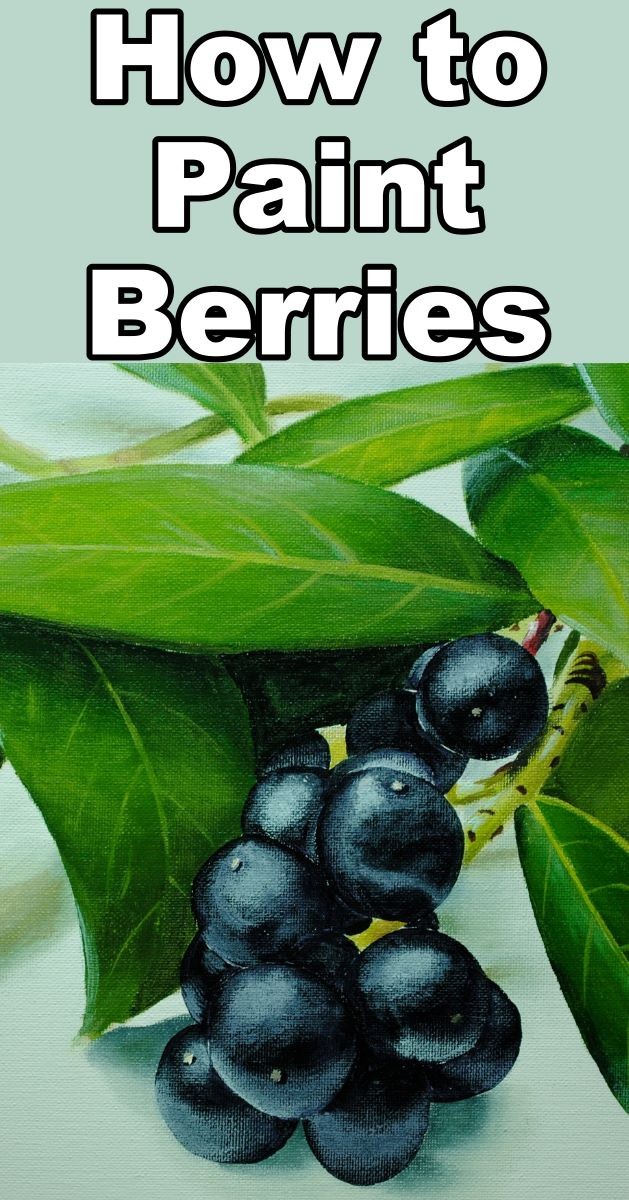
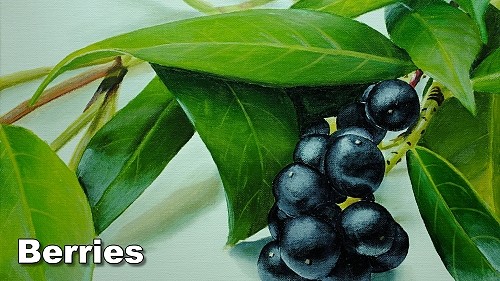
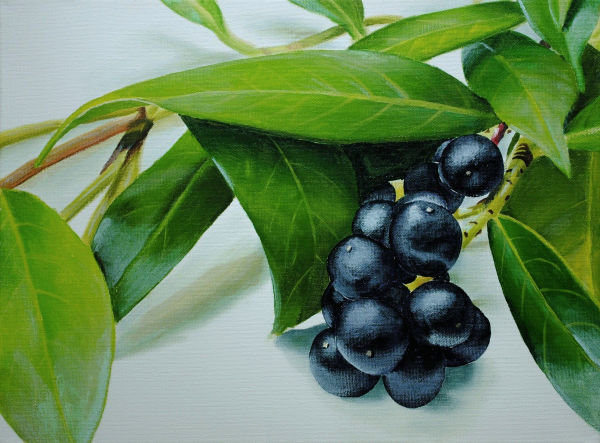
With that the painting is complete. This is what the final artwork looks like:
Click the button below to view the real time follow along version of this class:
Pin Me
