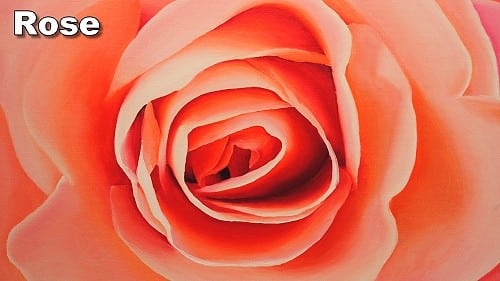
Short Class Video
Class Tutorial
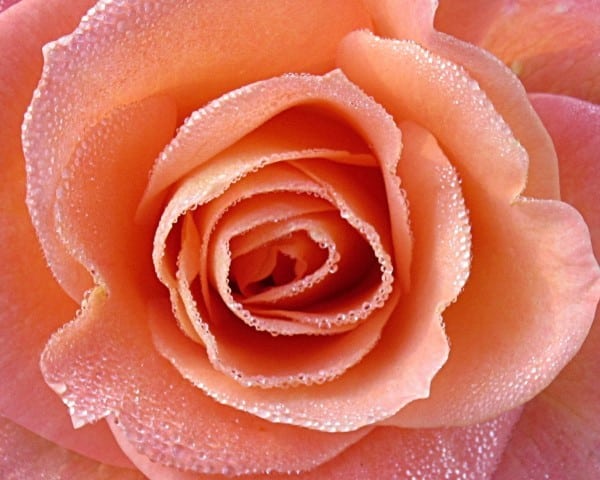
Today we will paint a close up view of a rose.
Essentially this painting consists of a multitude of shadings making it a perfect beginner painting. Regardless of your skill level you will get fantastic practice in spotting small changes in tonal value.
Colour Mixing
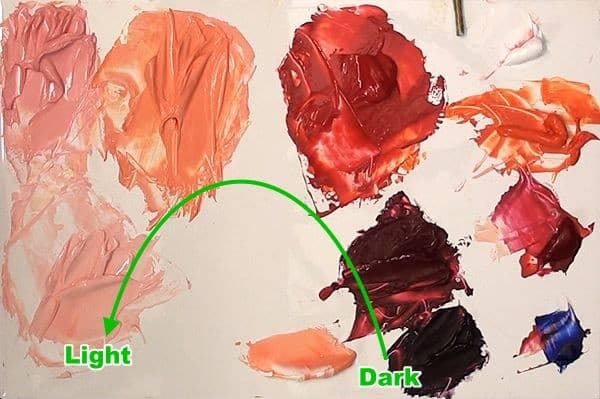
The colours I will use for this painting are Titanium White, Cadmium Orange, Alizarin Crimson and French Ultramarine.
I look at the reference and pick out a few distinct colours. Some in the lighter areas, some in the mid tone areas and others in the shadow areas.
How many colours I mix will depend on how many distinct variations of colour I see in the reference photo.
At a minimum you will always need to mix three colours – a highlight, a mid tone and a shadow.
More often than not however you will mix 5 or more colour variations as the light and surrounding objects affect each petal differently.
If you look at my palette you will also see that I tend to arrange these colours from dark to light.
Later on this would allow me to better judge which is the correct colour to use.
For example if I am painting in a mid tone area and I’m not sure which colour to use I can look on the palette to see what is available.
In this case there is an orange biased mid tone and a pink biased mid tone available.
I can then look at the area I am painting to decide if it is closer to the pink or the orange mixture – or maybe something different which needs to be mixed separately.
Petal Painting Procedure
Painting Order
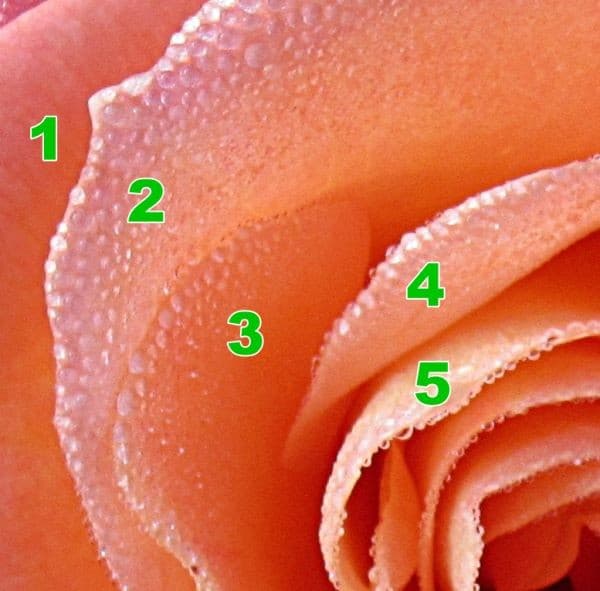
I start painting from the outside petals and work my way inward.
The reason I do this is to get to the overlapping of the petals correct. As I work my way inward, I paint the current petal slightly over the outer one, making it overlap naturally.
I also paint one petal at the time. I paint it as complete as I can before moving on to the next.
When starting a new petal I ignore the fact that it is a petal. I rather see it is a random shape with random shadings in it.
Blocking In
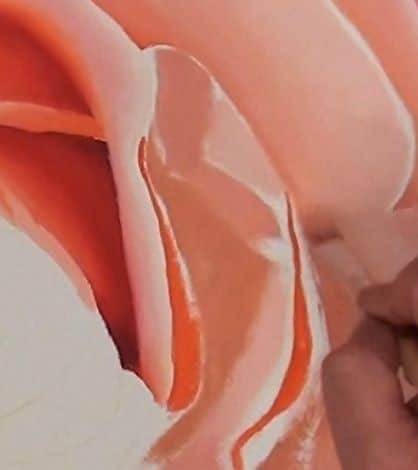
I then find the random shapes formed by the different colours and shades inside the petal.
I block in these colours and shades next to each other. Initially I am not concerned with blending them into each other. All I’m trying to do is get the correct colours in the correct places on the petal.
Blending the Colours
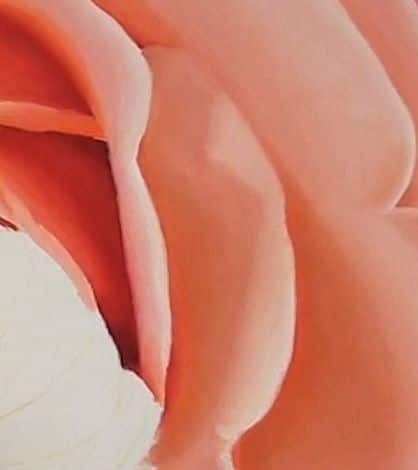
Once all the colours are blocked in I concentrate on the transitions between adjacent colours. Again I only concentrate on one transition at a time.
As I move along that transition line I look to see how the two colours blend into each other in that area. Do they meet in a sharp line, do they blend into each other slowly or something in between.
Often a transition will start off as a sharp edge and then gradually become more and more lost.
When the one transition of colours is completely blended then move on to the next transition of colours until the entire petal has been shaded.
When the one petal is complete do the same to the next one, and so on until the flower is complete.
Check Your Contrasts
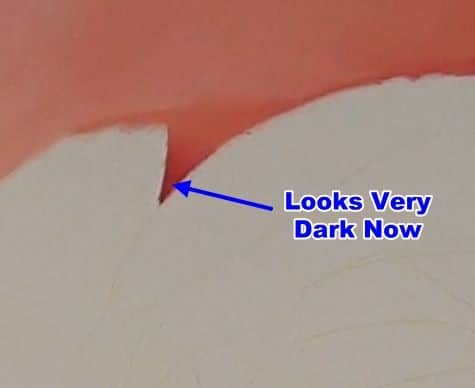
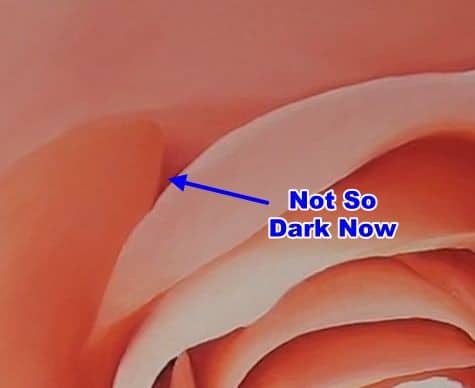
When you start a painting like this the whole canvas is white. In other words each petal is surrounded by white canvas. This can make the colours you are painting appear darker than they actually are.
As you paint however the petals gradually become surrounded by other painted petals. The true tonal value of the previous painted petals then becomes apparent making those petals appear lighter.
This optical trap can cause your final painting to look dull and flat because the darks are not as dark as they should be.
For that reason it is important that you stand back every now and again to compare the tonal values in your painting against those in the reference.
As you do that also compare the petals against each other to ensure the contrasts between them are correct. For example the brightest highlights on one petal but only be equal to the mid tone on another petal.
Remember the Sun Direction
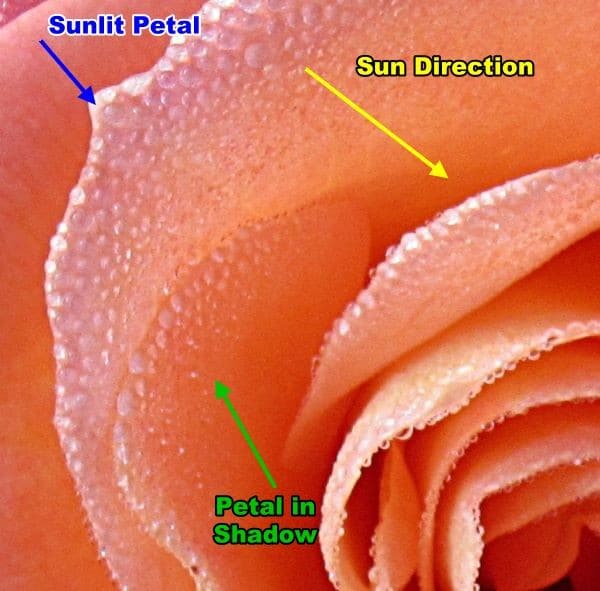
The flower is round so some petals are in shadow while others are in full sunlight. We can’t just paint every petal’s highlight the same tonal value. If we did that, the sun in our paintings would always look like it is coming from directly overhead making the flower look flat.
You must always know which direction the sun is coming from in your paintings and paint your highlights and shadows accordingly.
Lost and Found Edges
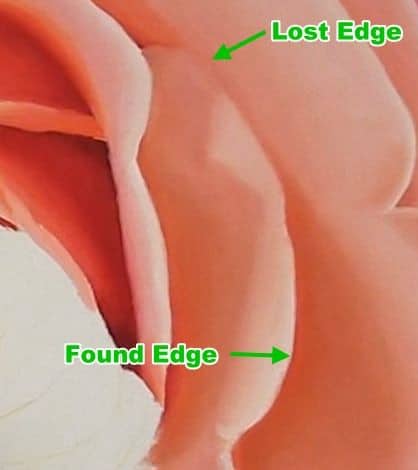
To get a good three dimensional effect in this painting pay special attention to where adjacent petals meet.
If there is distance between the petals, you will have a sharp line separating the two.
If they are touching you may get a lost line where you can barely see the difference in colour and tonal value between the two.
Looking In Effect
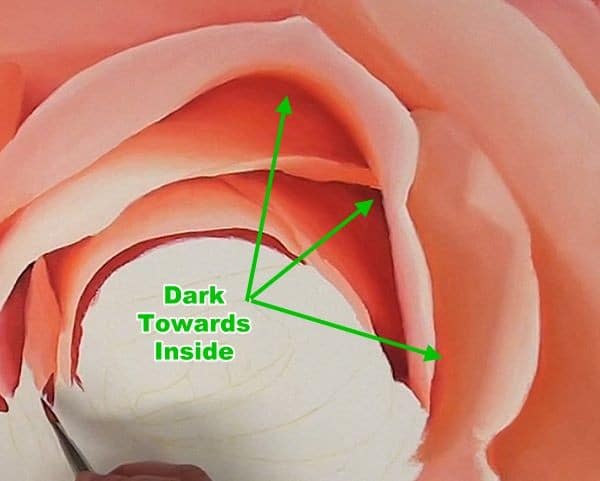
Another thing to look out for is the contrast between the inside and outside of the petal.
A petal will usually appear darker and darker towards the inside of the flower as less and less light can get in between the petals.
It is this contrast that makes the petal stand up off the canvas.
Curling Edges
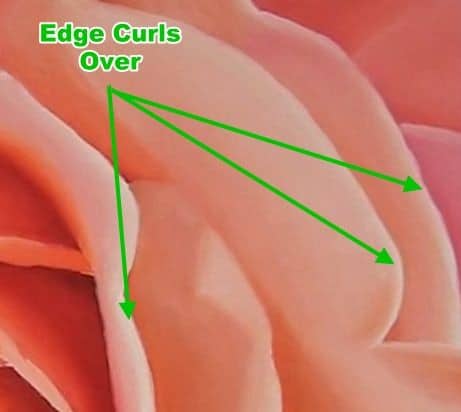
Also pay careful attention to the outside edge of the petal.
Petals will often curl over at their edges resulting in a short, sharp shading. Painting those edge shadings can take your painting to a whole new level so are well worth the extra effort.
Thickness of the Petal
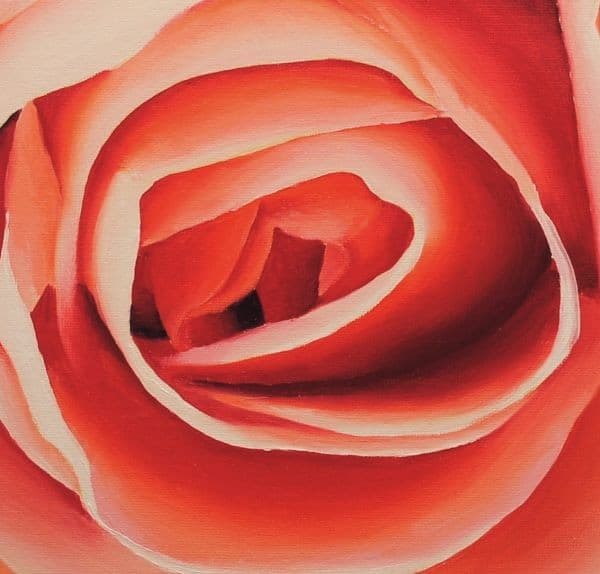
I think I have explained all the major points to look for when painting a rose like this.
All that is left now is to show you what the final rose looks like:
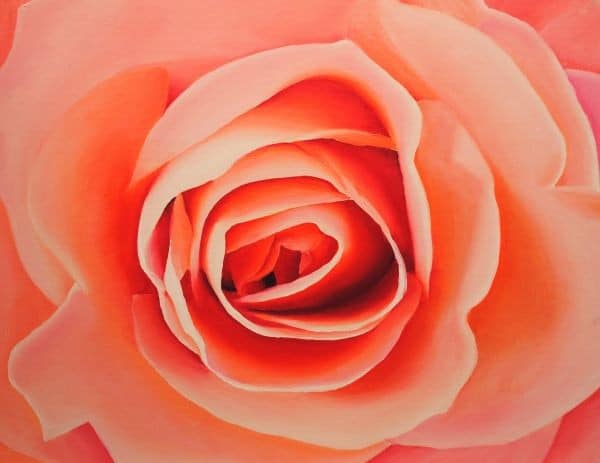
Click the button below to view the real time follow along version of this class:
Pin Me
