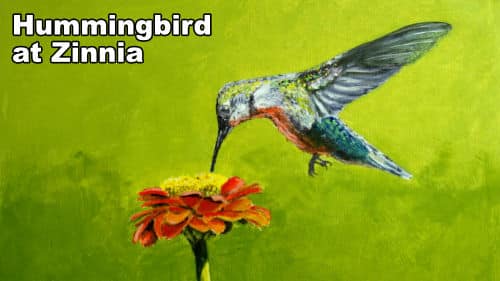
Short Class Video
Class Tutorial
Painting the background
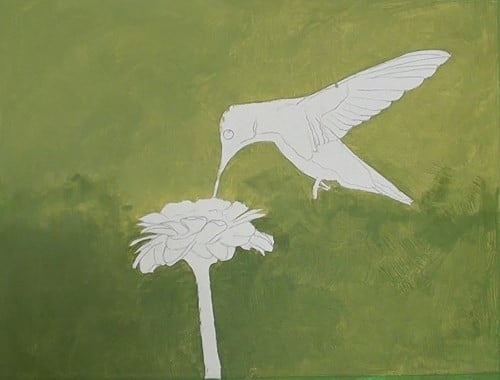
I’m using a middle tone Yellow green as a background to show off this bird and the flower. Carefully go around the template outlines and smooth out this background. As with the bird, use a small flat brush to paint around the flower.
After this, it is quicker to fill in the rest with a much larger brush. I’m painting a mottled effect for the lower section to simulate an out of focus area. Finish off the lower edge of the flower.
Painting the flower and stem
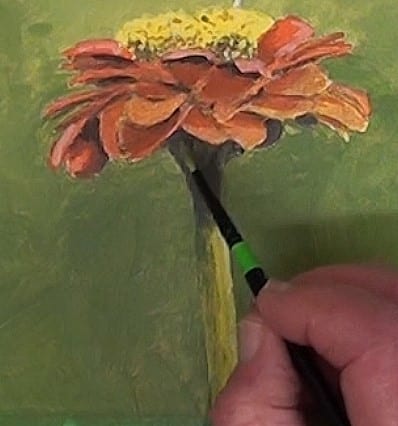
Flower – With some Yellow, block in the pollen as well as the Yellow-Orange petals. With a small round brush, paint the Orange petals. At this stage, I’m allowing the tracing outlines to just faintly show through the paint so as not to lose track of each petal. The shadows begin to lift each petal to lift off each other. Work in the other shadows and tone down the Yellow-Orange petals.
We can now start adding the highlights on the top petals and the shadows in the stamen area. Don’t add too much.
Stem – A much lighter background color is used for the stem. A dark green is painted in for the shadow caused by the flower head, and then down the left side of the stem because the main lighting is from the right hand side. A final darkening under the flower adds depth to it.
Painting the bird's body
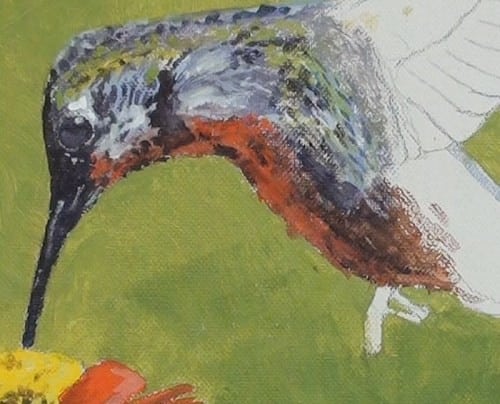
Begin first by blocking in the basic underlying colours. Take it slowly when painting the eye, as this is the main part of the bird.
With a small round brush we can begin adding in most of the small details. Carefully compare what you are doing against the reference photograph. Don’t try and forge it exactly; just try and get that it looks similar. You are painting “Another bird”, not the one in the photograph! Glaze in some moulding, and then, where you need to, whiten up the lighter feathers with some Chinese White.
Now we can spot in some of the Yellow color on the head, and under the wings. Do more touch-ups on the chest area.
Paint Ultramarine Blue in the large shadow area and then spot in some Viridian over it to simulate a Blue-Green. Darken the underside of the belly because it is in complete shade.
Painting the bird's tail
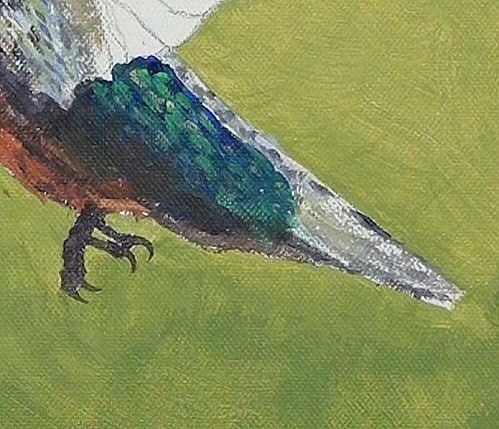
Mark out the shadows of the tail feathers and add the spots on the top side. The tail also has some greyed-down Yellow. Carefully spot some Yellow paint into the shadow area of the body to really bring out the sheen.
Painting the bird's wing
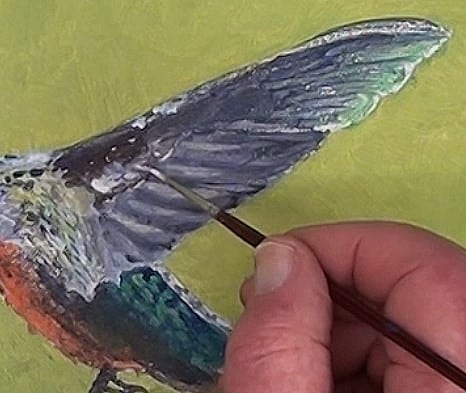
This wing is in the shade, so we will have muted colours. Start with the light blue and the grey stripes for the separation of the feathers. Here we need to be very careful to keep the various tonal ranges in the right order. Notice how the birds right hand wing is casting a shadow on this wing. Only the tip shows the transparency caused by the sun behind it.
If you over-did the tonal value, it may be necessary to go over the area a few times until you get it correct, as I am doing it here.
The leading edge has a darker area plus a highlight along the whole edge. Carry this tonal range into the top shadow area. Paint in the Yellow-Green near the tip.
Final painting
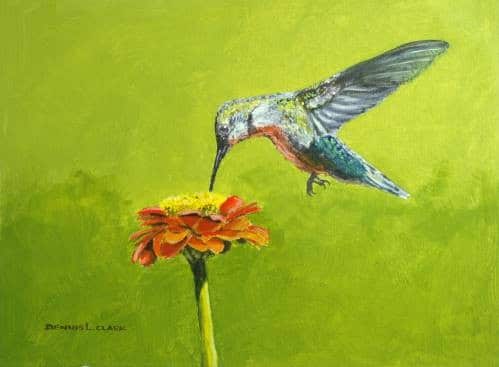
Click the button below to view the real time follow along version of this class:
Pin Me
