Short Class Video
Class Tutorial
Drawing the sky
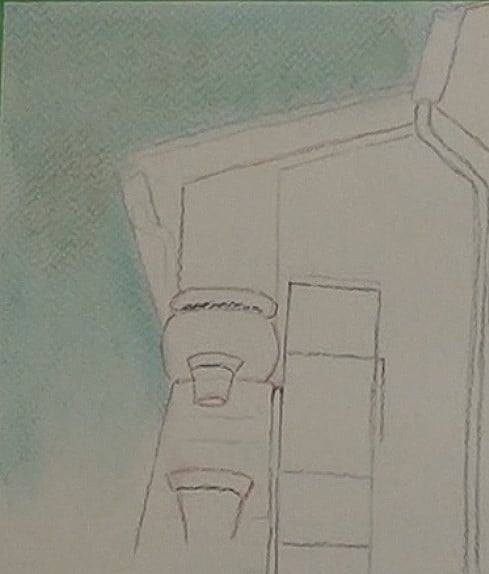
The sky is painted with Cerulean Blue because we want a pale sky and darkened it at the lower end.
Drawing the roof
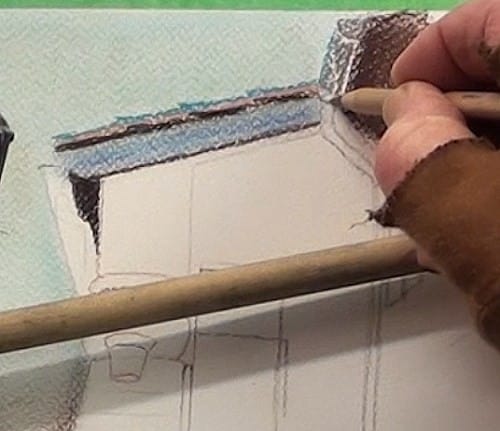
When painting a fairly large painting and one needs to work reasonably accurately, then a mahl stick, also called a painting stick, is just the thing to use. It keeps your hand steady and off the paper. Normally it is best to work from the top of the painting and work your way towards the bottom.
Drawing the walls
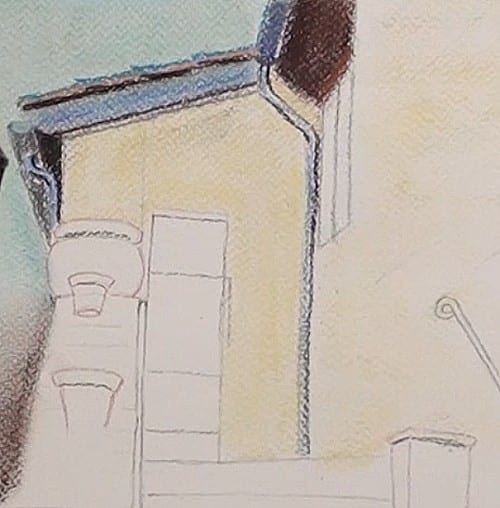
Use a very pale yellow, such as Naples Yellow, for the wall area in the sun and blend. Add all the guttering and the down pipes. Use black for the opening of the doorway and make the upper section is in deep shadow, while it gets lighter towards the floor as more light enters here.
Drawing the flowerpots
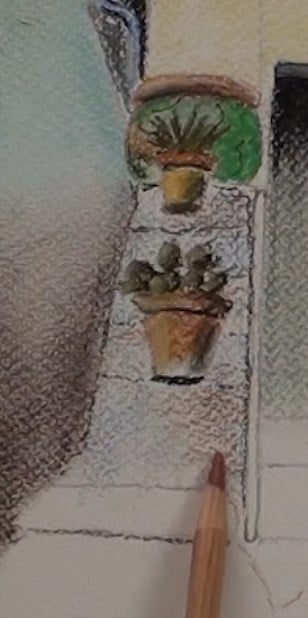
The main feature of this stairway is the flower pots. Rough all these in first and then add the shading to make them look round. The plants are added in once the railing markings have been completed. Don’t forget to add the shadows on the succulents.
Drawing the main wall
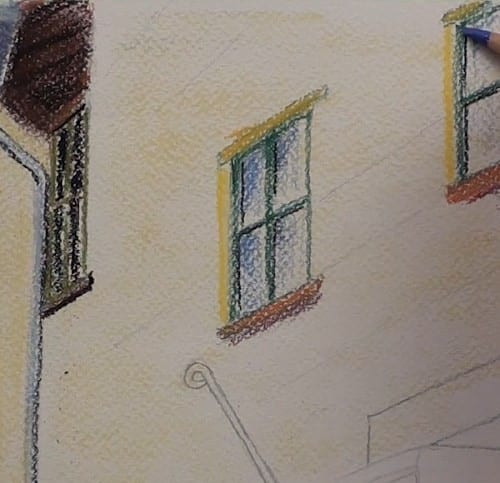
Because this wall is at a sharp angle to us we will not see too much detailing here. We need to be very careful in retaining the correct perspective with all the lines. First rough in the two windows to place them correctly. Only then begin to detail them more accurately, giving only a hint of sky reflection off the panes, and a hint of the curtains or drapes.
With a grey pastel stick, suggest the masonry blocks that make up the wall, while still comparing them against the perspective lines. Once a few have been placed correctly all the rest is randomly added and not detailed. The brain will fill in all the details. Hints of yellow, here and there, relate it to the other wall.
Drawing the masonry shadows
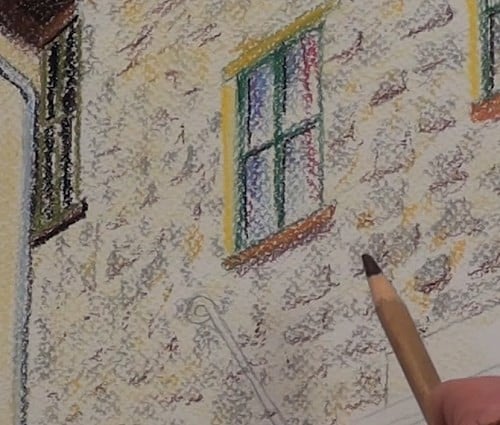
Add the shadows to the blocks with a dark brown pencil. Once again, more accurately for the closer blocks and suggestions for the rest of the masonry blocks.
Drawing the doorway
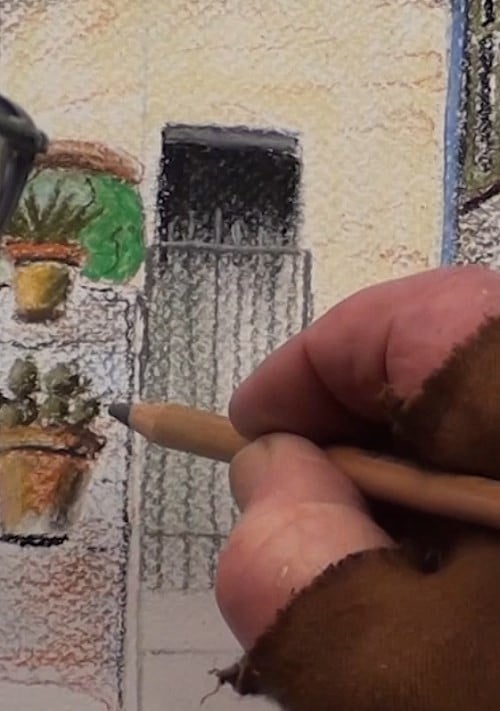
Very lightly suggest the blocks on this wall at the doorway. With a grey or a black pencil start drawing in the security gate and the lock. Add the shadows of the roof on the wall and finish off the down pipe and the start of the handrail.
Drawing the lower doorway
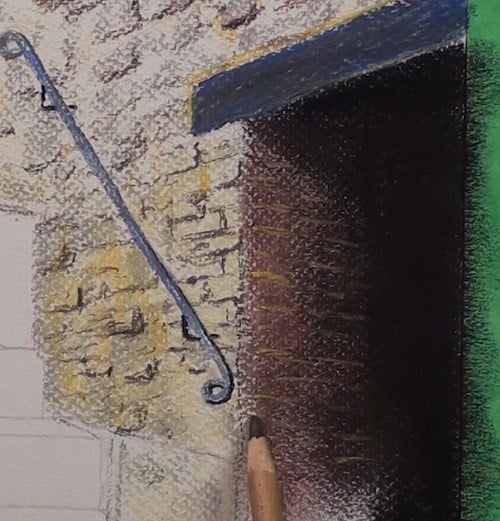
The lintel on this doorway is a dark blue which is darkened even further with some black. Finish off the lower wall with the same color as used for the sunlit wall. Add the suggestions of the masonry blocks and mark in all the brickwork lines. Notice that all the lines follow the correct perspective lines. Rough in a few cracks for character and use a dark brown on the shadow side. Darken the entrance and smudge to form a unity. Complete the handrail and the doorway brickwork.
Drawing the stairs
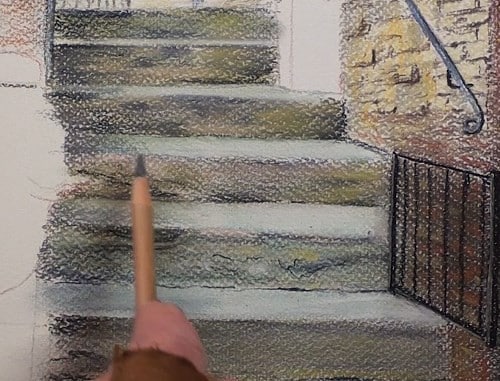
The stairs have moss coverings in many places, so these are plotted in with a darkish green pencil. Add touches of light blue and smudge lightly. The top surfaces of the stairs have a blue color to them and are much lighter than the sides, as they are reflecting the sky.
Add the darker patches with a black pencil and smudge ever so lightly to preserve some roughness of the concrete. Bring in some warm color in with a Burnt Sienna pencil.
Before finishing off the stairs, we now need to complete the areas on both sides of it. Once you have done that, the small safety gate is sketched in. It looks like it’s used to keep small dogs on the premises.
Now we can complete the lower steps. Notice that the lower step is not as light as the one above it. This keeps the eye from moving out of the painting.
Drawing the large pot
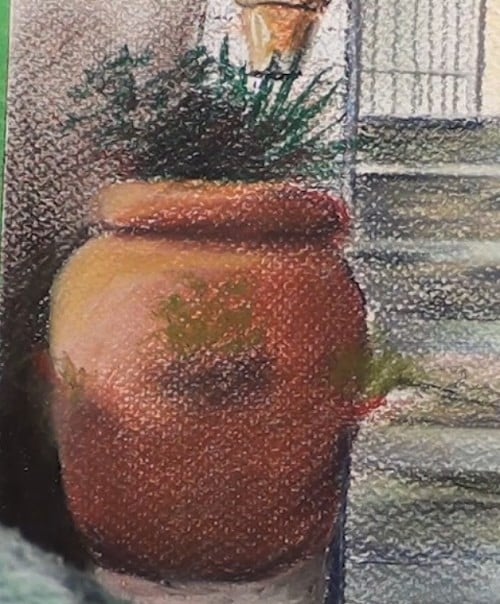
We are painting this large pot brighter than the others. We need to add the light and dark areas to form the roundness of this flower pot, and blend when necessary as you proceed. Some plants are added at the top. The pot also has some side openings for smaller plants.
Finishing off the brickwork
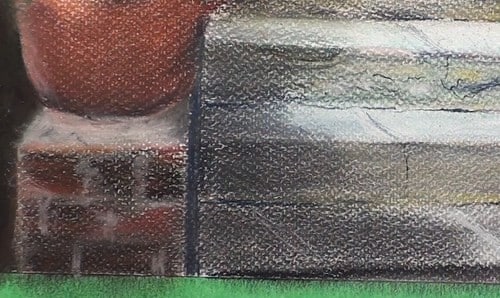
Lastly we finish off the brickwork at the lower left with some light and dark suggestions. Add the shadows on the stairs and some extra markings.
Final drawing
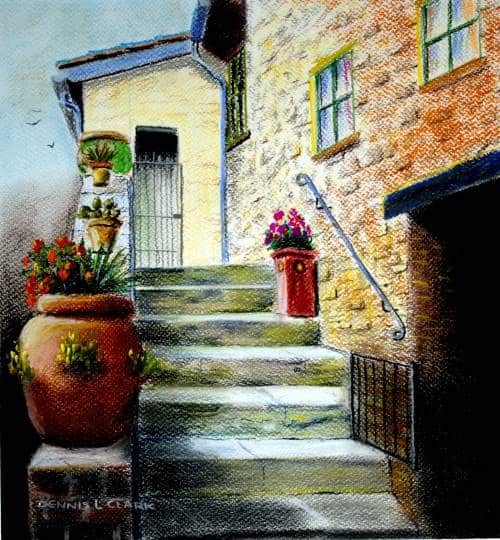
Click the button below to view the real time follow along version of this class:
Pin Me
