Short Class Video
Class Tutorial
Paint the background
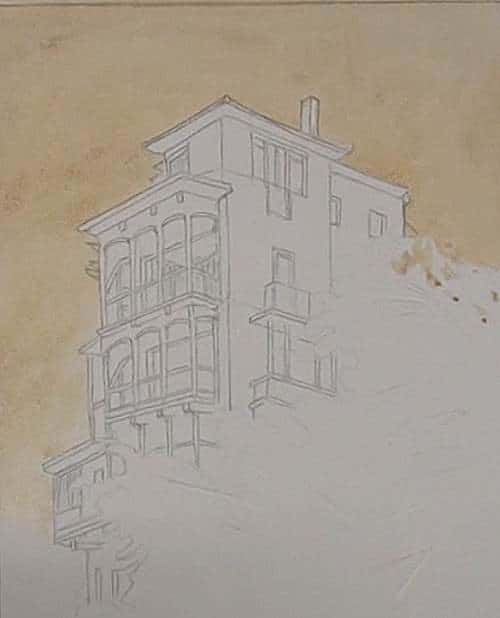
Because the sky in the area behind the house is covered with a slightly murky cloud, we will see no blue. This is also setting the mood of the painting.
Paint the foreground trees
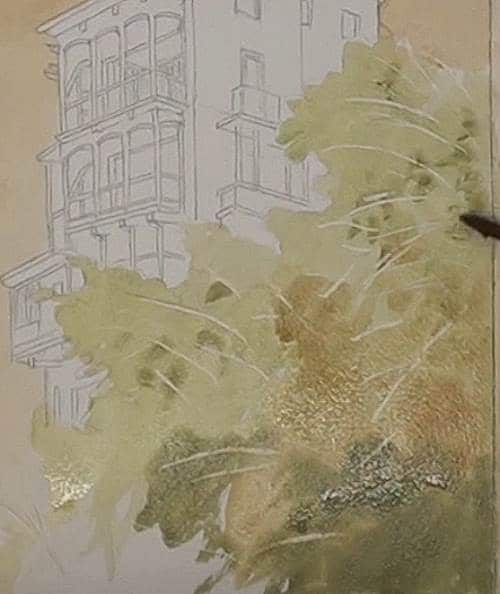
After adding in some of the visible branches with masking fluid the area is flooded with a light Yellow-green color because we first paint the lightest colors in watercolor and then work up to the darkest color . We will slowly add some Burnt Sienna for the warm interior of the tree mass.
Adding textures to the trees
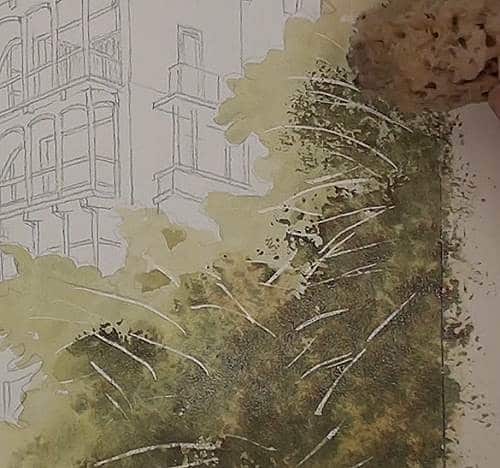
Mix up some very dark green and then load up a sponge with this color. Begin dabbing it on the paper, starting from the lower right hand corner and carefully working your way towards the outer edges of the leaves. Notice that I have not gone right to the absolute edge. We will complete that later on.
Paint the building
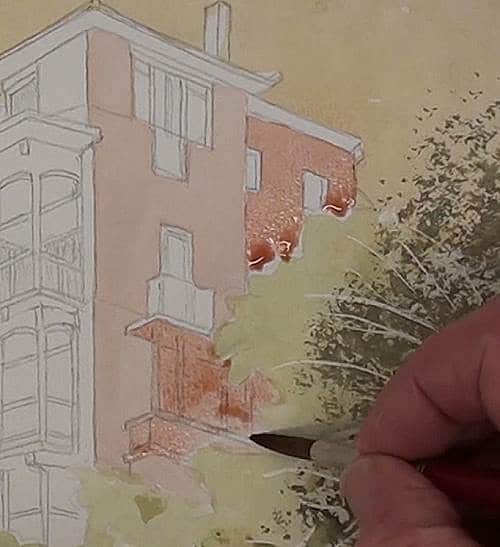
Paint this face of the building with some very light Burnt Sienna, because I have decided to have the sun coming from the right hand side and not from the left as in the reference photograph as this keeps the bright area in the center of the painting. I am using the bead of the water to help keep the area in an even wash. Indicate the beginning of shadow areas as well as where it shows through openings in the branches.
Paint the windows
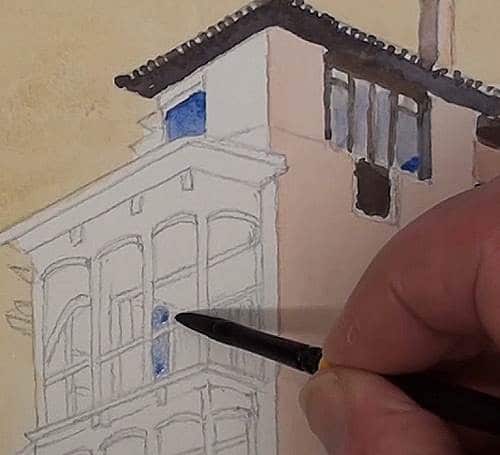
The windows are reflecting a patch of open blue sky way over to the left. After this, continue adding more details on the sunlit wall, such as the posts and the balcony. Carefully add the deeper shadows as you progress. Just an impression of the brick work is painted on the wall.
Paint the left-hand wall
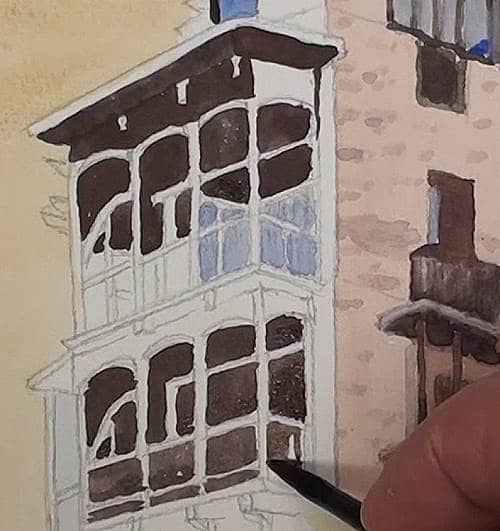
Begin now to paint in all the very dark areas. Doing it this way is much easier to see all the balcony details. This method is known as negative painting. Some areas are slightly lighter where more light is reflected off the wall.
This also allows the very deep shadows to be pronounced. Water down the dark color slightly and use it for all the balcony woodwork. Use a series of tonal ranges to add depth and interest to the balcony. The sunlit sides of the balconies will be a much lighter and brighter color. Painting the balcony can be a bit time consuming, but don’t rush – we don’t want to make mistakes as we go along.
Although we are painting in an impressionistic manner there is still a lot of so-called detailing going on here. We need to still give the impression of depth in the balcony. Get it as 3-dimensional as possible. In order to do this, we need to go back over the work we have done and darken, and also lift out, some areas to achieve the effect we want to show the viewers.
Adding pencil work
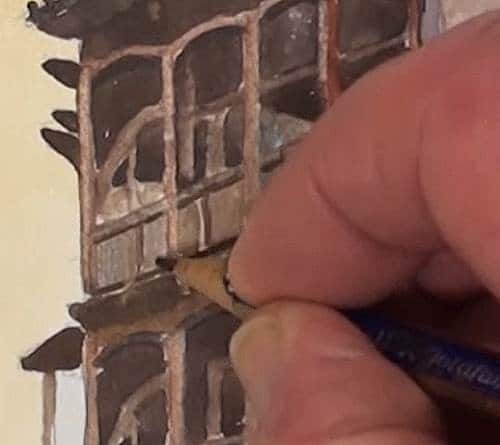
There is nothing wrong with using a pencil to mark in some of the more difficult details. It works well even for touch-up work.
Adding finishing touches to the trees
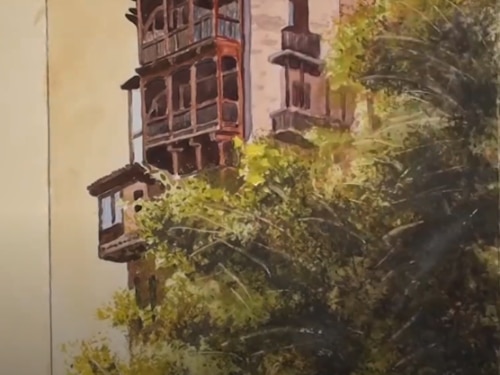
Now that we have finished painting the building we need to complete the painting of the trees. Because of the subtle overlapping of the edge leaves, we had to delay this part.
Using the sponge, go over the outer edges with a light and gently tapping motion. Make sure that the leaves are much smaller here. Let some of the leaf spots overlap onto the building area. This will unify the whole painting.
Darken up the shadow areas to show up the branches that are in the sunshine. Don’t overdo the shadows.
Sponge on some fairly thick Lemon Yellow in the sunlit areas to add sparkle and to complete the painting
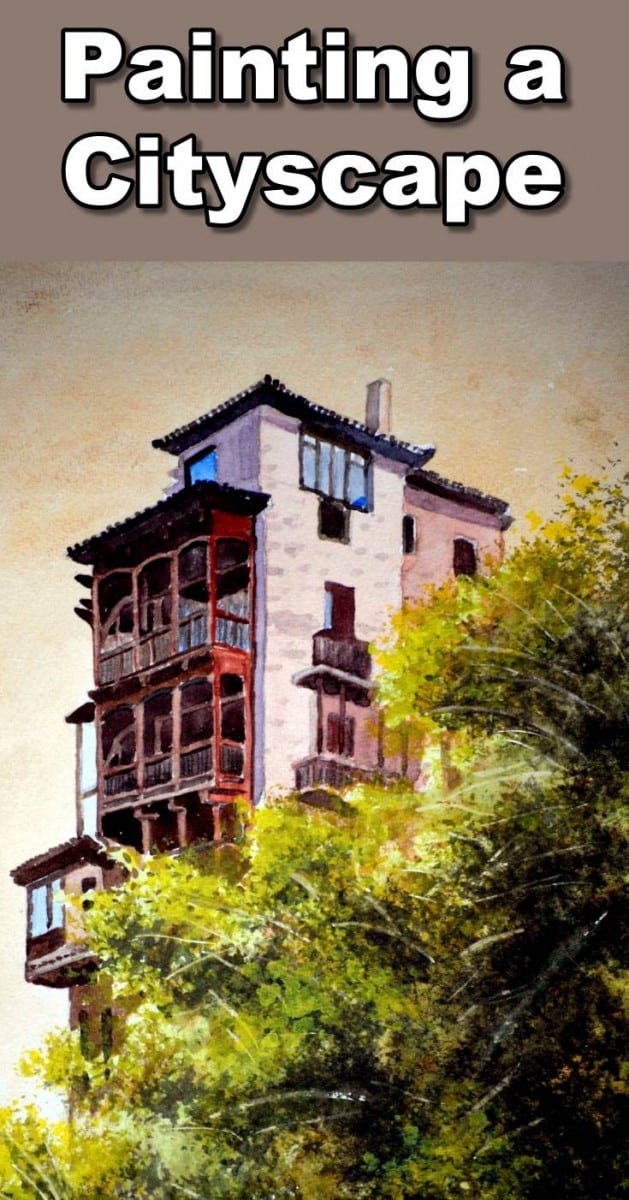
Final painting
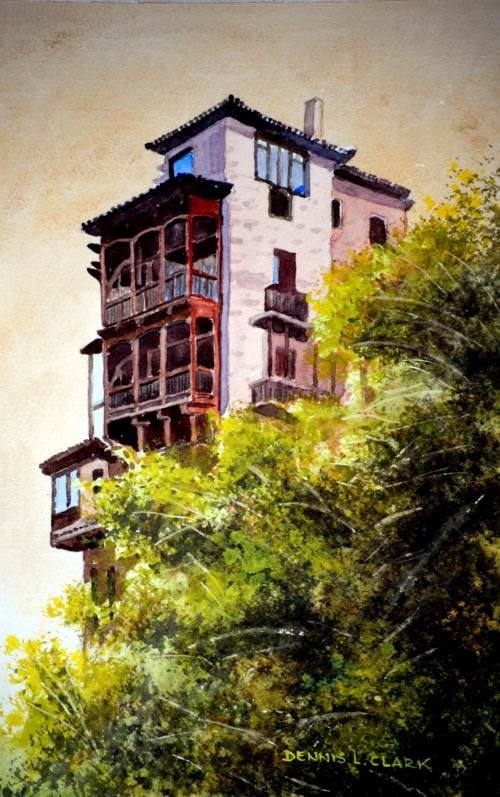
Click the button below to view the real time follow along version of this class:
Pin Me
