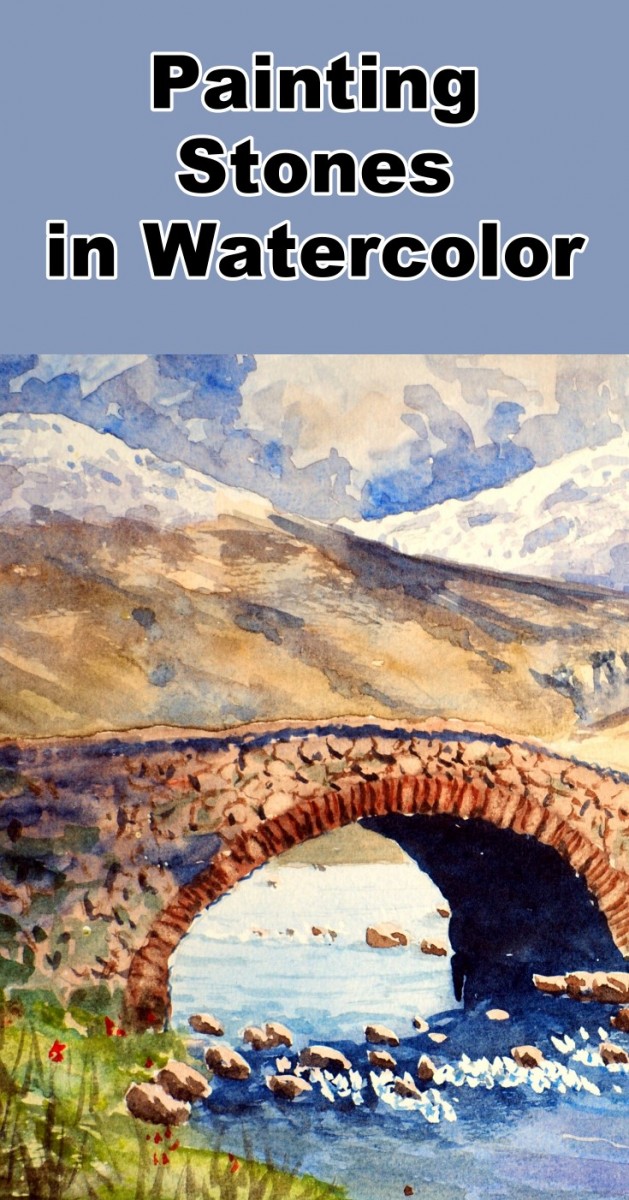
Class Tutorial
Paint the sky
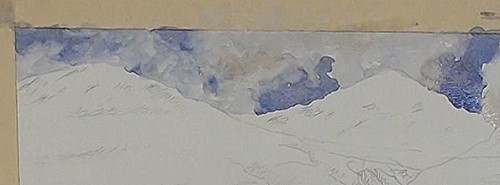
The sky is very murky in this painting so make a fairly strong mix of Ultramarine Blue and a touch of Cadmium Red. Paint in the areas where there are no clouds. With some very light Yellow Ochre start blocking in the clouds. Too much Yellow Ochre will turn it into green. Let some of the sky color merge into this to give the impression of storm clouds coming up from behind the hills. Notice there are hardly any hard edges here.
Paint the hills

The furthest hills have snow on them so don’t lose this effect by covering up too much of the white of the paper. Softer rendering of the sky colors are used here as a result of the sky reflecting off the snow. Carefully add the shadowed areas on the hills.
Paint the closer hills
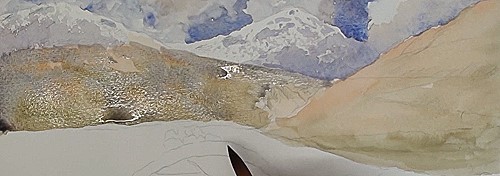
For the closer hills paint a very light Burnt Sienna wash over them. Add a touch of darker Burnt Sienna to the top ridges. Wait until the water shine is just about to disappear and then float in touches of green – not too bright. Some touches of sky color is also dropped in.
Paint the clouds
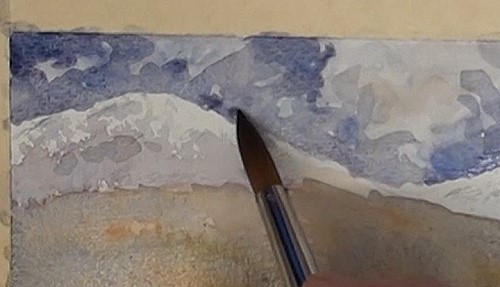
The snow capped hills are not showing up nicely so I decided to make the clouds even more stormy and some touch up to the hills as well. By darkening up the shadows the snow shows up much better by their contrasting values.
Paint the trees
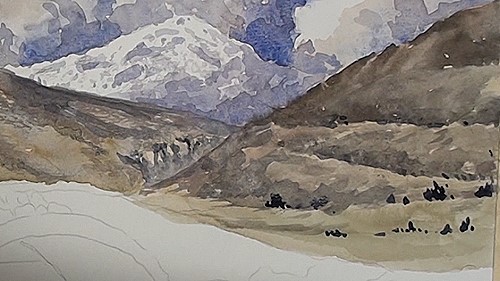
Make up a dark green mix with Viridian and Burnt Sienna and begin painting in the mass of trees getting lighter as you paint downwards. No details at this point in time. For the hill on the left, lightly stroke the side of the brush over the surface of the paper to give a broken effect. Mark in the cliffs and darken up a few places, here and there. Add the impression of a few trees in the foreground.
Paint the river
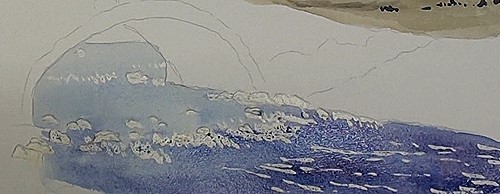
Begin to paint in the river over the previously applied masking fluid for the small rapids. The water will be much darker in the foreground because it reflects the sky directly above This progression from dark to light adds distance perspective to the painting.
Paint the bridge
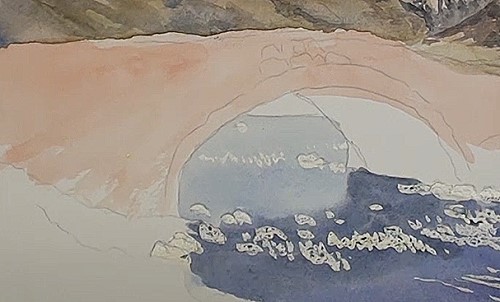
Lay a bright Burnt Sienna wash over the bridge which is catching a shaft of sunlight. For the dark shadow under the bridge, mix, with very little water and more pigment, some Ultramarine Blue and Burnt Sienna. Use this mix also for the shadow on the water and on the side of the stream. The light source is from the right.
Paint the shadows on the bridge railing and give the impression of masonry blocks on the sides.
Paint the bridge sides
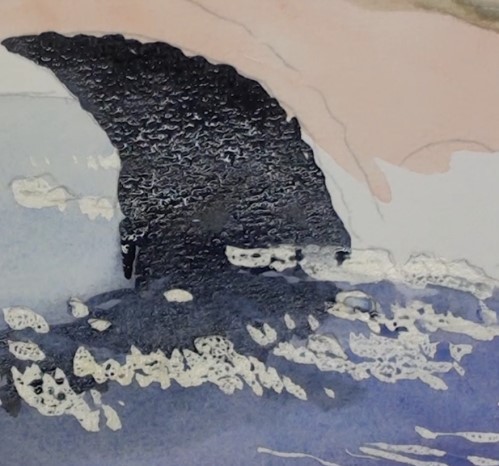
With Burnt Sienna and a touch of blue, begin painting the side of the bridge. Paint the banks a light green and show the waterline of the distant hill through the bridge hoop. With some lighter color begin to paint in some texture on the banks and on the side of the bridge. Slowly build up the tonal ranges from light to dark. Don’t paint any detail, only the impression of vegetation and masonry.
We can now begin to show some details on the bridge. Use a small round brush for these stones.
Lightly, and loosely, sketch the impression of the masonry work.
Paint the foreground

Now we can begin to show some detail on the banks. Remove the masking fluid over the rocks and paint in the shadow sides. Add in a few rocks in the distance and the flow marks in the water.
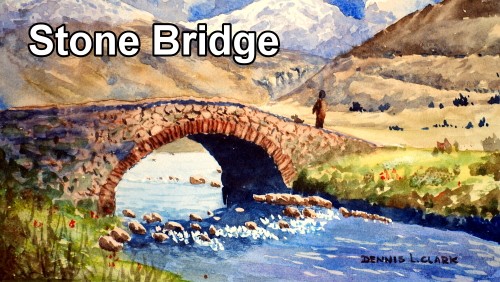
Touch up a few shadows for the bridge masonry. Lastly add the silhouette of the figure and his dog.
Final painting
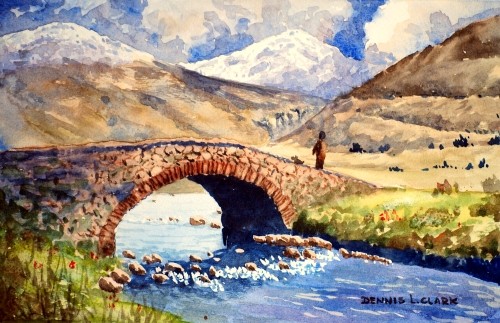
Click the button below to view the real time follow along version of this class:
Pin Me
