Short Class Video
Class Tutorial
Drawing the background
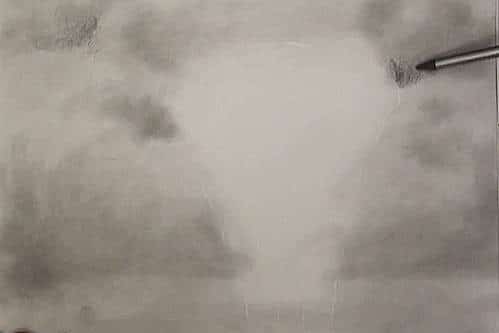
I start by lying down a few tonal values in the bush area using a cloth dipped in graphite powder
I’m not trying to draw detail at this stage. I just want some graphite on the paper which I can use to create detail with later.
I am however laying down more graphite in the dark areas in order to create depth.
When the powder is at it’s darkest I continue darkening with a 6B graphite stick.
Adding texture and detail to the background
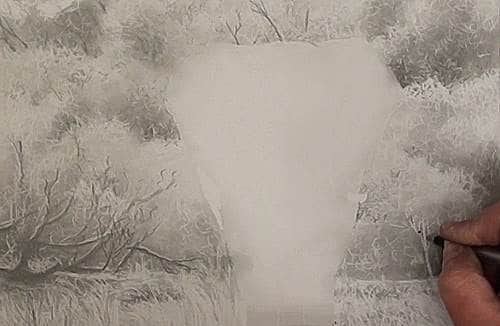
Now we can start to add detail by erasing the highlights on the bushes using a pen shaped eraser and a squiggling motion.
Even though I squiggle everywhere, I concentrate more on the outer edges of each bush and tree as that will give you maximum contrast.
Once the basic foliage has been established. I continue to add more detail by alternating between the eraser and the pencils.
In general I am trying to suggest the leaves and branches without adding much detail.
The elephant is the focal point in this drawing so if we add too much detail into the background, then it will steal attention away from the elephant.
As I draw the leaves, branches and grasses, I am looking for areas of contrast that I can emphasise as well as the directions.
The directions are important because they tell you in which direction the bushes are growing in, and in the case of the grasses, it can even create the illusion of wind in your drawing.
Now that we have a large area of the background complete I want you to notice how one tree ends light on the outside edge and the next one starts dark on the inside. These contrasts are what we use to create the illusion of distance between the trees.
Establishing the basic tonal values of the elephant
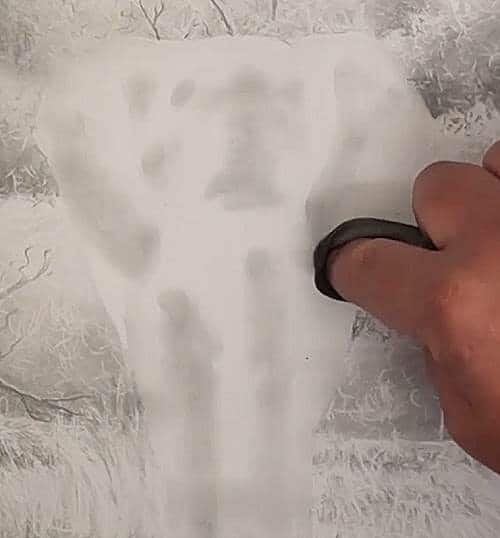
To start drawing the elephant I go back to using the graphite laden cloth.
I think you will agree that there is an incredible amount of tonal value changes on the elephant.
It is all these humps, bumps and angle changes that make elephants a challenge to draw.
That is why I use my cloth to first lay in a few of the basic tonal values in the places where I see them.
This allows me to quickly visualise the basic shapes of the animal.
Adding definition to the tonal values of the elephant
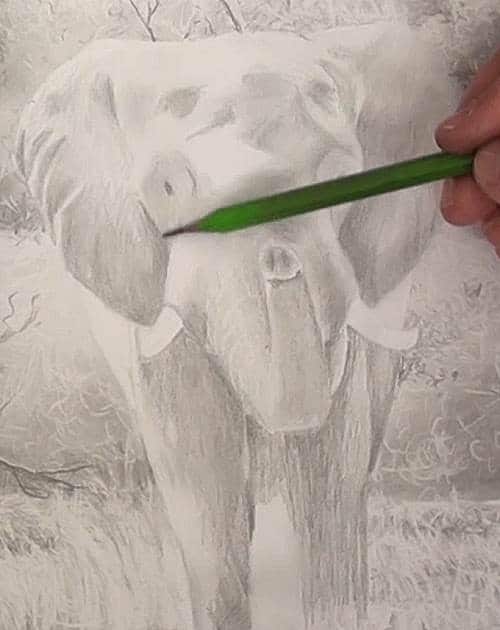
Now we can start using the pencil to add definition to these initial total values.
At this point I am still not looking for details, only basic tonal value changes.
I’m asking myself what needs to go darker? Is this area a flat tonal value? Do I need to fade it lighter or darker? Does this dark area end in a found line or do I need to soften it? and so on…
You can think of this stage as drawing a smooth elephant without of the wrinkles.
Can you see now how the mist is starting to lift? Now let’s add some sunshine into the scene to completely evaporate our imaginary mist.
Darken up the elephant
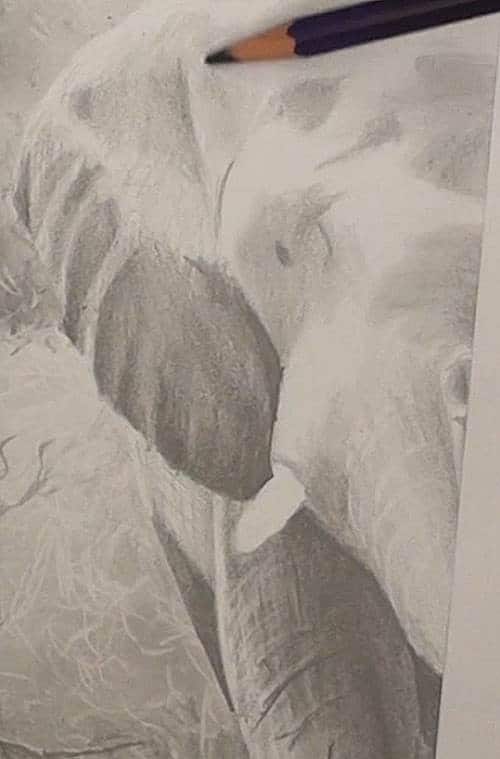
I go all the way down to a 6B pencil for this stage as I want to establish my darkest darks so that we have a full range of ton al values in the elephant.
By doing that we can see how much more depth and dimension is suddenly visible.
I now also start to suggest some details by erasing the wrinkles and drawing the shadows between the wrinkles.
When adding these wrinkles, it is critical that you draw them in the correct direction and shape as on the reference elephant otherwise you are changing the contour of the animal.
I now continue to alternate between the 6B pencil and the eraser as I draw the rest of the animal.
You can also see that I am now working in a more methodical fashion completing one feature before moving to the next. I draw the left leg, right leg, left ear, forehead and so one.
Drawing the elephant's eye
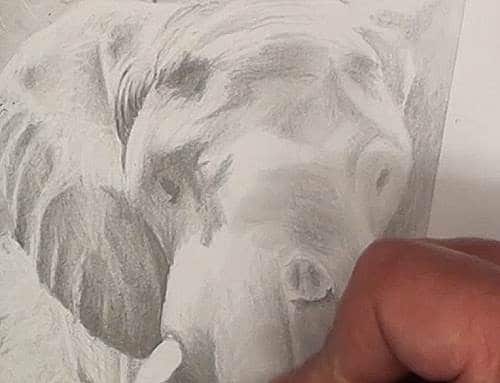
As I draw I want you to notice how small the elephant’s eyes are. A common mistake is to make them too large so be very careful not to make the same mistake.
Then also notice that there is a nice contrast between the face and ears in the triangle formed between the eye, tusk and ear.
It is very important to get this contrast in as it makes the face appear in front of the ears.
Drawing the forehead and trunk wrinkles
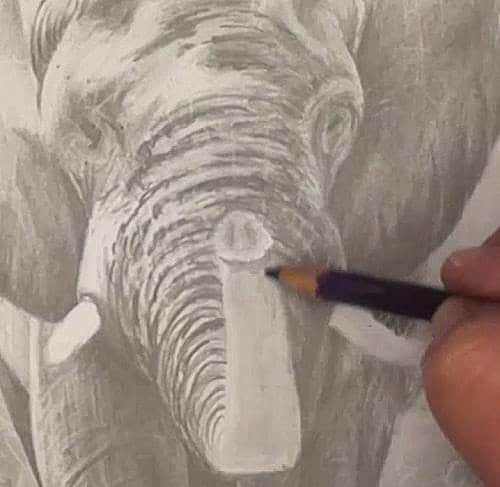
For the forehead and trunk wrinkles I add a broken contour line first. In other words each wrinkle only wraps partly around the trunk and doesn’t form a ring around at the trunk.
I then break up this ring effect even further by adding short vertical lines across the horizontal ones.
The tip of the trunk is very dark as the sun is coming from the back, so give yourself enough contrast their. Do however notice that the outside edges of the trunk are light.
Drawing the basic shape of the tusk
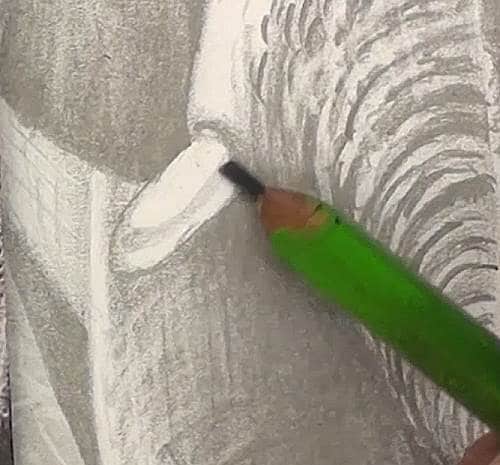
I add a very basic shading to each tusk.
The drawing is then completed by erasing a few overlapping grasses by the elephant’s feet.
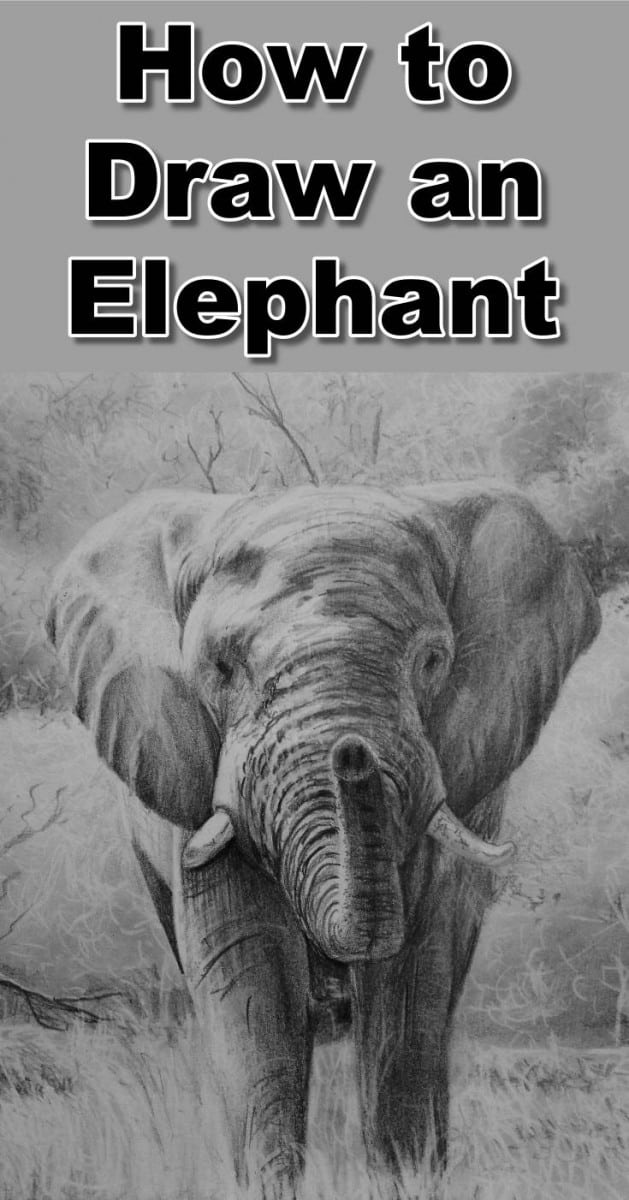
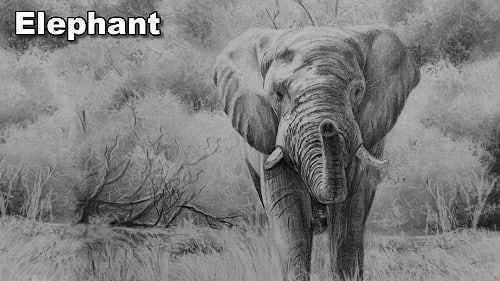
Final drawing of the elephant
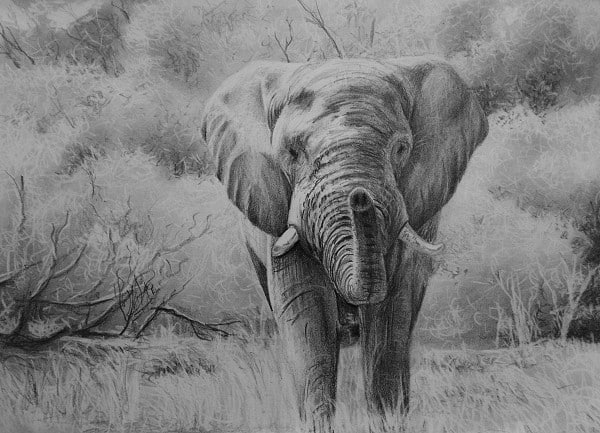
Click the button below to view the real time follow along version of this class:
Pin Me
