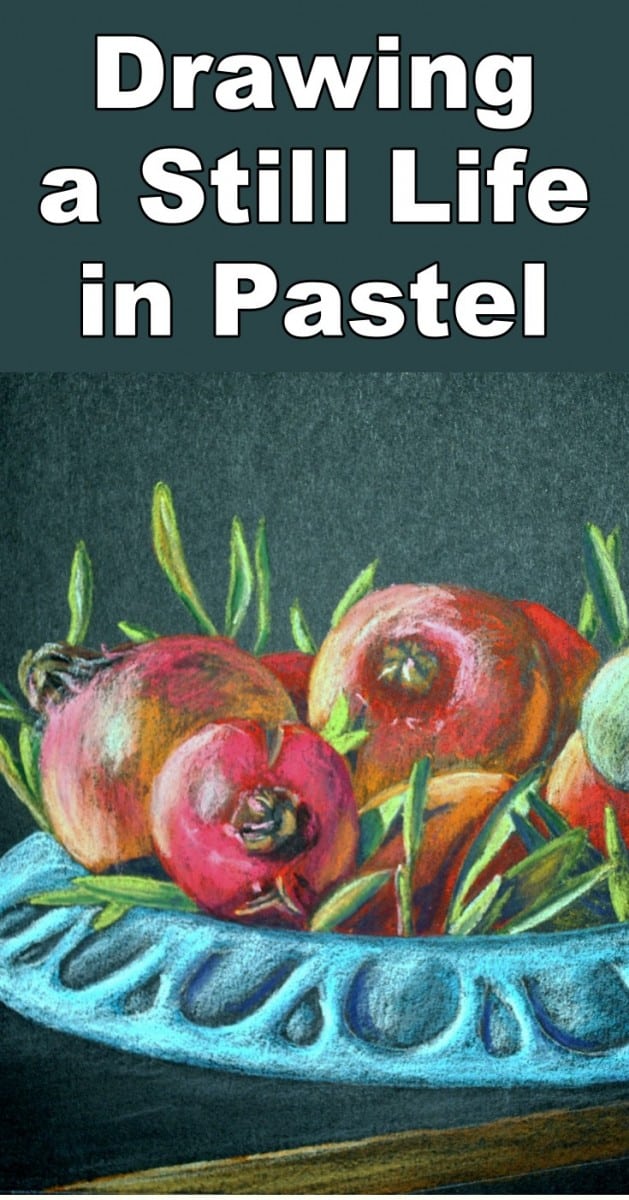
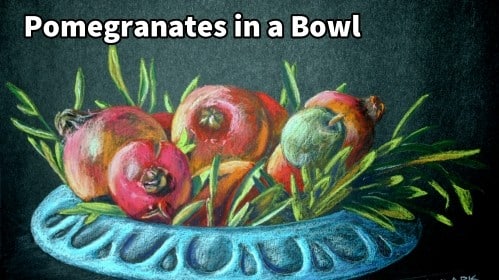
Short Class Video
Class Tutorial
Transfer the template
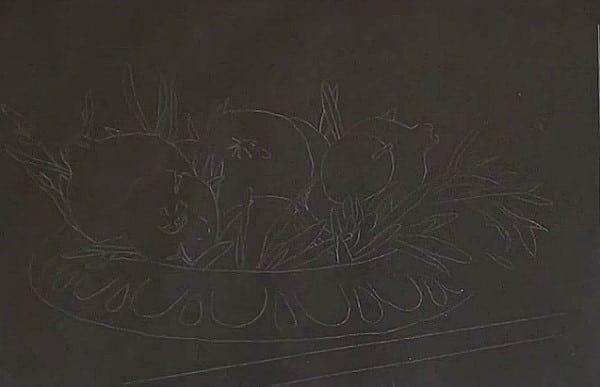
For this lesson I have selected black pastel paper to bring out the contrasting colours of the pomegranates. Transfer the template using white dress designer’s transfer paper.
Draw the left hand leaves
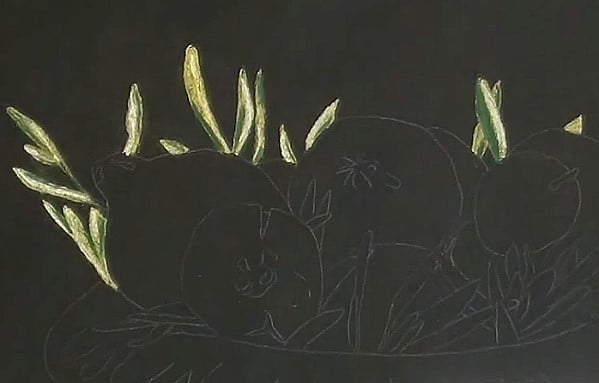
Strengthen the outlines of the leaves with a Yellow Ochre pencil and then start colouring them in. Then, with a much lighter Yellow, paint in the sunshine parts. With a very soft eraser or putty rubber clean up any dust marks.
Now we can add some darker green for the shadow areas.
Draw the first pomegranate
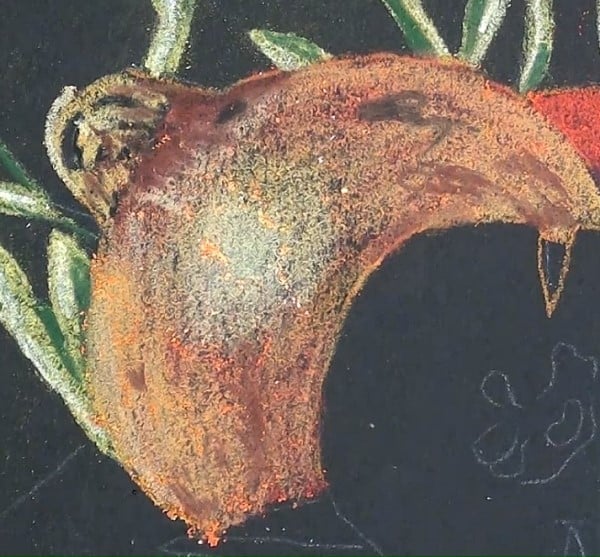
We are going to brighten up that dried up light coloured pomegranate starting with some Yellow for the highlight area. Begin shading in with Bright Red and then the sides with Yellow Ochre. Continue shading the pomegranate and then with a light Yellow pencil, draw in the highlights of the top portion. Finishing lightening up the sides. Use a very Dark Red and Brown for the darker tonal ranges. Don’t do any blending.
Draw the second pomegranate
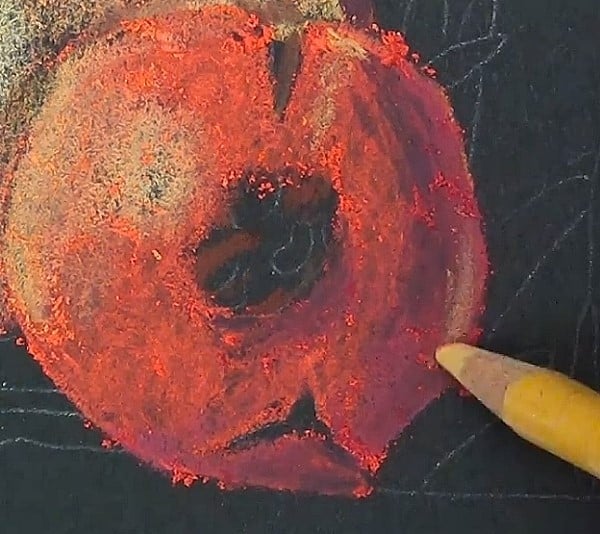
The second pomegranate is a much darker red than the previous one. We don’t want all of them looking exactly the same. Add the highlight area first so as to keep it clean. For the shadow area use a dark purple pencil.
Adding details to the pomegranates
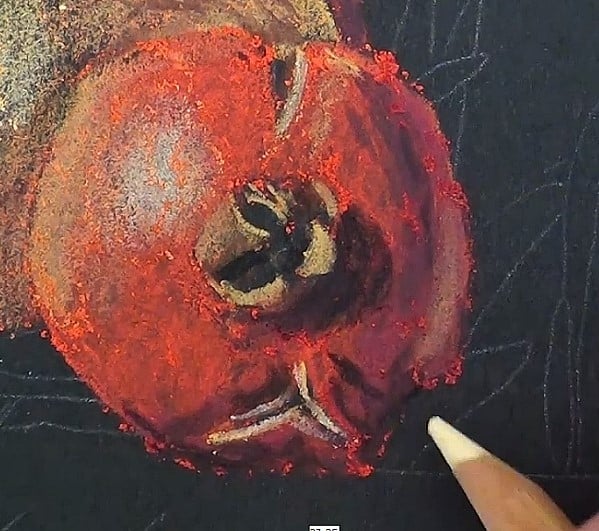
Add the darks for the cracks in the skin and lighten the edges with Yellow. Rough in the top part of the pomegranate and then the light reflected on the left side.
Repeat the process
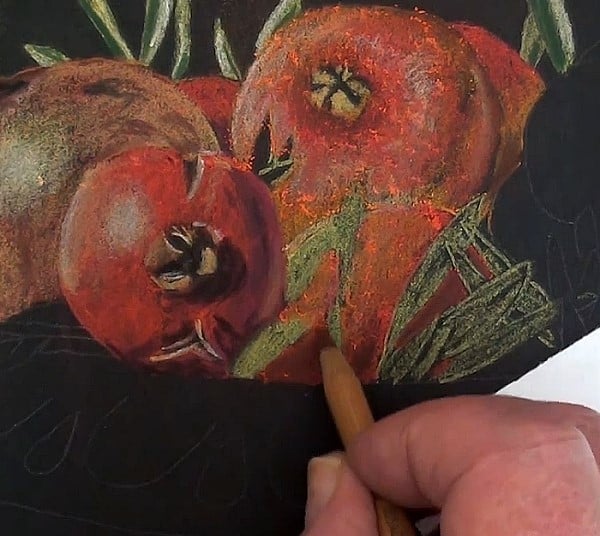
Paint the leaves in the bowl and start building up the adjacent pomegranates taking careful note of the shading and the highlight areas. These are needed to indicate the roundness of the pomegranates.
Don't forget the highlights
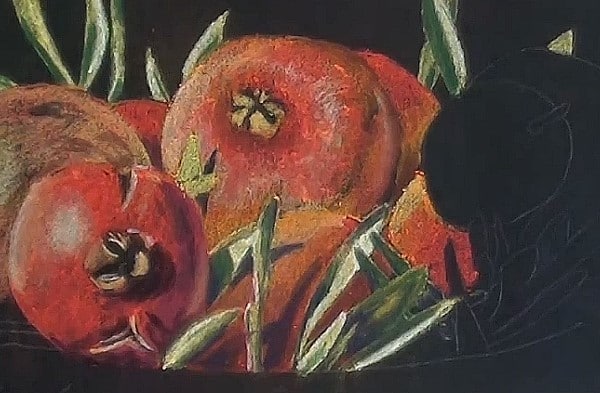
Notice that I also use the White pastel pencil to help in the highlight areas. Also the black pencil lightly in the darker parts of the shadows.
Because I”m right-handed I’m working from the left to the right. To avoid any smudging, use a sheet of paper under your hand. Black paper shows up any untidy work very quickly.
Finish all behind the leaves before completing the leaves. These leaves are painted similar to those done at the beginning. The shadows here are just a bit darker as they are away from the main source of light.
These nearest leaves are painted the same as the others and we can add some darker shadows, as they are in the bright light.
As we progress, small touch-ups will happen, as we compare the one against the other.
You see the working pattern. First outline the leaves, then paint the pomegranate, finish the leaves, and then on to the next section.
Notice that the fruit gets darker as we progress towards the right side. This is because the main light source is on the left.
Draw the leaves in shadow
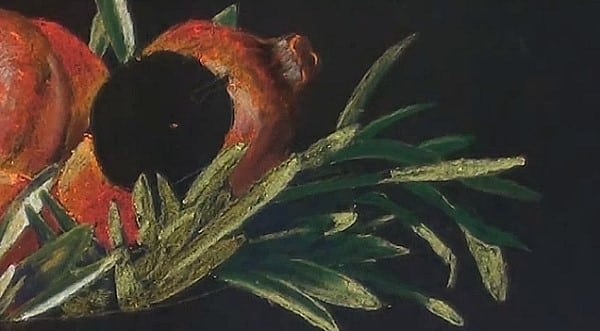
For the leaves on the right it is best to first paint all the lighter areas before adding the darker shadow areas. It is easier to make them sparkle this way. Only the tips of these leaves are catching the light. When painting them, carefully compare them against the photograph. Then add the parts in the shaded area
Draw the small fruit
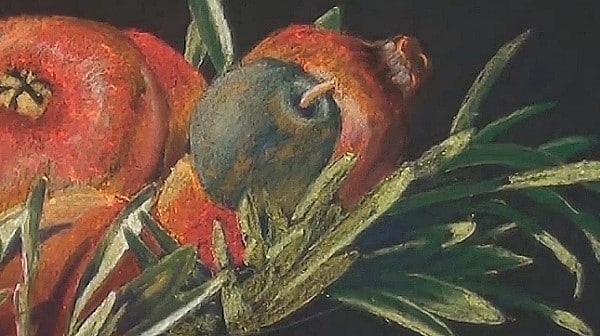
Finish the small fruit. I’ve made it darker so as not to compete with the main pomegranate on the left. Don’t forget the highlight ring and the stem.
Enhance with soft pastel
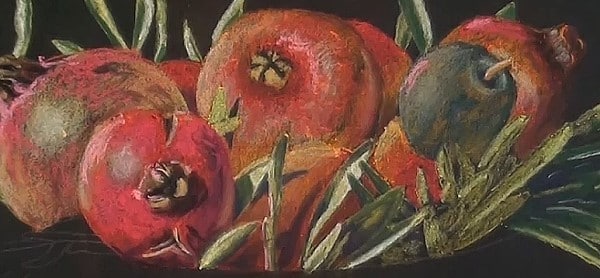
With a soft very bright Red pastel stick we can now go over and brighten up the pomegranates.
Block in the fruit bowl
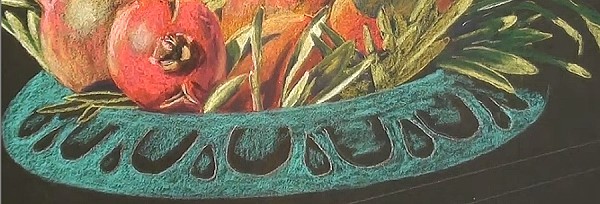
Once that is done we can start the bowl by outlining all the scollops with a White pencil. With a light blue pencil begin filling in the areas between the scollops. Add these few lea ves. Finish outlining the top of the bowl as well as at the bottom edge. We now need to add colour to the bowl, minding the edges of the scollops. Once that is done add blue very lightly in the scollop centers.
Highlight the fruit bowl

Once the basic colour has been added, use a white pencil to add the highlighted areas. Notice the highlights on the edges of the scollops facing the light, also the lighter areas in the raised up center portions.
Continue shaping up the raised portions. Do this carefully as it is easy to become confused with all the arches.
Draw the table edge
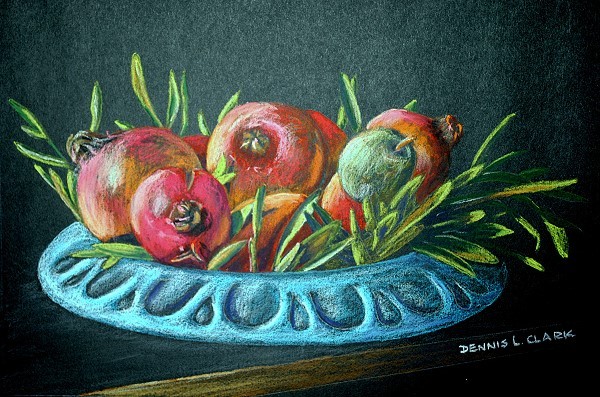
To end off we add the edge of the table with a light brown pencil and lighten up the left edge. Very lightly add the impression of the table top.
Click the button below to view the real time follow along version of this class:
Pin Me
