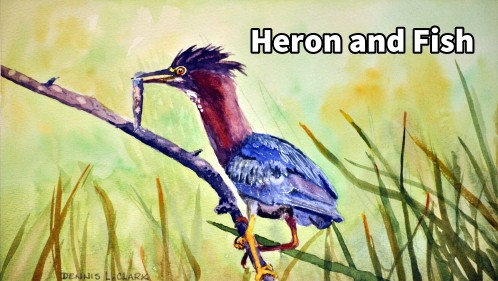
Short Class Video
Class Tutorial
Background
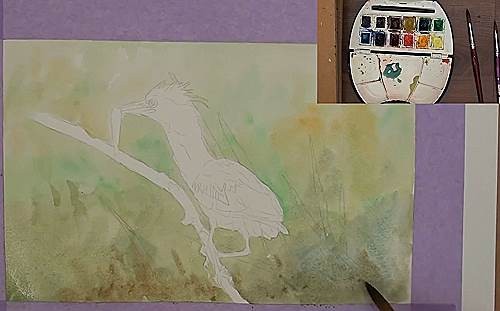
Carefully wet the area around the twig and the Heron. Then float in a light Yellow/Green colour for the background. While it is still wet drop in some bright Green and some Yellow Ochre and let them merge. Continue doing this until the lower half is also completed. The lower half will be slightly darker. While it’s still damp flick in some of the reeds. They must not be too dark or sharply defined as they are in the distance. You can also lift out some of the lighter leaves.
Reeds
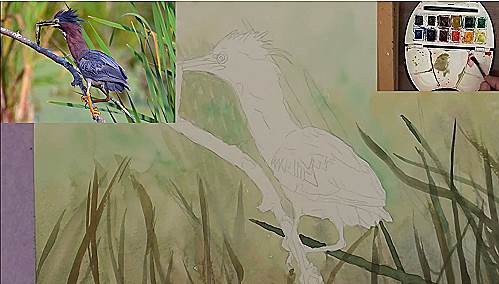
When the paper is dry, start painting in the closer reeds in a dark Green colour. Some of the leaves will have a touch of Orange in them.
Twigs
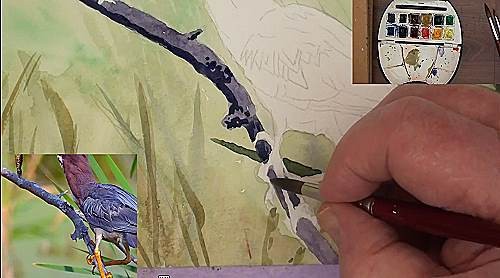
Mix up a Mauve/Purple with Cobalt Blue and Cadmium Red and paint the twig. Lift out a few of the lighter markings and then paint the shadows with a much darker mix of the same colour. Shadow the twig and add the dark markings.
Head
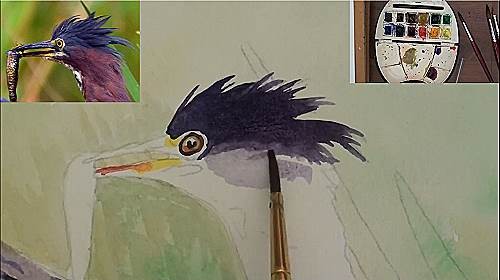
The eye is a Yellow colour and a touch of Orange around the outer edge. Add the Black pupil and leave a portion out for the glint of the eye. Be careful in not making it too small. Add the lighter colours on the beak and proceed with the head in a very dark Blue/Black mix of Ultramarine and Burnt Sienna. Notice how the crest feathers have been flicked outwards. Lighten the lower half with water.
Beak / Fish
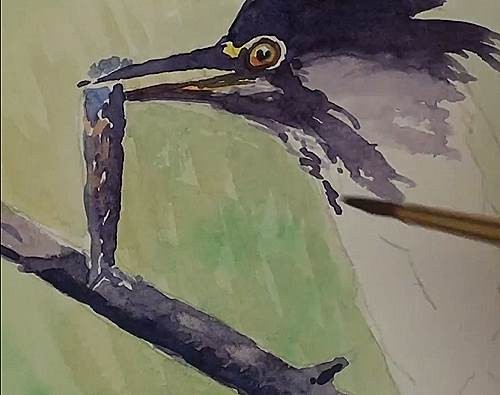
Paint the beak being very careful not to cover the light areas. Paint portion of the neck and the paint the darks of the fish. Add the light Burnt Sienna and then Cobalt Blue for the sky reflection.
Neck
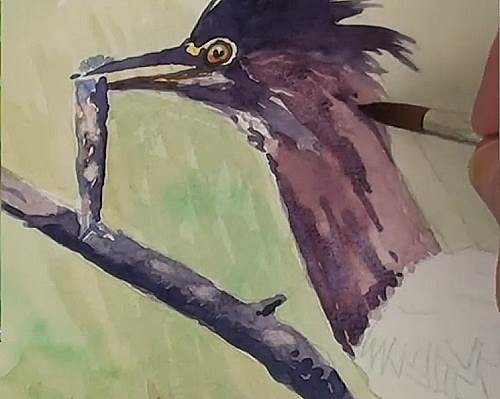
Add some more Red to the dark mix and paint the neck.
Body
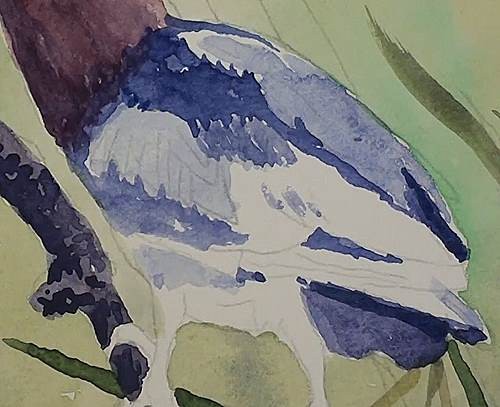
With some light Cobalt Blue paint the lighter portions of the feathers. Add the darker Blue/Purple shadows. I forgot to mask in the thin light lines for the edge of the wing feathers and I got lost here, and had to improvise and guess by going very impressionistic with the dark outlines. Fill in the rest of the wing colour and touch in some Red where needed. Dry the wing and lift out some highlights.
Legs
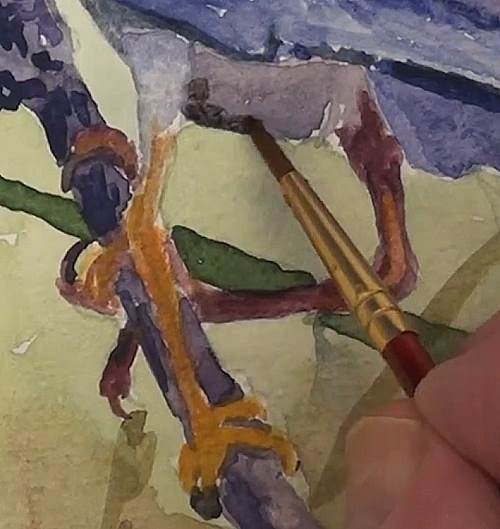
The legs are painted with a Red/Purple colour for the shade. Yellow/Orange colour is used for the legs in the sunshine. Block in all the colours first before going to work on lifting out the highlights and painting the claws and the other details such as the scale impressions. Continue working on the legs and lifting out more for the much brighter sections. Add the very light Yellow for the sunlit portion of the leg.
Scratch out white lines using a craft knife
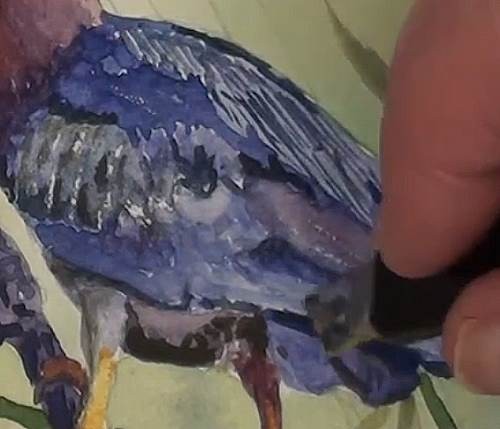
Use the tip of a sharp craft knife to carefully scratch out some white lines. Stop if the paper shows signs of tearing. Check the shadows where some feathers have lifted higher than the ones below.
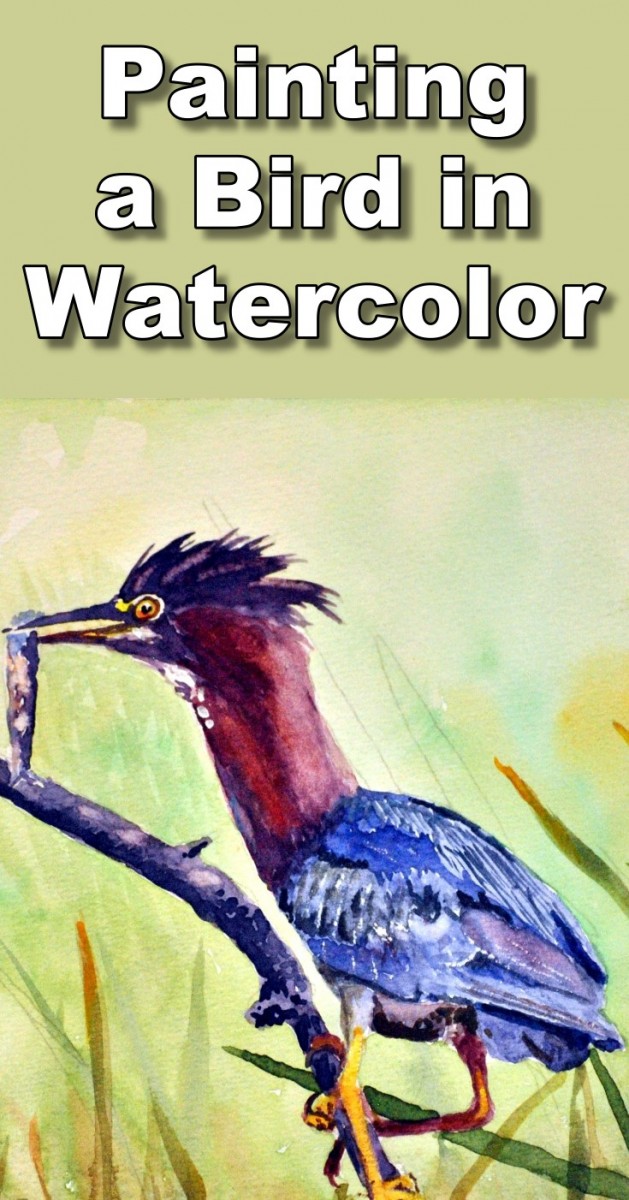
Final Painting
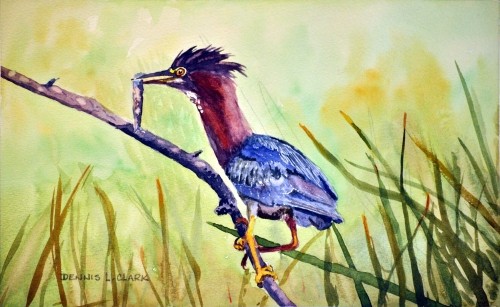
Click the button below to view the real time follow along version of this class:
Pin Me
