Short Class Video
Class Tutorial
Paint the background
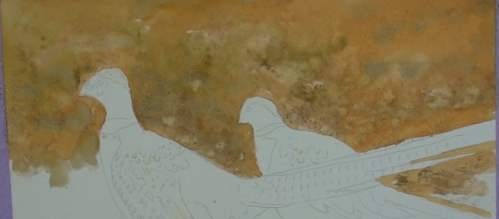
In order to separate the Pheasants from the background we need to keep it blurred and without any detail at all.
Float in a Burnt Sienna wash and while still damp drop in a few Green patches just to show some greenery. Also drop in a few dark patches for an interesting background with some contrast in it.
Paint the foreground
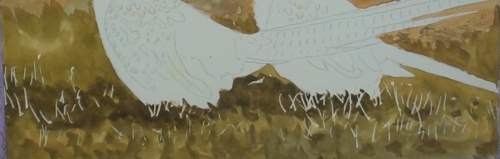
As we come closer to the birds some detail, though still blurry, begins to show in the Olive Green grass. See how the masked grasses are beginning to appear.
By darkening the lower area it forces the viewer's eye upwards towards the birds. The dark shadows ground the birds.
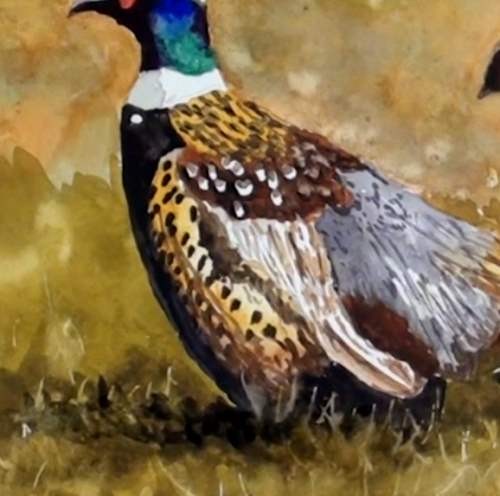
Paint the heads

Because this head is going to attract the most attention we will take a bit more care in painting it. Use a small round brush with a good flexible point. Block in all the colours first before blending together.
Use Ultramarine Blue and Viridian for the neck feathers. Keep the colours bright.
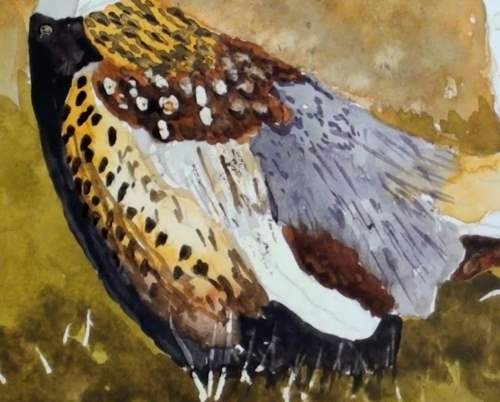
Paint the body
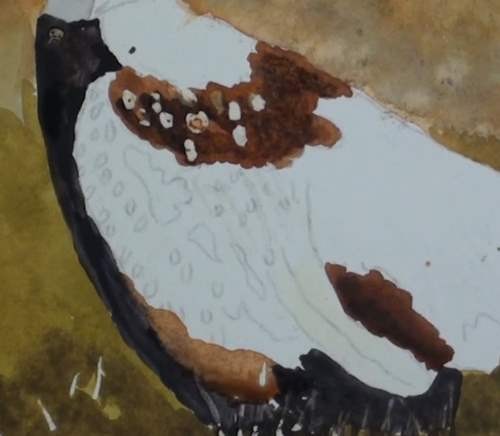
I like to block in the darker colours first as this tends to add to the illusion of form. I then block in the colours down the tonal range until I get to the lightest colour. See how the masking fluid shows up in the dark colours.
Once the major colours have been placed it is much easier now to start adding the details because you are seeing the picture as a whole instead of small chunks. If you find that the paint is too dark don't panic. A light touch with a tissue will soften the colour.
When painting the finer details, keep refering to the reference photograph. When adding the darker dots on the body you don't need to count every single one. Just getting them to look similar is all that is needed. Remove the masking fluid off the body, as well as in the grassy area.
Now add in all the subtle shading to complete the details and 3D effect of the body. Already he has that regal stance, and we have not even finished painting him yet!
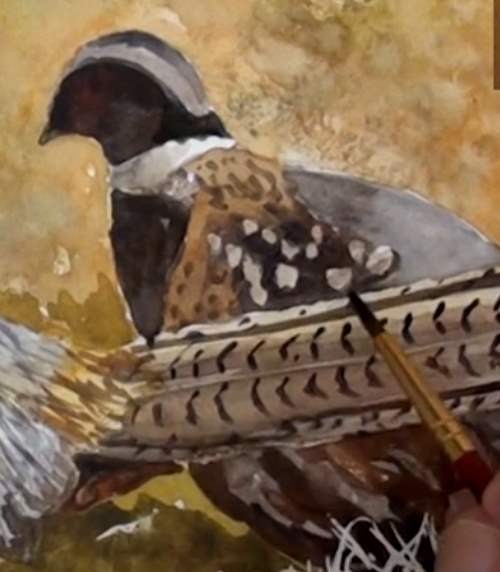
Paint the tail

Block in the light Yellow Ochre. Carefully add in the shadows and feather separations. When painting in the markings, take note that they tend to forma 'v' pattern.
Paint his female companion in a similar manner except that she must be subdued in colour and hardly any detail in the face. The male is the focal point in these painting.
Paint the grass
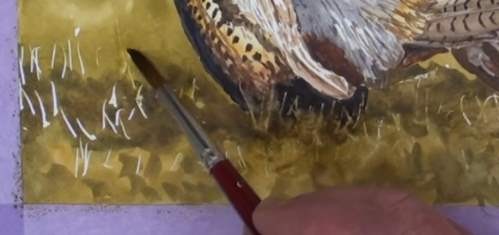
Remove all the masking fluid in the grassy area, and with a damp brush spread some of the background colour over them to get rid of the stark White. Don't overdo it, they must still be very light in colour.
Paint the shadow
We have to beef up the birds shadows because dark colours lighten when they dry out. Under the body must be the darkest shadows. Add a few more darker areas in the lower area to finish up the painting.
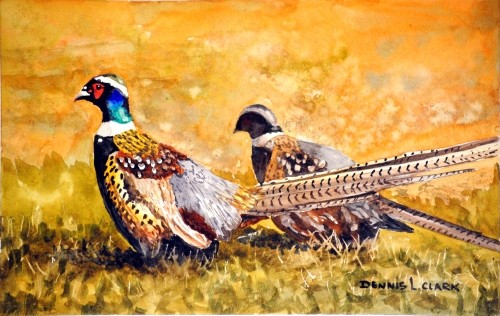
Final painting
Click the button below to view the real time follow along version of this class:
Pin Me