Short Class Video
Class Tutorial
Paint the eyes
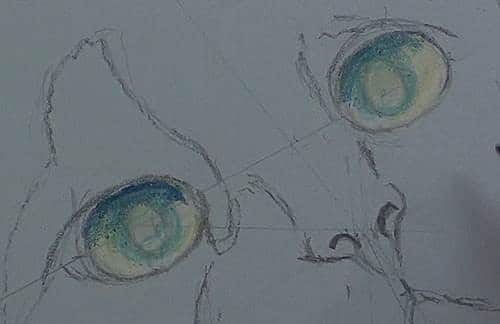
Start with a White pencil as a base colour and add a very light touch of Green and blend with the finger. With a dark Blue pencil add a very light colouring around the pupil and then add some shadowing around the edges.
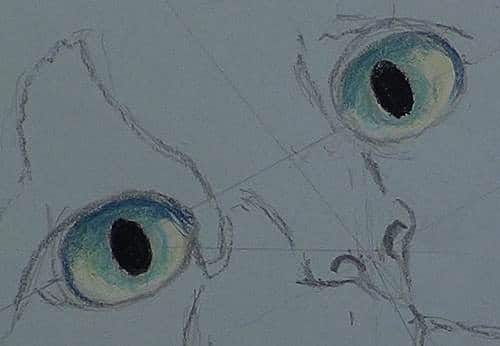
Add the pupils with a Black pencil taking note that they are oval and not round. Now with the dark Blue pencil gently work the Blue again around the pupils of both eyes and with the Black pencil add the shadows caused by the eyebrows.
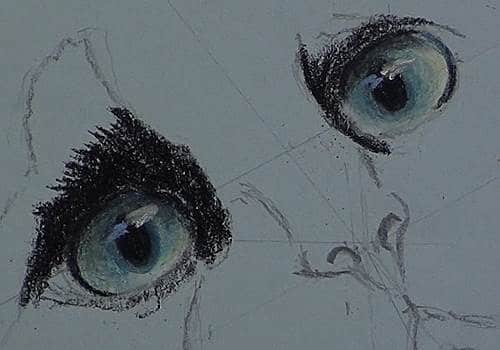
Begin plotting in the darker areas around the eyes in a series of short strokes. With a cottonwool bud we need to carefully smooth out the eye areas and add the elongated reflection in the eyes with a White pencil to give them a natural look, and not as if taken with a flash.
The Blue next to the other highlights is the reflection from the sky.
Paint the fur
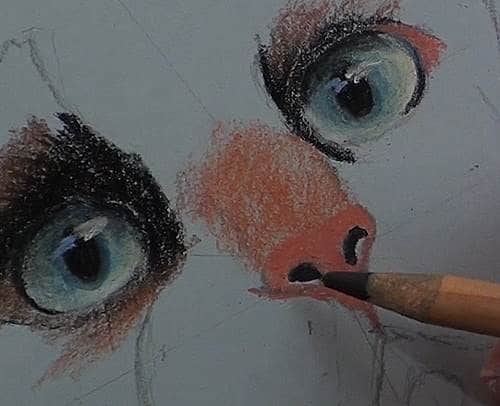
With a rustic colour pencil such as Burnt Sienna start adding the brownish tints of the fur. Keep ALL strokes in the natural direction of the fur.
The nose is a dark pink colour and darken up the nostrils.
Paint the ears
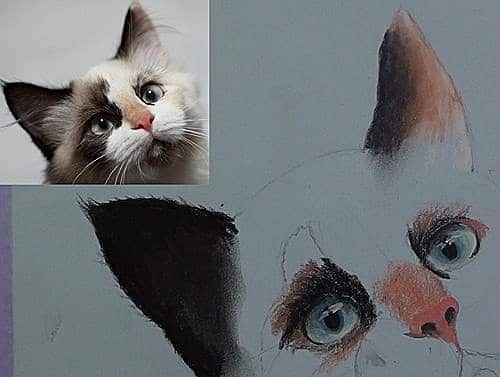
The left ear – It is easier and quicker to use a soft Black pastel stick for the dark undercoat of the ear. Smooth it out with a Black pencil at the edges and with the finger in the center area.
Flick out the hairs along the edge of the ear.
The other ear has is less Black in this ear. Work in the rustic colour and smooth out with a White pencil.
Paint the face
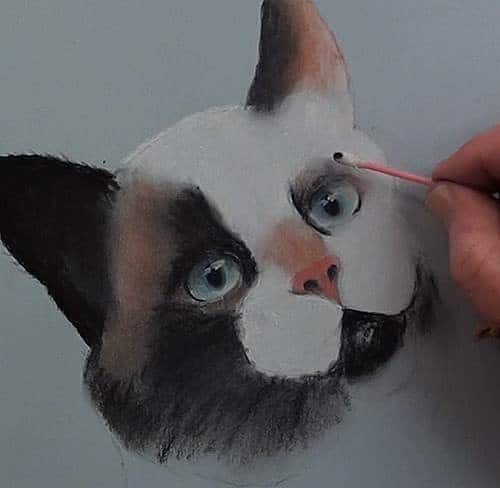
Use a soft White stick to fill in all the White areas of the face and then smooth out with the finger .
Continue working in the other black areas in the face with a series of strokes. At the mouth leave the lighter area of the chin.
Roughly add the lower area and carefully add the light rustic colour on the side of the face and gently smooth out the pastels.
Again, with a cottonwool bud, gently blend the softer lookin the fur areas.
To add the other subtle rustic tints to the face, you can lift of some colour from a pencil and apply it with the bud.
The White pencil is wonderful here in smoothing out some of the soft fur and for blending and merging the White and Black areas where they meet.
Paint the ear
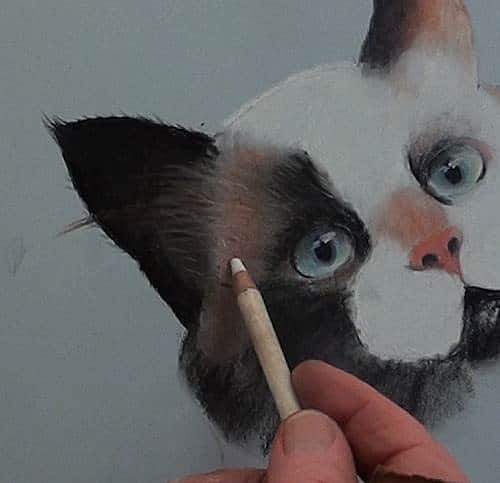
With the Burnt Sienna pencil and the White pencil begin flicking in the hairs in the ear. Always flick outwards and let some of the long hairs go past the edge of the ears.
For the smaller hairs in the other ear use the Black pencil over the lighter colours. Tint some of the areas with Burnt Sienna with a light touch and brighten up with a soft White in the face as needed.
Paint the whiskers
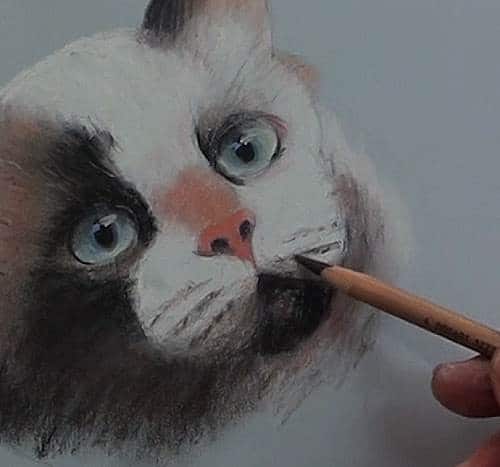
Begin lightly plotting in the Whisker areas. Continue touching up around the neck area and reinforce the whisker area details with a dark Brown pencil and add the shading to give the mouth a rounded appearance.
Give the face a once-over and make any corrections you feel that is necessary for a finished look.
Paint the neck
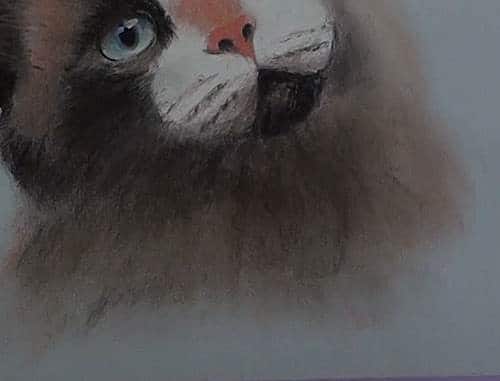
Vignette off around the neck area with some of the fur colour and smooth off with the finger to give it that soft look.
With a White pencil add the highlights to the nose and eyes. The White touch-up give the eyes that wet and transparent impression.
Paint the finishing touches to the whiskers
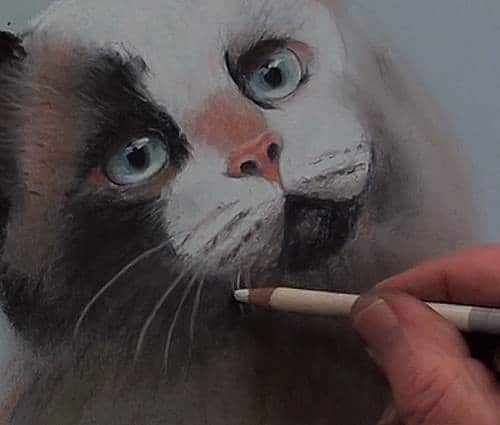
Finally, add the long whiskers with the White pencil.
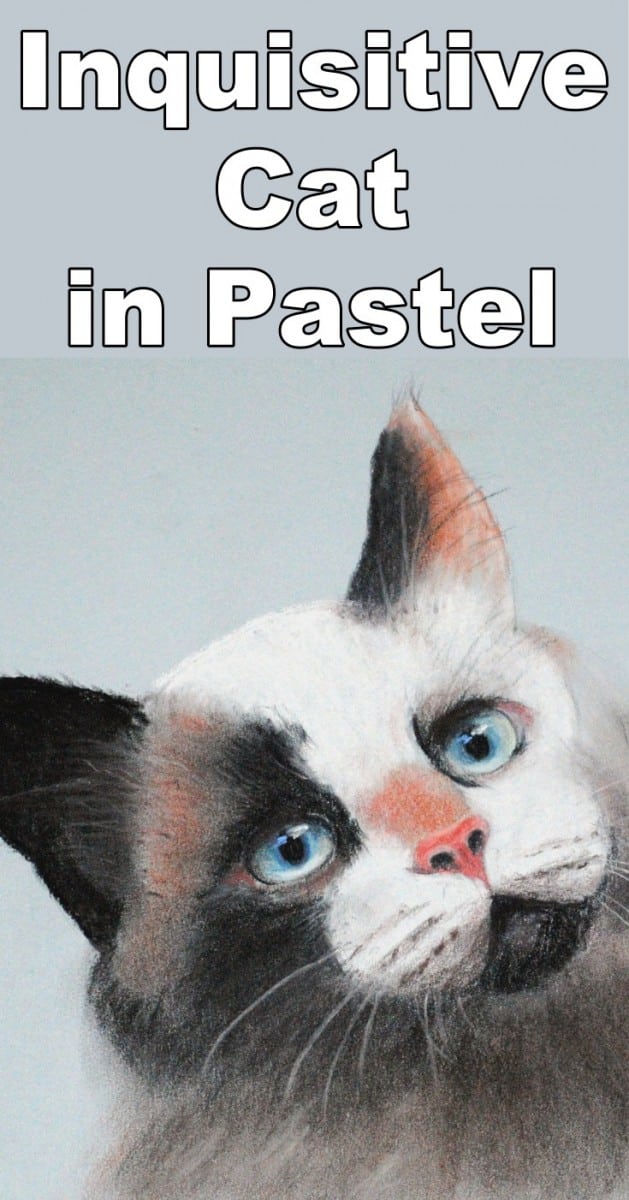
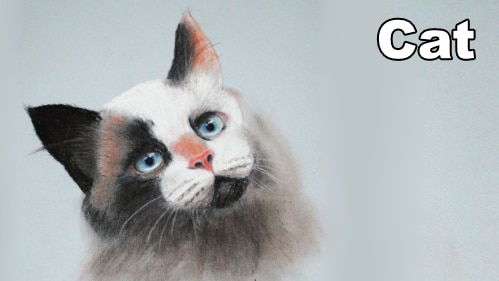
Final drawing
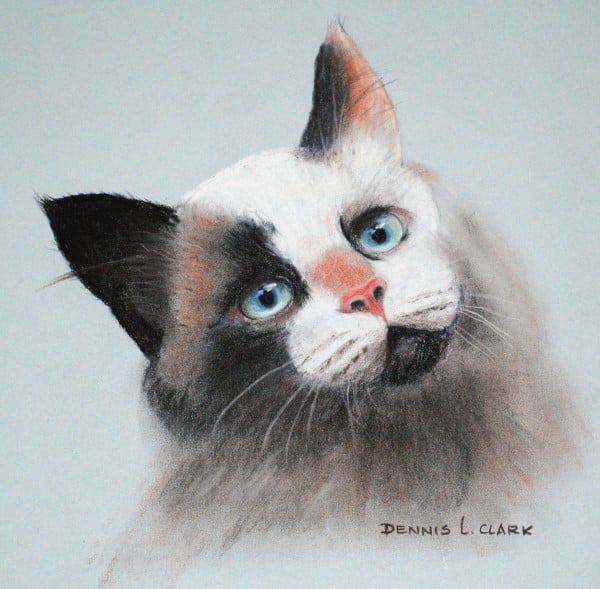
Click the button below to view the real time follow along version of this class:
Pin Me
